Introduction
This guide describes how to reduce the size of a file for electronic submission, especially if you are submitting to a Turnitin assignment.
Turnitin has a maximum file size limit of 100MB.
If you are producing a long assignment that includes images and diagrams, it may be necessary to reduce the file size.
Blackboard does not impose a strict limit on the size of files you upload, but it is still good practice to avoid submitting very large files.
The smaller your file, the less time it will take to upload, and the less chance there is that your Internet connection will be lost, or other errors occur.
This guide describes how to reduce file size if you are using Microsoft Office Word, using either a Windows PC or Apple MAC computer.
Always use a copy of your original file when making changes to your assignment’s file size.

Check the quality of the images and diagrams in your file after you have reduced the size, to make sure they are still clear.
When can my file size be reduced?
The file size of a document can be reduced by compressing the images contained in it. Images contained in documents often have a higher resolution than is necessary for viewing on screen or for printing out on A4 paper and these images have a large file size. The file size of these images can be reduced without affecting the quality of the image you see.
Windows PC
How to tell the size of your file
When you have the file open, click on File > Info
In the right hand column under Properties, the file Size is displayed.
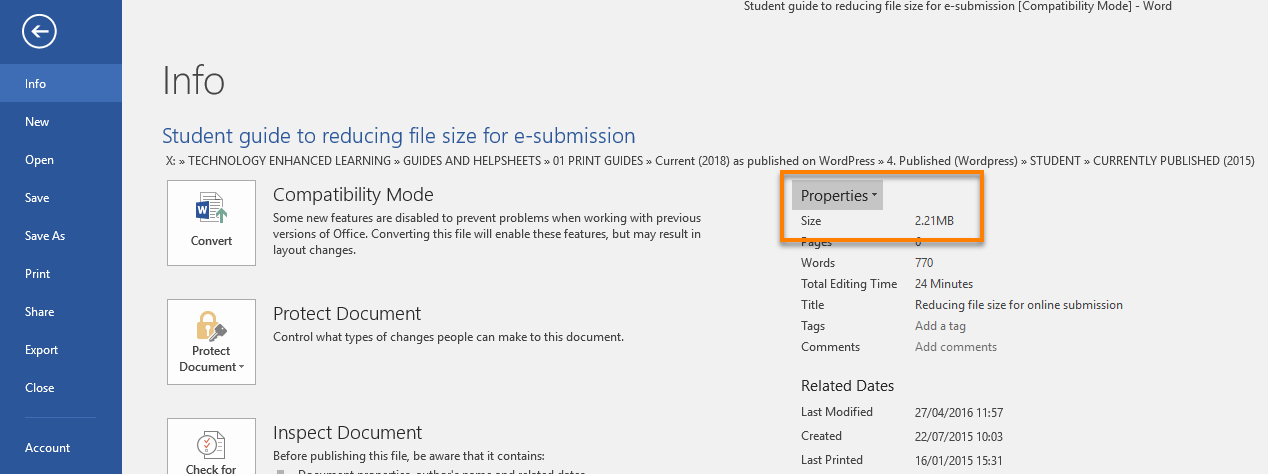
You will see the file size shown in either KB (Kilobytes) or MB (Megabytes).

1024 KB = 1 MB
Reduce the size of a Word file
When saving your Word file, there is an option to reduce the size of all of the images in your file.
Click File > Save As
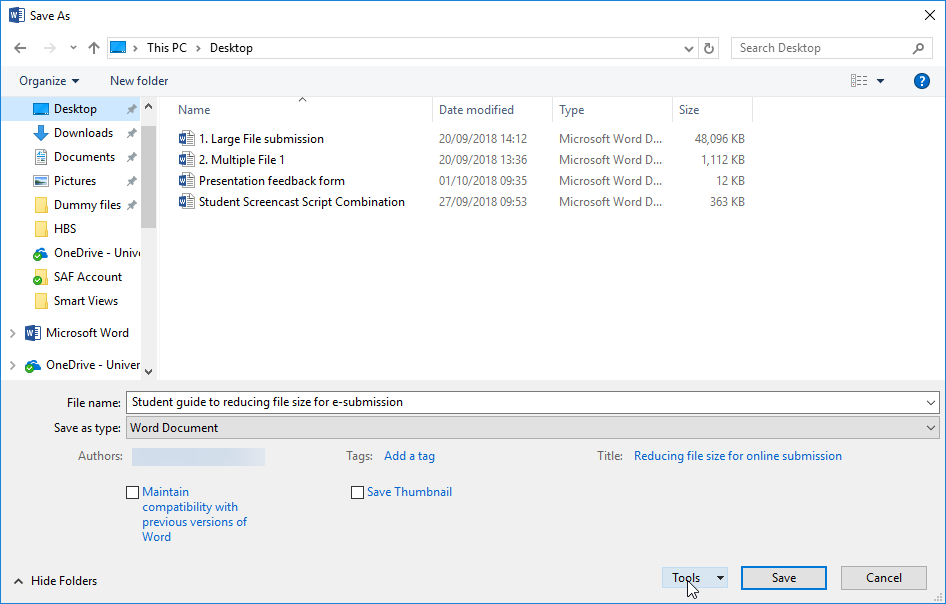
In the Save as dialogue box, click the Tools menu beside the Save button.
From the drop down menu, select Compress Pictures.
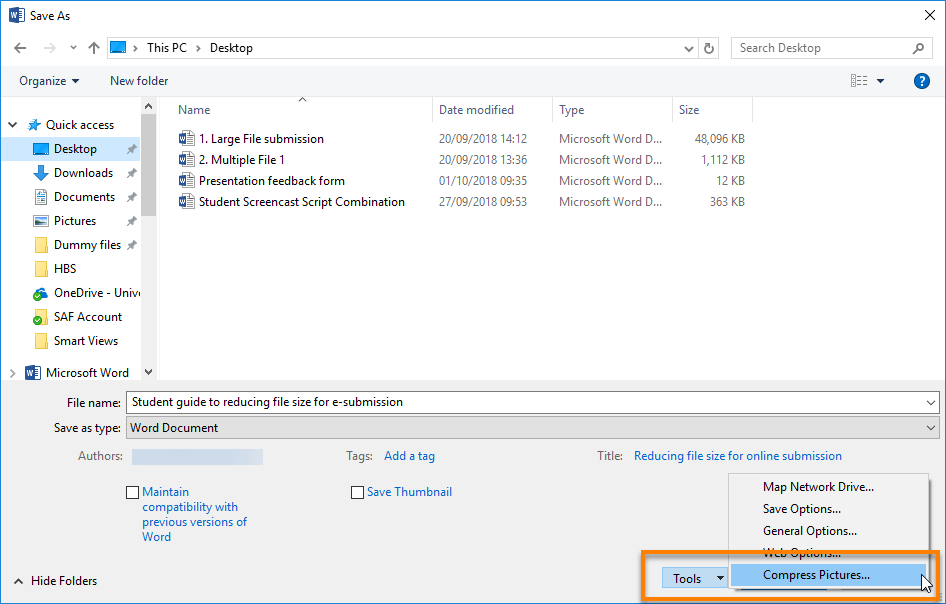
In the pop-up box that appears, choose a Target output.
- Print (220ppi) is suitable for on-screen viewing and printing.
- Screen/Web (150ppi) is suitable for viewing on a computer and make a smaller file size. Note: If you or your tutor need to print the file then the quality of the images may not be suitable for printing.

Compress image size within a document
This process can be used to reduce the size of individual images and can be useful if some images need to be kept at a high resolution to show small details clearly.
The Microsoft Support site has instructions on how to reduce the file size of a picture: Office 2016/Office 365
Reduce file size when saving a Word file as PDF
When saving your Word file as PDF, you have the option to reduce the size of the file if it contains images. These will be automatically resized.
Click File > Save As.
In the Save as dialogue box, under Save as type, select PDF from the drop down menu.
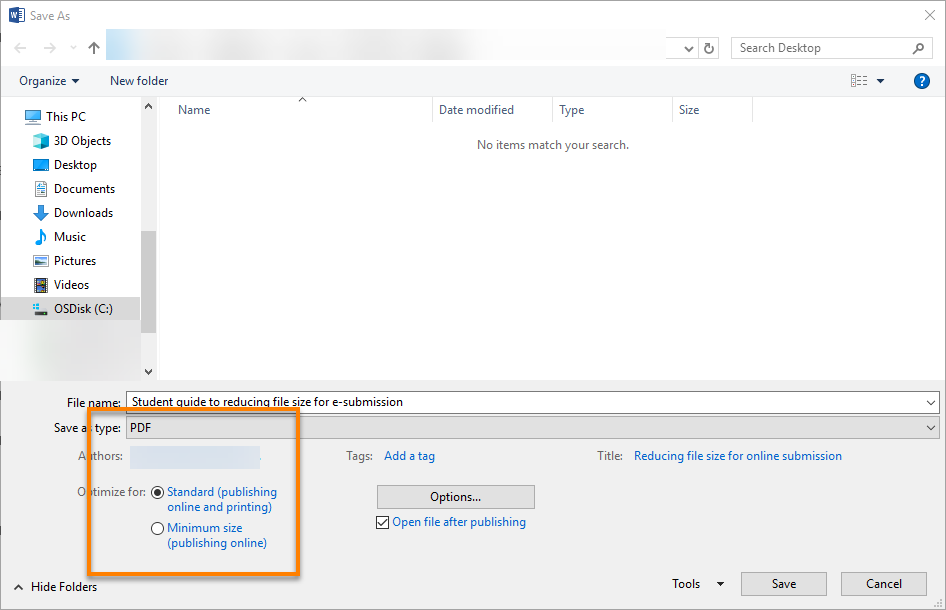
Under Optimize for choose
- Standard (publishing online and printing) – this will reduce the size of your file. (Default option.)
- Minimum size (publishing online) produces the smallest file size. Note: This is only suitable for viewing the file on a computer. If you or your tutor need to print the file then the quality of the images may not be suitable for printing.
Apple MAC
Reduce the size of a Word file
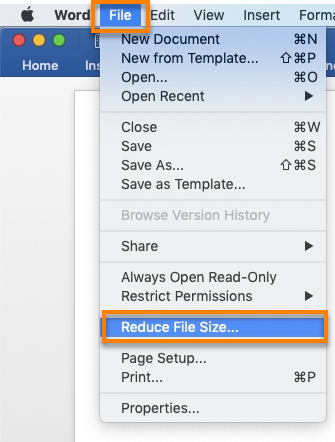
In Word, click on File > Reduce File Size
In the Reduce File Size options box that appears, from the Picture Quality drop down menu, select either:
a. Best for printing (220ppi) is suitable for on-screen viewing and printing.
b. Best for viewing on screen (150ppi) is suitable for viewing on a computer and make a smaller file size. Note If you or your tutor need to print the file then the quality of the images may not be suitable for printing.
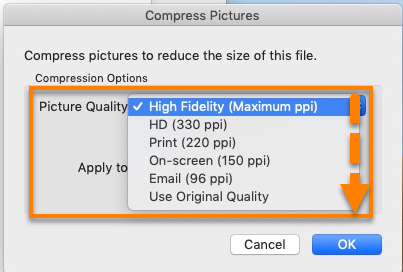
Keep the box ticked for Remove cropped picture regions
And click OK.
Reduce the size of a PDF using Preview
Preview is a free application that comes with MAC computers and can be used to view and modify PDF files.
Open the PDF in Preview.
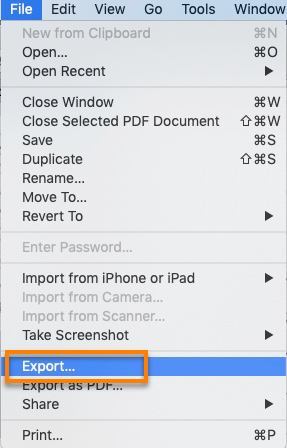
Click File > Export
In the dialogue box that opens next to Quartz Filter, select Reduce File Size from the drop down menu.
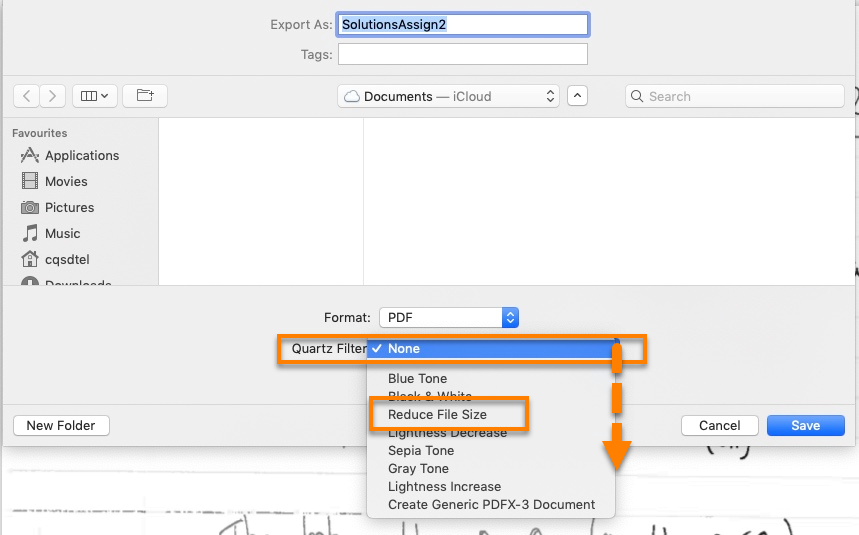
Change the file name in the field next to Export As: to make sure you don’t overwrite your original file.
Click Save.
