Introduction
This guide shows you how to upload and embed MP3 audio files in your course, so that the content can be accessed by students in any Internet browser, and on any device.
To ensure that your files play correctly you will need to ensure that they are in the MP3 file format.
If your files are in a different format e.g. WMA then you should be able to convert them to MP3 using popular media players such as iTunes and VLC Player (accessible via https://appsanywhere.reading.ac.uk).
See our guide on audio and video file formats for more information.
Upload your files
In your Blackboard courses, go into the content area where you want your files to reside. There are two options you can use to make your audio file available.
1. Create Item and embed the audio
The main advantage of this method is that it allows you to add accompanying text before or after the audio file
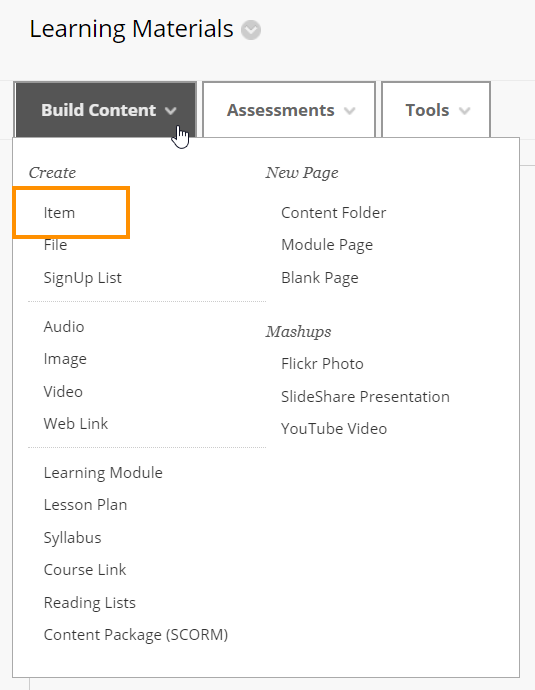
Click on Build Content > Item.
On the Create Item page, enter a title.
If you only see one row of the editing toolbar, click here to expand it to three rows.

Click on the Insert Media icon.

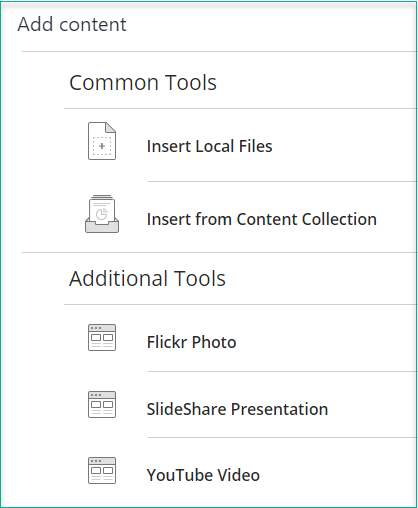
A new, smaller window opens.
From the Add Content list, select a tool to locate your file.
Then Browse to locate your file. Select your file in your tool of choice.
The audio file will display as shown in the editing screen.
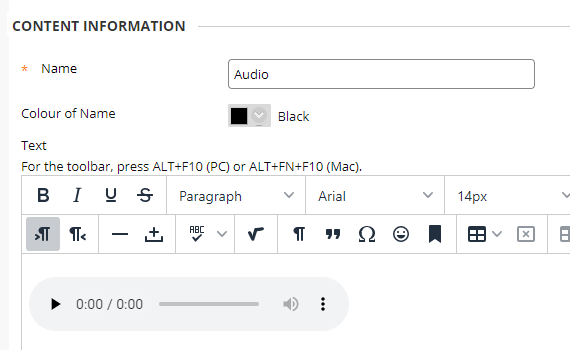
There is no need to use the preview option the audio will appear as it will on the page. You can play the audio file here to check it is the correct file.
If you wish to change the size of the audio player, right click on the player and select Media. The Insert/Edit Media pop-up window will appear. Change the player size here:
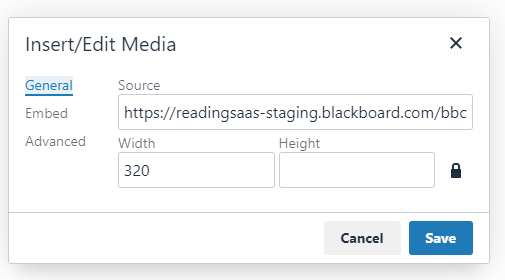
Press Save when done.
You can of course add text before or after the audio file, and attach a transcript of the audio.
Press Submit when all your editing is complete to return to the content area and view your new item.
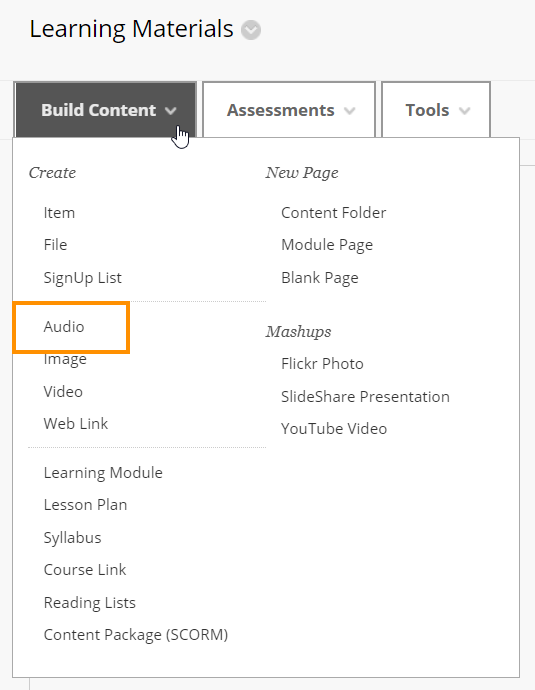
2. Create Audio
Click on Build Content > Audio.
Provide a title, then Browse to locate the audio file.
Choose the options you want. Notice that you can attach a transcript of the audio file.
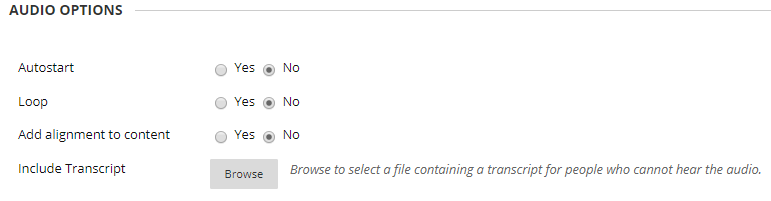
When done, press Submit.
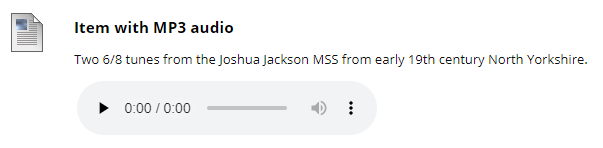
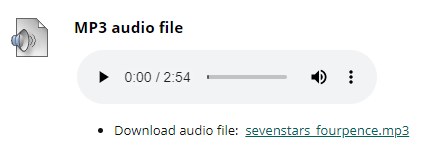
The file displays to students as shown below.
Page last updated on November 5, 2020 by taralehane

You must be logged in to post a comment.