Before you start with polls
- Only meeting owners and presenters can create, manage, and launch polls. Meeting attendees have the ability to respond to polls, but they can’t edit them.
- Although they use the same platform, Polls are not the same as Microsoft Forms.
- You should enable Polls in the meeting before you use them.
- Polls can’t be used in Channel Meetings.
Polls are a great way of engaging with students during your online sessions and getting in-the-moment feedback.
Live polls can be created in Microsoft Teams Meetings and within chat sessions. They can be set up before or during the session and launched when needed.
Each poll in Teams is one question with a maximum of six possible responses.
Enable polls in your meeting
To use Polls, you must first enable he tool in the meeting or chat you wish to launch it in. You only need to do this once.
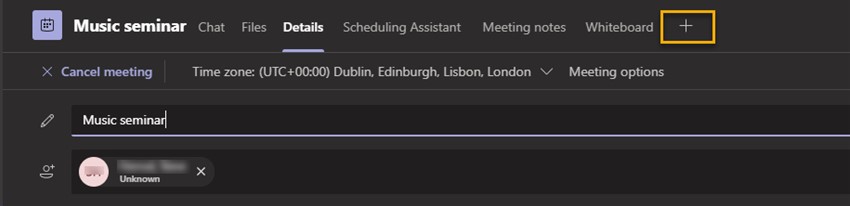
- At the top of your Teams Meeting or chat window, choose the ‘plus’ tab:
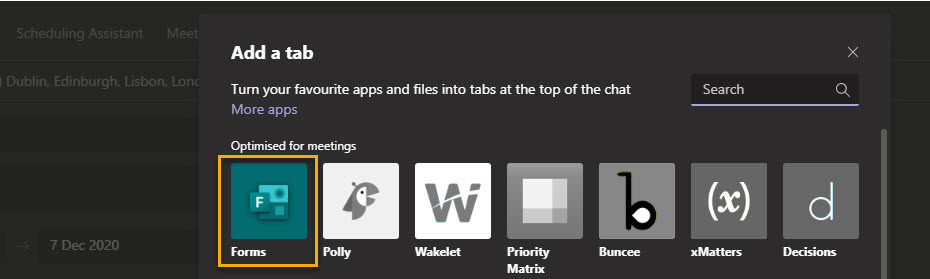
- Choose Forms from the list of apps.
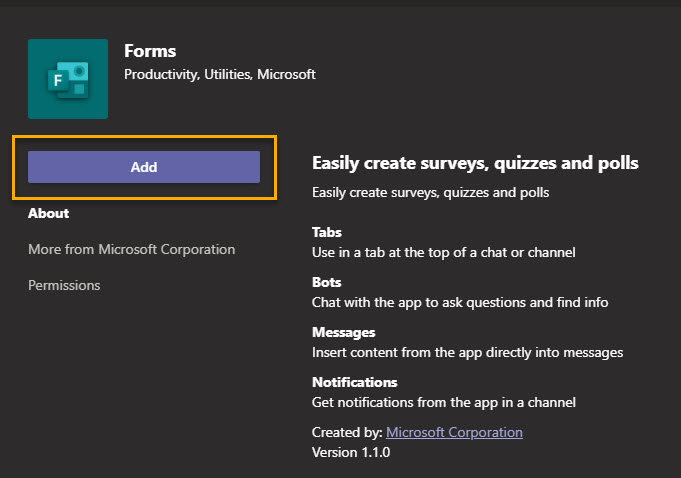
- Click Add/Save when prompted.
You’ll now see the Polls tab at the top of your meeting:

You can launch a quick poll directly from the chat pane of a meeting or chat without the need to enable it first. Launching directly from the chat pane doesn’t give you all features however, and does not allow for easy closing or editing of the poll. Running a poll from the chat is ideal if you decide to get some impromptu student feedback which you didn’t prepare in advance. Microsoft’s help guide ‘Add a poll to your Teams channel or chat‘ gives more information on this feature.
Create your poll
Polls can be created before or during your session. To begin creating your poll:
- Click on the Polls tab at the top of the meeting pane:
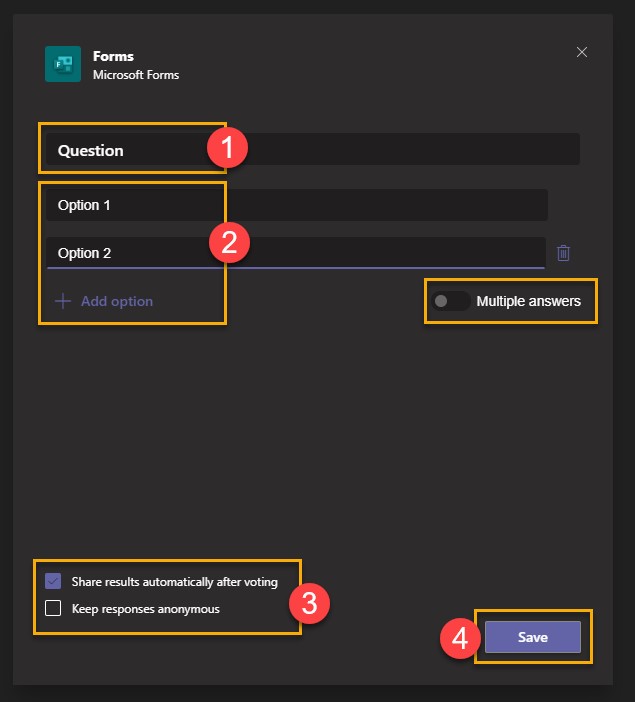
- Select Create New Poll:
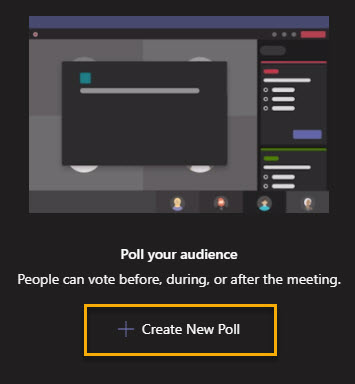
- Write your questions and add up to six possible answers. Choosing Multiple Answers allows respondents to submit more than one option.
Launch your poll
Polls are launched from within the Teams meeting itself.
![]()
-
- From the meeting control bar choose the Forms icon.
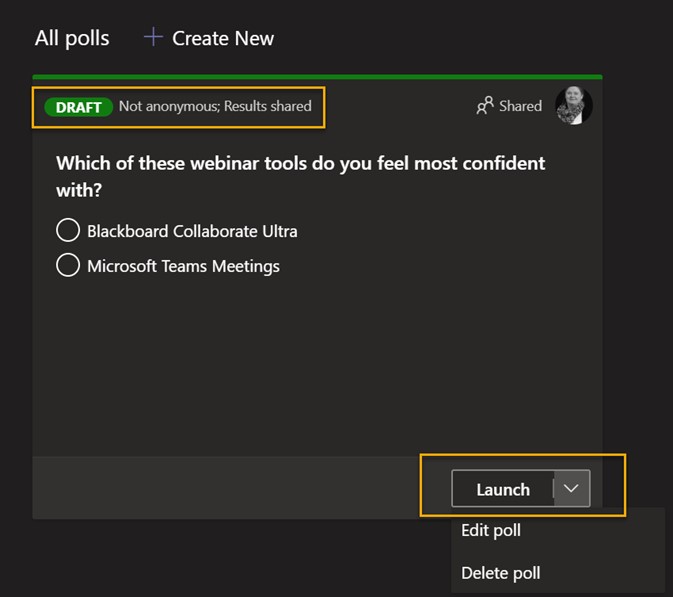
- Choose the poll you wish to run and choose Launch. Polls will show in green as Draft until they’re opened.
Polls that have been launched and are accepting responses will be marked in red with LIVE in the upper left corner of the poll.
Polls that have been closed and are no longer accepting responses will be marked in dark gray with CLOSED in the upper left corner of the poll.
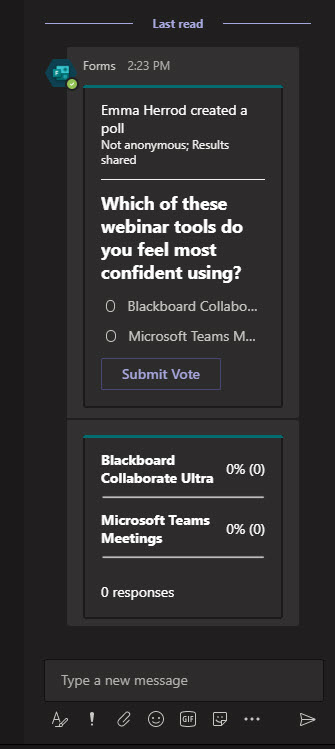
4. Your poll will now be open for responses and will appear as a notification on students’ screens as well as in the meeting’s chat pane.
Close polls and see results
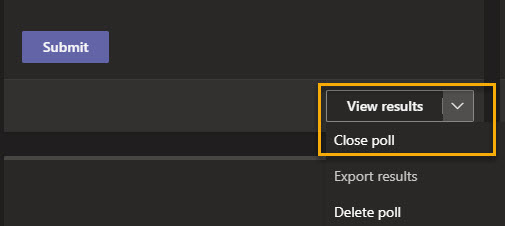
If you want to close a poll, export poll results, or a delete a poll, select the drop-down list next to View results and select Close poll, Export results, or Delete poll, respectively:
Results are exported as an Excel file and saved to your local Downloads folder.
The file shows the following information:
- The time the user started the poll
- The completion time
- The users’ email addresses
- The users’ names
- The answer each person chose
Page last updated on January 28, 2021 by emmaherrod

You must be logged in to post a comment.