Bookings

Microsoft Bookings

Bookings lets you create an online booking calendar that integrates with Outlook. Use it to create a booking form that allows University of Reading students and staff, and external contacts, to book a calendar appointment.

Table of Contents

What Bookings is used for

Creating an online booking calendar & page

Set up a bookable calendar for yourself or your team.

Create a publishable link to a webpage where people can book time on the calendar (online booking page).

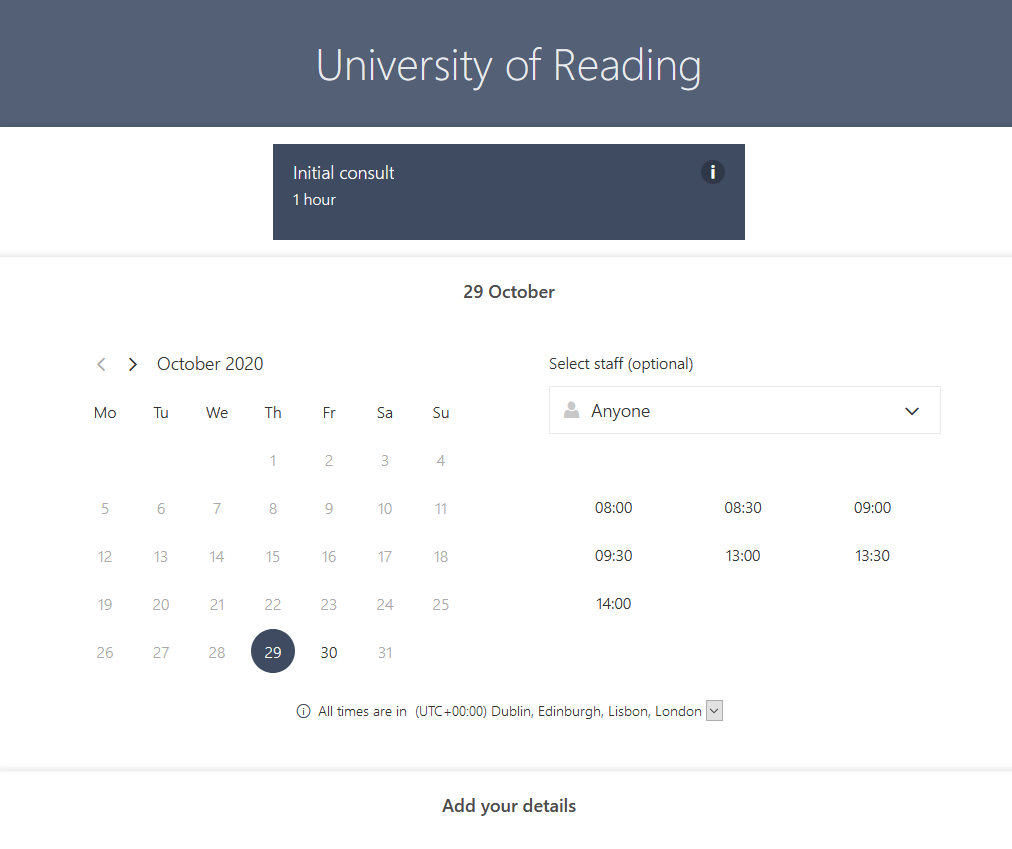
Booking time in a calendar

Follow a link to someones online booking page

Examples of use cases for Bookings:
  • An academic looking to advertise some scheduled times that students could book to drop in and meet with them.
  • Employees looking to open up their calendar to internal or external colleagues to display their availability on a certain subject matter.

Remember it’s a “book-me” system rather than a “book-this object” system. The recommended use of this tool will be person based. There are other Apps and resources for booking other items . E.G Rooms or Table Space or Loan equipment as examples (either via CMIS or Exchange Rooms etc.) Microsoft Bookings is not a recommended replacement for booking meetings rooms.

How it works

Bookings has 2 components:

1

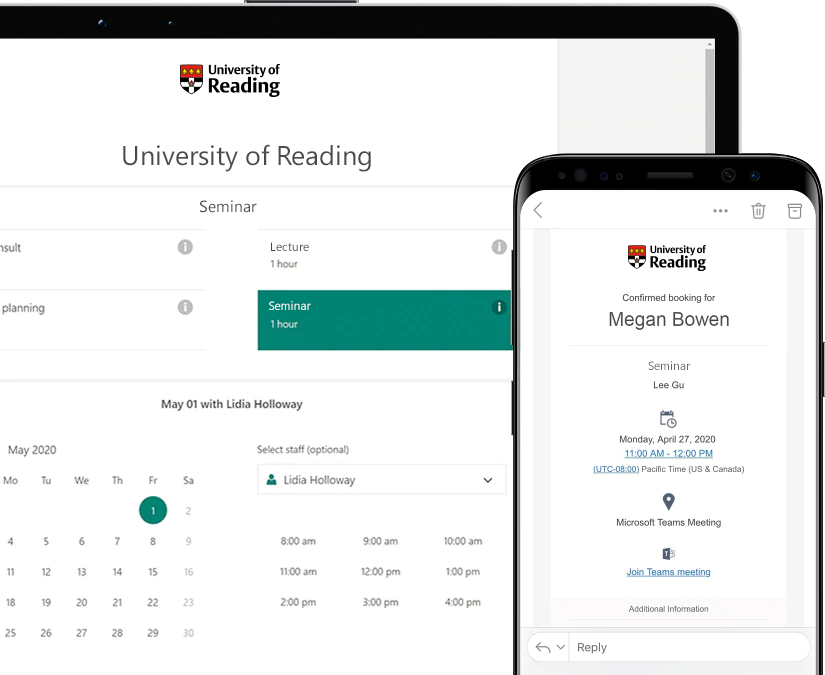
The online booking page

This is the calendar people use when they want to make a booking. You can share a direct link with them or embed it into an existing web page

2

Admin pages for the calendar owner/administrator

This is where you define the services you want to offer: configure the calendar, choose the business hours, set staff schedules and appointments etc

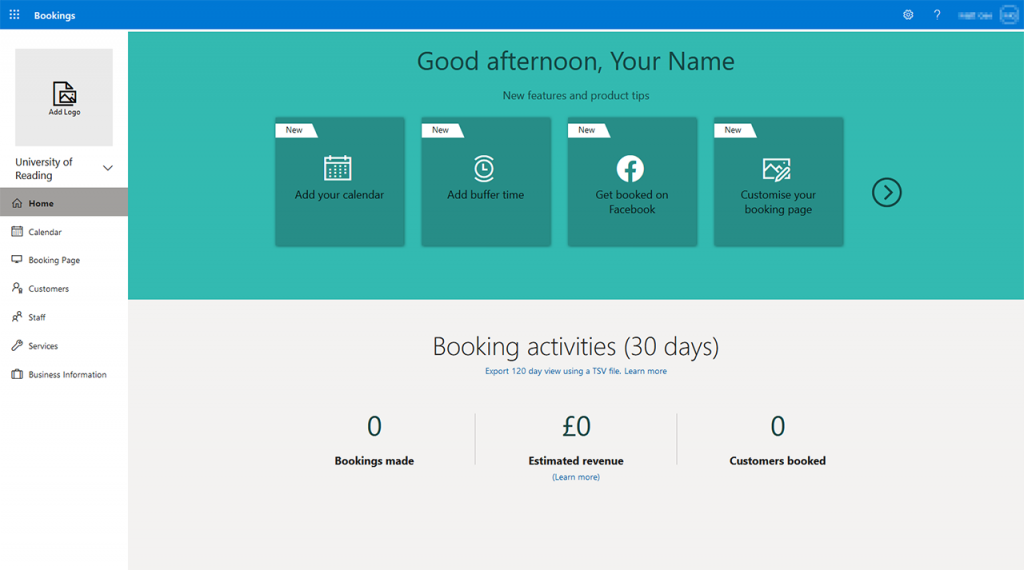
How to access Bookings

Bookings is available to all University of Reading staff on request.

If you are interested and have a valid use case you wish to implement via Microsoft Bookings, then please request access by clicking the button below.

Once you have access - getting started

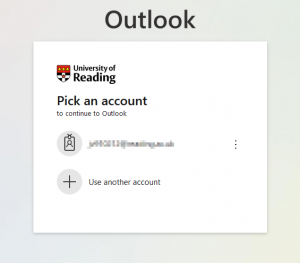
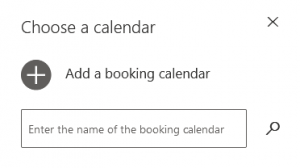
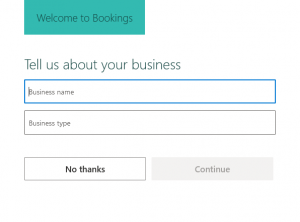
1. Go to: https://outlook.office.com/bookings, and sign in with your University username and password (e.g. ab123456@reading.ac.uk). If it is your first time you may have to Add a booking calendar. If so, give it a Buisness name that is short and to the point and put the Business type as Colleges and Universities

2. You will be directed to the Bookings home page

3. On the left hand side of the page you will see a side bar with a menu. Select the Booking Page menu option

4. This page is where you manage your bookings page that people use to book time with you or your team

5. At the top of the Booking Page you can Save and Publish, Unpublish, or Embed your booking page.

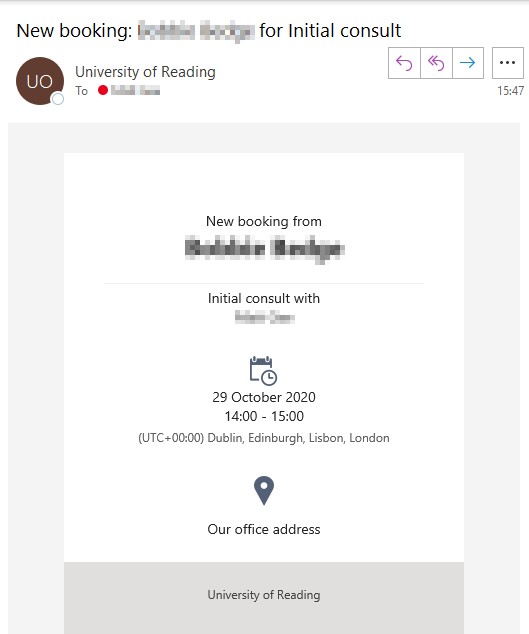
6. Bookings automatically integrates with Outlook. When someone makes a booking you will be sent an email notification and a meeting invitation (with their details) will appear in your calendar for you to accept or reject. You can also manage bookings directly from the Bookings admin page.

Book an appointment anywhere

Use Microsoft Bookings on your desktop, on the web, or on your iOS or Android mobile device.

Guides

Create a booking calendar

1. Don’t use ‘special characters’

Your booking calendar name can’t include any of the following characters:

~ # % & * { } + / \ : < > ? | ‘ “

2. Keep the Display Name For your calendar to the point.

e.g. “John Smith – Student Engagement Bookings”

  1. Read the ‘Naming your Booking calendar’ guidelines above, and then name it accordingly
  2. Enter a name for your Bookings calendar in the Business name field
  3. Enter Colleges & Universities as the business type
  4. Enter a contact email address: this will be the default email contact address for all of your Booking calendars. You can change it later, or disable emails being sent to it per Booking calendar

How to set up calendars for yourself or your team

  • Click Business Information in the Bookings app on the left
  • Set opening hours
  • Change the Send customer replies to to another email if needed. Click Save

You need to define the Service you’re offering. 

  • Select Services
  • Click Add, add a name and description
  • Select yourself from the Assign Staff column
  • Set duration of the booking – this is how long someone can book a time for, they can’t specificy themselves.
  • Use the Additional information and Email Confirmation box if you want to send information to the user
  • Click Save and repeat for each service you want to offer, such as if you’re offering different types of appointments

To customise the booking page select Booking Page from the left.

  • Under Staff, untick the box marked Allow customers to choose a specific person for the booking
  • Customise as needed. Click Save and publish at the top
  • Click Business Information in the Bookings app on the left
  • Set opening hours
  • Change the Send customer replies to to another email if needed. Click Save
  • Click Staff then add each team member under Add Staff
  • Click Search Directory
  • Only change the permission level for staff who will be involved in administering the bookings calendar
  • Click Save

Your team requires a Service definition. 

  • Select Services
  • Click Add, add a name and description
  • Select the team members from the Assign Staff column
  • Set duration of the booking – this is how long someone can book a time for, they can’t specificy themselves
  • Use the Additional information and Email Confirmation box if you want to send information to the user
  • Click Save and repeat for each service you want to offer, such as if you’re offering different types of appointments

To customise the booking page select Booking Page from the left.

  • Under Staff, untick the box marked Allow customers to choose a specific person for the booking
  • Customise as needed. Click Save and publish at the top

Customise and publish your calendar

  • Click Add Logo (top left corner). Add the University of Reading logo
  • Choose a colour theme: pick a pre-made colour theme from the right column, under Customise your page
  • To create a custom theme, tick Set custom colour scheme for your booking page
  • Enter hex colour codes.
  • To restrict bookings to University of Reading accounts, tick the box for Require a Microsoft 365 or Office 365 account from my organisation to book
  • To stop the booking page being found by search engines, tick the box Disable direct search engine indexing of booking page
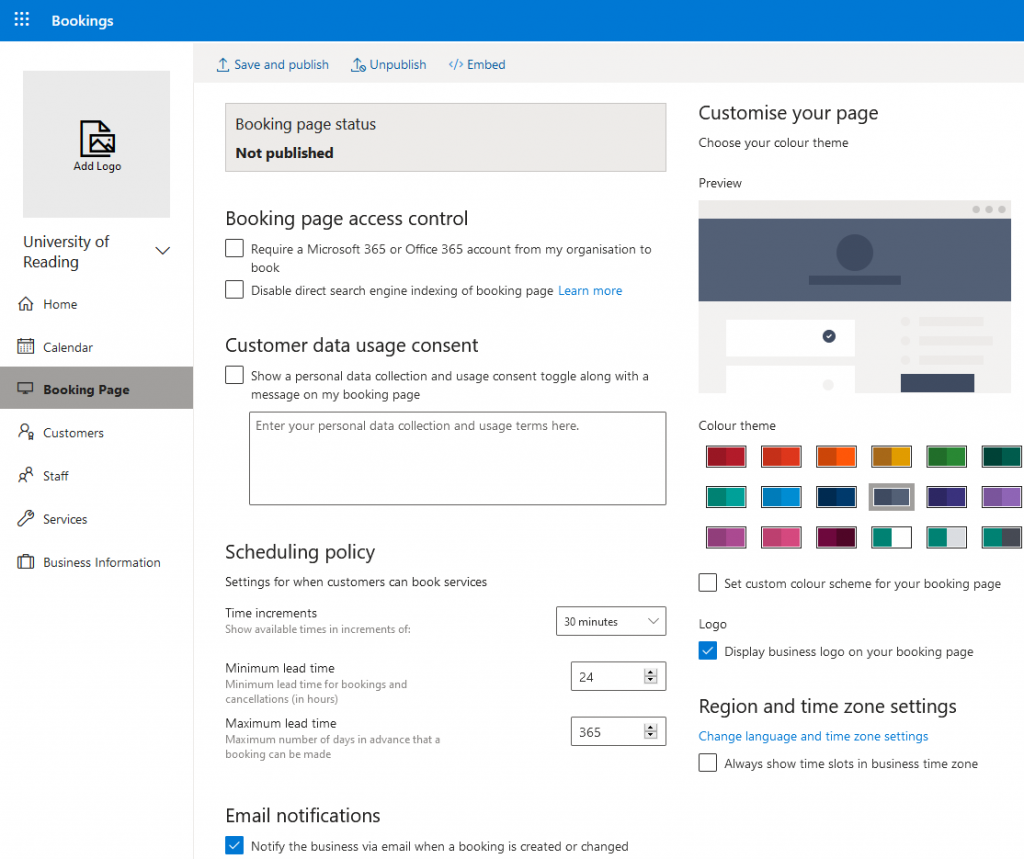
  • If you want or need to ask the user for consent to process their personal data before they book, tick this box and enter the text that will appear on the Booking page
  • Enter a web address for your privacy policy (if you have one) from the Business Information page

Do you only want bookings during your office hours? Set a global scheduling policy if you need to control this. Note, the policy is applied to all of the services that you offer and you need to create an exception if an individual service requires a different approach.

Microsoft advice for setting scheduling policies

  • Choose whether an email is sent to your calendar’s contact email address when a booking is created or updated. This is in addition to other emails triggered by the booking; for example, if your calendar is to book an appointment with a member of staff, they will get a direct email as well
  • You can choose to send a meeting invite to the customer, which will be sent in addition to their confirmation email
  • To view your page and see any changes you’ve made, click Save and publish in the top menu If you want to  it, click Unpublish
  • You can view and share your Booking calendar from the Booking page status section

Support

Get Support

Contact us >

Knowledgebase

IT Self Service Portal >

Office 365

Office 365 hub >