If you are entitled to special assessment arrangements because of a disability or specific learning difficulty (such as dyslexia or dyspraxia), you will be entitled to include a ‘green sticker’ with your written work, to alert markers to this situation.
For work submitted online, through Blackboard or Turnitin, you will be provided with an electronic version of the green sticker.
- How will I receive my green sticker?
- How do I download my electronic green sticker?
- How do I insert by green sticker in my assignment?
- Inserting a green sticker to a Journal or Discussion
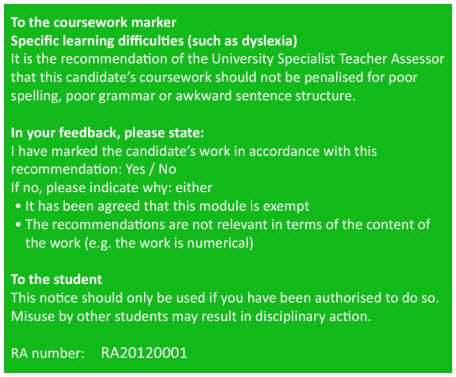
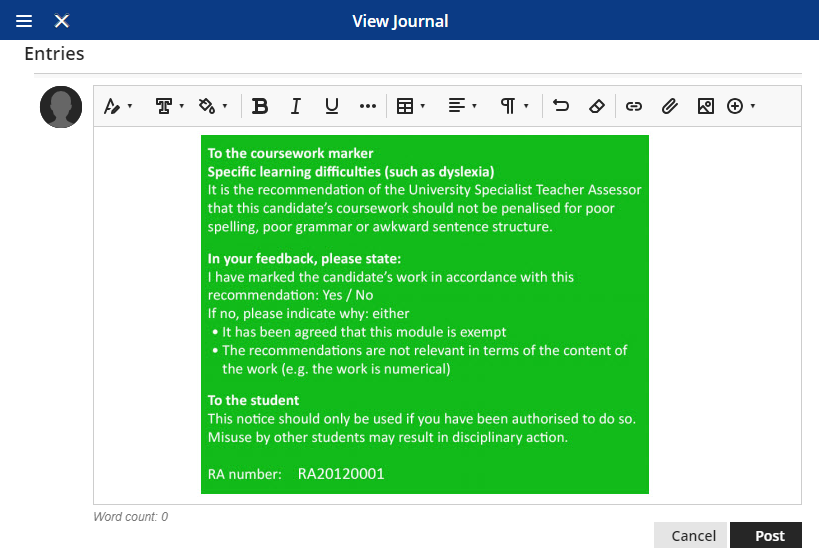
To the course marker: Specific Learning difficulties (such as dyslexia)
It is the recommendation of the University Specialist Teacher Assessor that the can candidate’s coursework should not be penalised for poor spelling, poor grammar or awkward sentence structure.
In your feedback, please state – have marked the candidate’s work in accordance with this recommendation: Yes / No – If no, please indicate why: either:
- It has been agreed this this module is exempt
- The recommendations are not relevant in terms of the content of the work (e.g. the work is numerical)
To the student: This notice should only be used if you have been authorised to do so. Misuse by other students may result in disciplinary action.
How will I receive my electronic sticker?
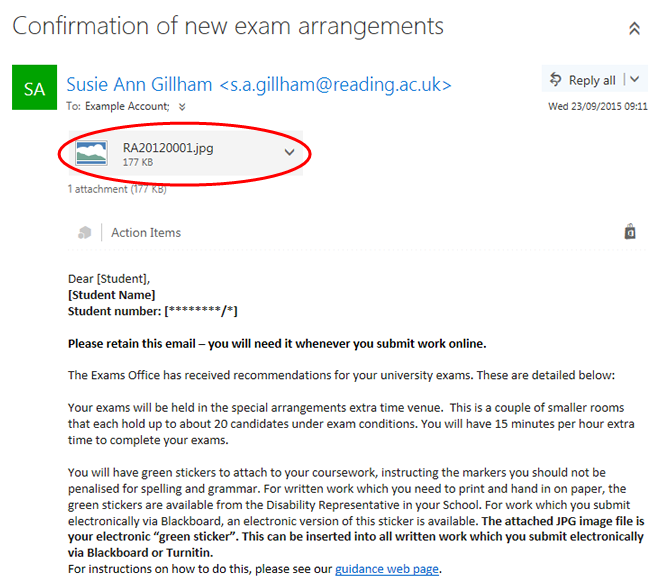
The Examinations and Assessment office will email the ‘green sticker’ to you at the start of the academic year, or following your assessment by the Disability Service. The ‘sticker’ is a JPG image file, which will be attached to the email.
Please retain this email throughout your time at the University, so that you always have access to a ‘sticker’ when you need it.
How do I download my electronic green ‘sticker’?
Open the email, and save the JPG file to your computer
- Click on the attachment
- Choose Download
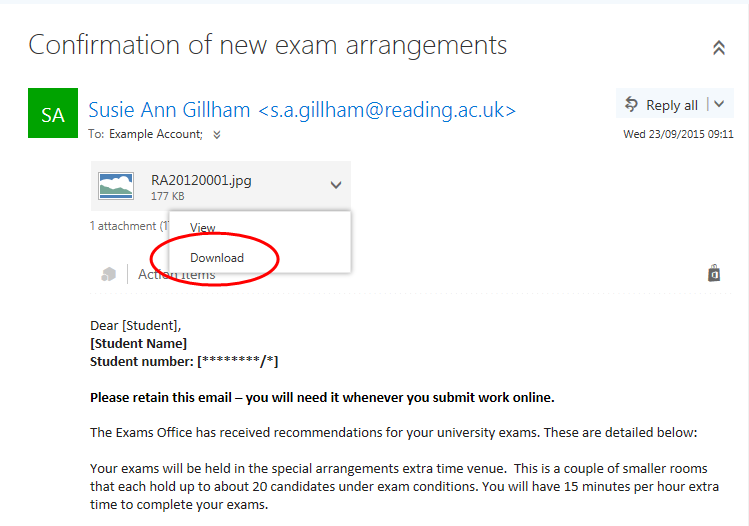
How the file downloads will depend on your Internet browser and settings. If prompted, choose Save or Save File.
How do I insert my ‘sticker’ in to my assignment?
You should insert your electronic ‘green sticker’ near the start of your assignment so that it is clearly visible to the person who will be marking your work.
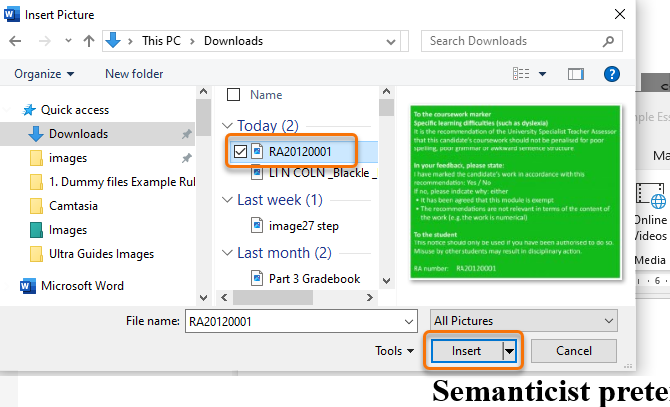
On the menu, click on Insert then Picture.
- Browse for the image file on your computer, and press Insert.
- The ‘green sticker’ will be inserted into your document.
- Save your document and submit it in Blackboard according to the instructions provided by your lecturer.
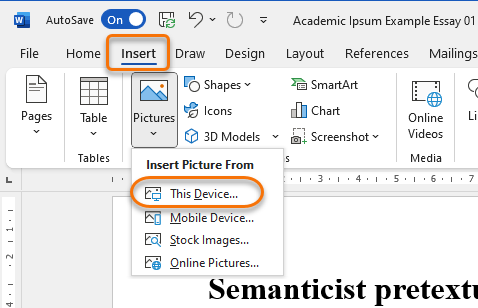
The instructions shown are for Microsoft Word, but a similar approach will work with other word processing software.
Inserting a Green Sticker in a Discussion or Journal
You may wish to add your green sticker to other assessment formats such as Blackboard Journals or Discussions used on your course.
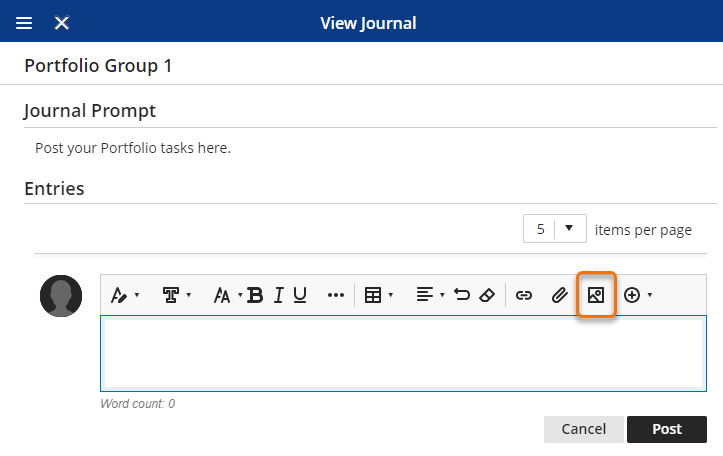
To do this, go to the (in this example) journal, open the Journal and start an entry. Then use the Blackboard Text Editor to insert a picture.
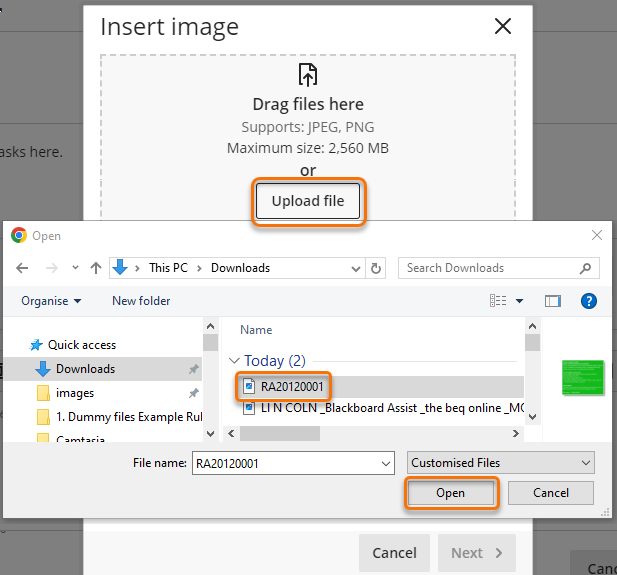
- Click the image icon. In the Insert Image pop-up select Upload file.
- Browse for you image file and click Open.
- The image will preview, click Next.
- In the Edit File Options screen you can add some alternative text for your image.
- Click Save.
- The entry will then appear on your Journal and notify your marker as to your specific marking needs.

Guide last updated on September 9, 2025