Before recording, ask yourself;
- How do I choose software for recording my screencast?
- What recording equipment do I need for my screencast?
- Should I plan to edit my screencast?
It is worth noting that students are not expecting slick ‘high-production’ visuals or enhanced audio effects; so avoid the need for post-recording edits by focusing on your approaches to presenting and recording. Whether recording at home or in the office, enhance the quality of screencasts and reduce the need to edit by following the tips on this page.
Approaches to presenting
General tips for presenting a screencast
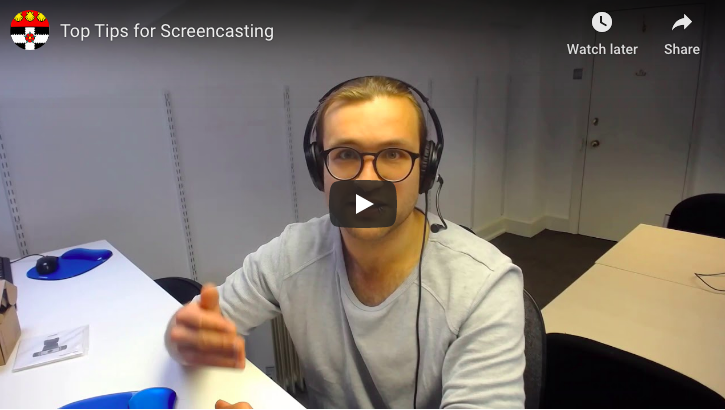
The following video gives an overview of good practice when presenting:
Summary points:
- Aim for a conversational tone rather than descriptive.
This is far more engaging for the listener! If you are worried about presenting, perhaps start by co-presenting to generate discussion, for example, one person could take the role of a student asking questions. - A script may lend itself to a more descriptive tone.
To achieve a conversational tone, consider using brief prompts; such as post-it notes, a flowchart or a simple bulleted list. - Students are very forgiving about 'mistakes' such as coughs and rephrasing.
In fact, such 'mistakes' may give your video a more personable sound. Don’t worry about small mistakes when recording or trying to remove these in editing. (They make things more human!) - If you are using a webcam, ensure you look directly into the camera to engage with your audience.
- Address points as they appear on the slides. This helps students deal with the cognitive load of listening and reading simultaneously.
- Describe any key content of slides, especially images, this is particularly important for accessibility.
- Consider highlighting content as you speak, e.g. using on-screen annotation tools or enlarging the mouse pointer through your system settings. Note: PowerPoint allows you to draw on slides as you present.
Presenting an instructional screencast
The following LinkedIn Learning course videos discuss useful approaches for presenting instructional screencasts:
Approaches to recording
2. Setting up camera
Adjust the camera position:
- Ensure your head and shoulders are in the shot, as the subtle movements combined with expression helps to convey meaning alongside your audio.
- Tilt the camera so you are looking directly at it, as some viewers find it helpful to lip read as you talk. Avoid an 'up the nose' shot which may obscure your expression.
Consider your lighting, students may rely on lip reading and facial expression to understand your meaning:
- Seek a natural light source or well-lit room.
- Face a window to avoid shadows over your face or place a lamp behind your camera.
3. Setting up screen
- Clear your screen of applications / private documents and anything else not needed for the recording (especially important if sharing your screen, you may wish to tidy up your desktop or create new 'empty' folders for storing documents that will be opened/shown in the recording).
- Disable pop up notifications, such as email or system updates.
- It is advisable to create an introduction slide for the beginning of the recording; when the recording is uploaded to a streaming platform it can be used for a display thumbnail which aids students visually searching playlists or scrolling through Blackboard pages.
4. Familiarise yourself with the recording controls
- Familiarise yourself with the recording controls – e.g. Start, End recording, Pause, Resume, switch slide
- Make use of the keyboard shortcuts in favour of using the 'on-screen' controls, for a quicker/smoother workflow and to minimise mouse motion and reduce need for editing. Keyboard shortcuts are also available for manipulating on-screen visuals such as moving between slides or switching tabs/application.
Keyboard shortcuts are listed on the official support pages for applications:
- YuJa Software Capture Application (Windows)
- Photos (Windows 10)
- Voice recorder (Windows 10)
- MS PowerPoint (available for macOS and Windows10)
- QuickTime Player
5. Make a test recording
This is essential to:
- check your sound quality – e.g.If you are too close to the mic or too far away, the sound may be affected.
- practice using the recording controls / keyboard shortcuts
Important: when playing back a test recording, remove headset and play through computer speakers for a more accurate representation of audio quality.


