Before using this tool ensure you have familiarised yourself with the practical and ethical considerations in the ‘Getting starting with Blackboard AI Design Assistant‘ guide
What is it?
Blackboard’s AI Image Generator is a tool designed to help you in creating engaging, contextually relevant images for course content and course design. It uses artificial intelligence to create images based on short text prompts or existing course content.
Tips for using the tool.
- Use clear, concise prompts to generate effective and relevant images.
- Leverage the tool to visualise abstract or complex concepts.
- Add alternative (alt) text to all AI-generated images to support screen reader accessibility.
- Review each image carefully to ensure it is culturally sensitive, inclusive, appropriate, and relevant to your content.
- Maintain a balance between images and text to prevent cognitive overload.
- Always preview images before inserting them into your content.
How to use it
You can access the Blackboard AI Image Generator wherever you can add media content in Blackboard. Here are a few examples of where you can add an image:
- In an Ultra learning module to complement the topic
- When you create an announcement, to clarify a message.
- In a discussion or journal
- In an Ultra document as media content.
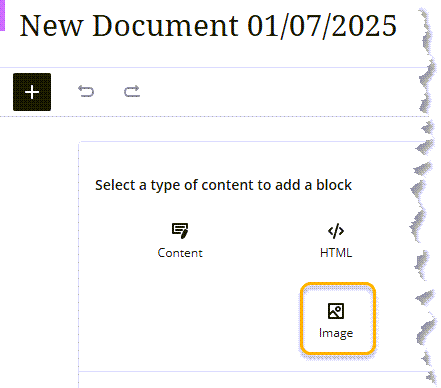
To add an image to course content, navigate to the relevant content editor and click the ‘insert/edit image’ icon or select from the editor menu:
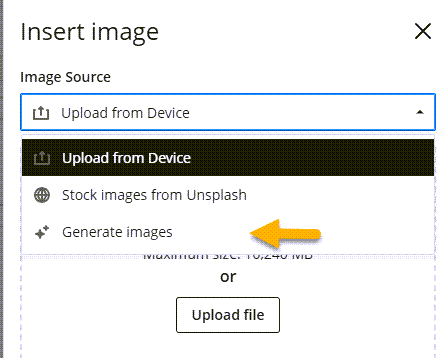
Select the ‘Generate images’ option from the dropdown, enter your descriptive prompt in the text box, and click ‘Generate image.’ You can repeat this until you reach desired result:
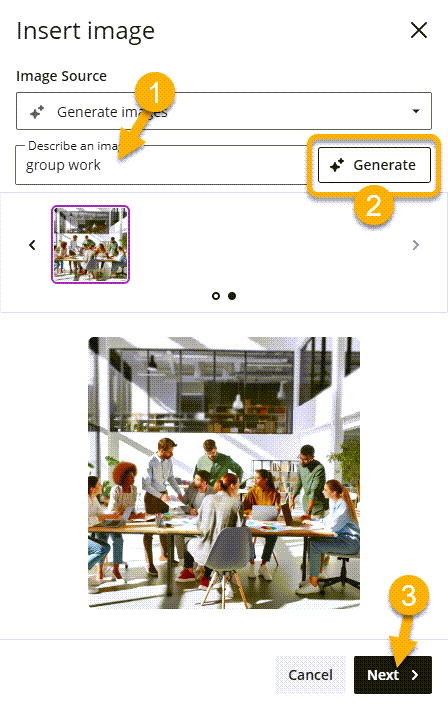
If you do not give a descriptive prompt, the tool will generate an image based on the title of the course content you are creating the image for.
Select the image you are happy with and click ‘Next’:
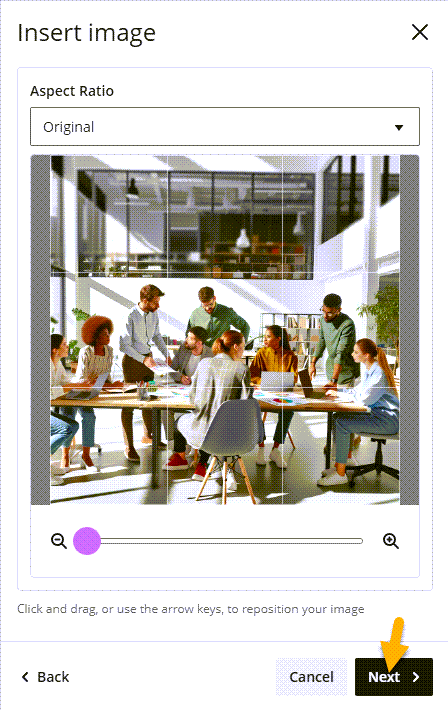
Once you have selected your image you can then crop and orient your image to your requirements, once you are happy, click ‘Next’:
Attribution
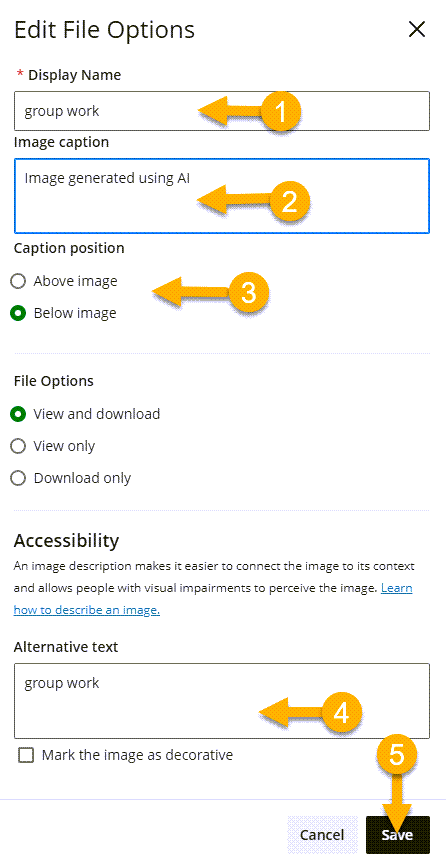
It is good practice to acknowledge that the image was produced using AI. You can use the ‘image caption’ box for this (Step 2), if adding an image to a document, we recommend using the wording ‘AI generated image using Bb AI design assistant’ as a minimum and you can choose to place the caption above or below the image (Step 3). Then click ‘Save’:
You can use the ‘Display name’ box to title your image (Step 1) and this will also populate the Alt text box, however this may not be suitable to meet accessibility needs, or select the ‘mark the image as decorative’ option (Step 4). you will need to redo the Alt text in the Ally tool or select the ‘mark the image as decorative’ option (Step 4).
Once you have inserted the image in the text editor, you can add or edit the rest of the content and click ‘Save‘.
When your image is placed into your document, you can check for the Accessibility score using the Ally tool:

Ally Accessibility Alt Text
Select the Ally alt text editor, and add appropriate or improve the Alt text, Auto-generate, or indicate the image is decorative only, then click ‘Add‘.

Guide last updated on August 28, 2025