The Ultra Gradebook has filtering features which allow users to filter their gradebook view by multiple variables, such as individual users, groups, items, and categories. You can also filter the Gradebook to only show students on merged courses. This offers more flexibility for users wanting to get a focused view of their Gradebook.
Applied filters can also be bookmarked and referred to again at a later date.
Applying filters to the Gradebook
- Navigate to the Marks view of the Gradebook and click the Filter icon.

- The Gradebook filter panel will open.
- Select any filters that you want to apply.
- You can select multiple different variables at once.
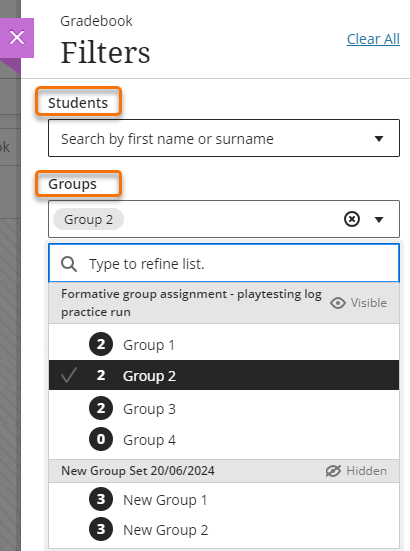
- Students
- Merged courses (selecting to filter by merged course affects the overall result as this information takes precedence over other filters)
- Groups
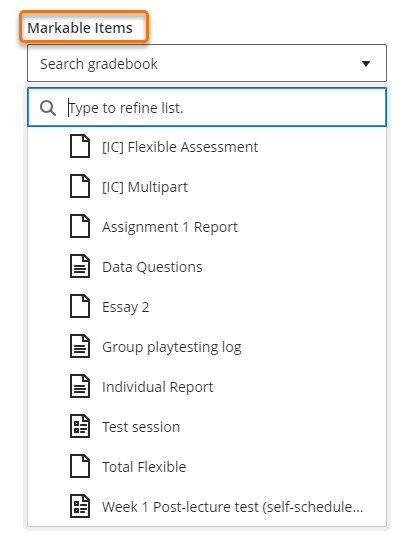
- Markable items (you can add mulitple columns to your filtered view)
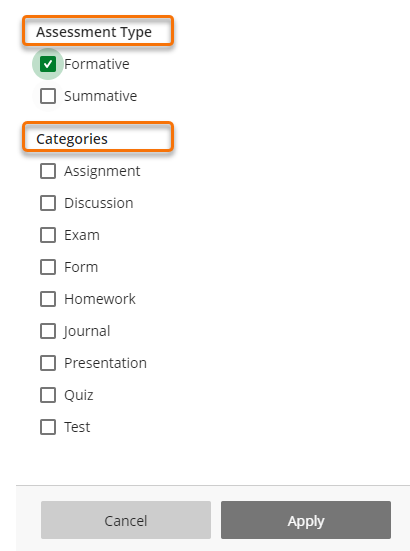
- Assessment Type (summative/formative)
- Categories
- Click Apply to see the results in the Gradebook.
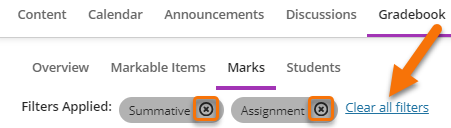
- In the Gradebook a list of Filters Applied will show below the top menu.
- You can remove individual variables by clicking the X in the corresponding box,
- or you can completely reset your Gradebook view by clicking “Clear all filters”.
Sharing filter views
You can use filtering to create a custom view of the Gradebook which can then be shared with others. Simply set-up your filters and copy paste the unique URL that is created.

The URL will open the Gradebook with the filters you have selected. If any changes have been made to the category an assessment has been assigned, this change will be reflected in the view of the Gradebook generated by the filter.
Adding categories
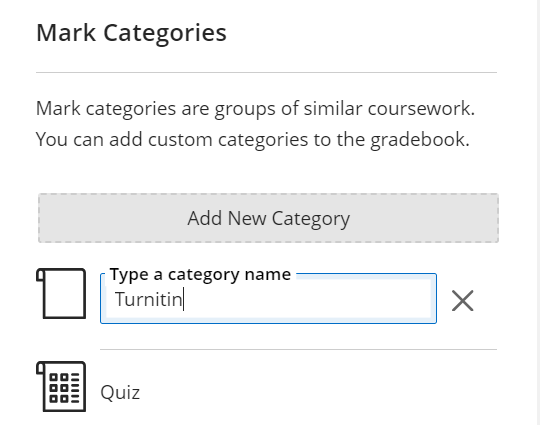
You can add your own custom categories to the Gradebook, which can be used when filtering. You can, for example, create a Turnitin category if you want to filter the Gradebook to only show Turnitin assignments.
- Navigate to the Gradebook and click the cog icon.
- The settings panel will open, scroll down to “Mark Categories”. Click “Add New Category”.
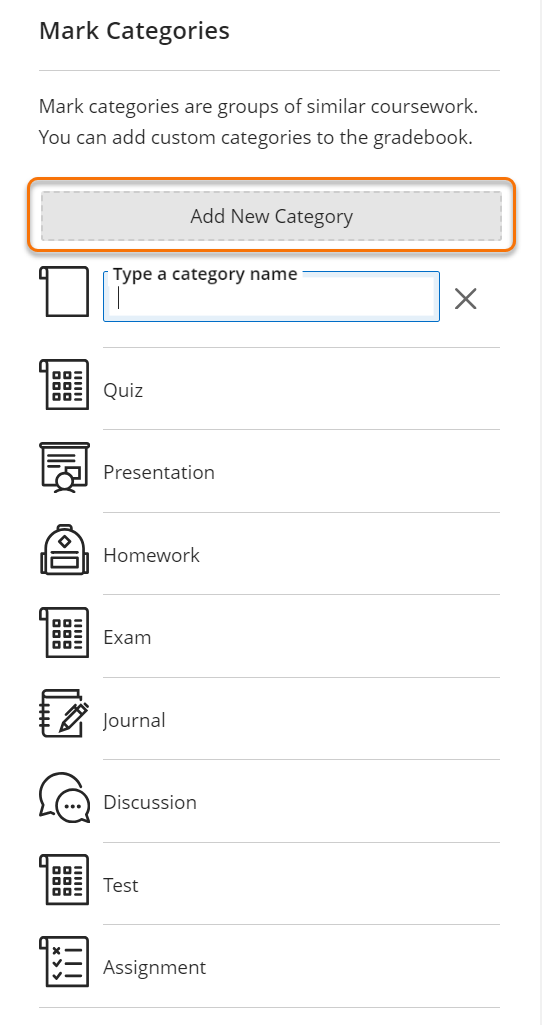
- Give your new category a title. Click outside of the title box to save the new category.
Bulk editing categories
You can assign a category to multiple markable items at once within the Item Management screen.
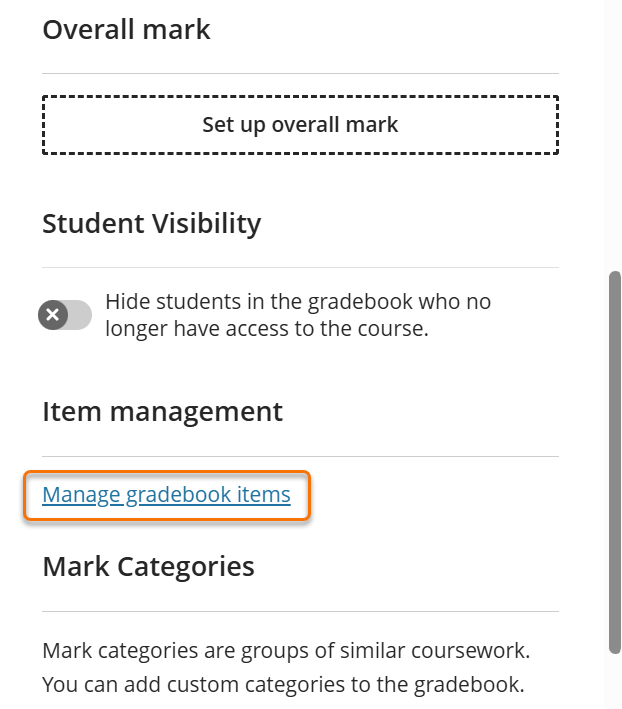
- From any view of the Gradebook, click the cog icon to open the Gradebook settings menu.
- On the side pane that opens, scroll to the Item Management section. Click “Manage gradebook items”.
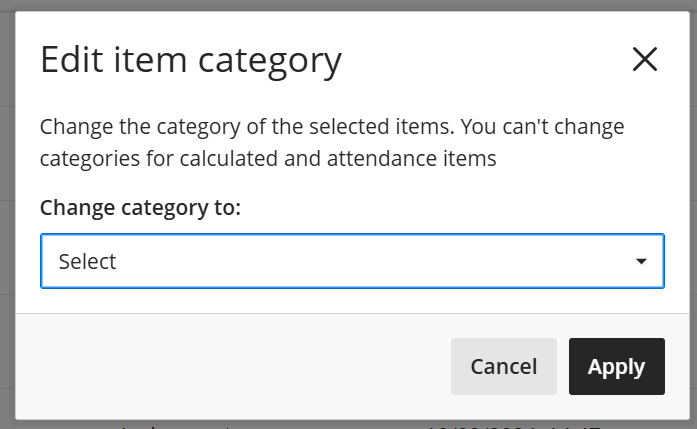
- In the Item Management screen, check the boxes next to all markable items whose categories you want to change. Then, click “Edit category”.
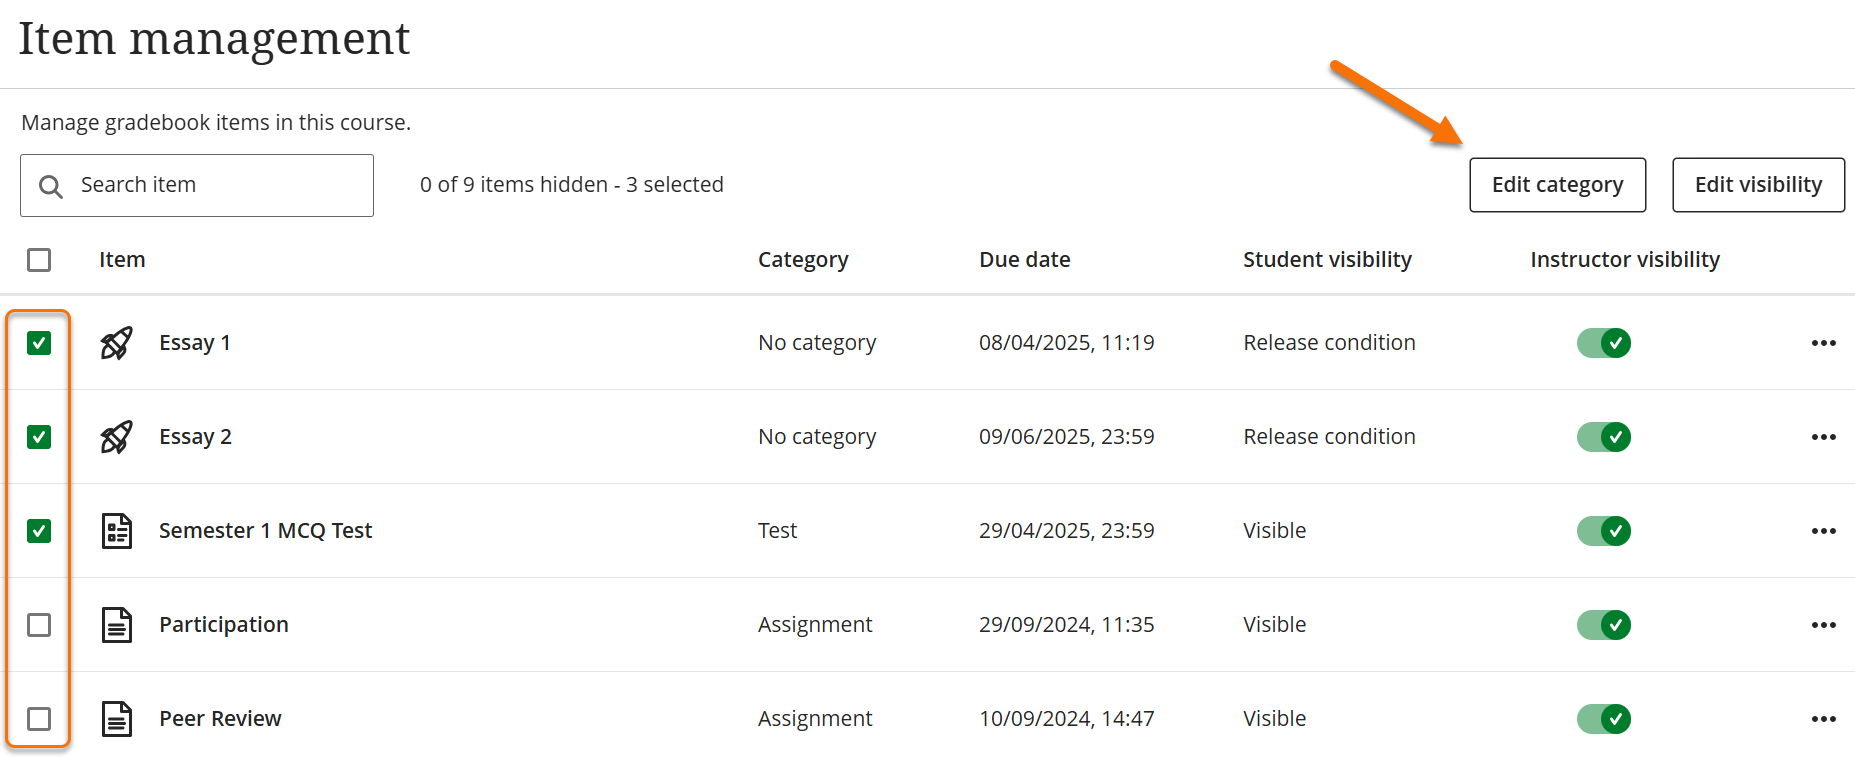
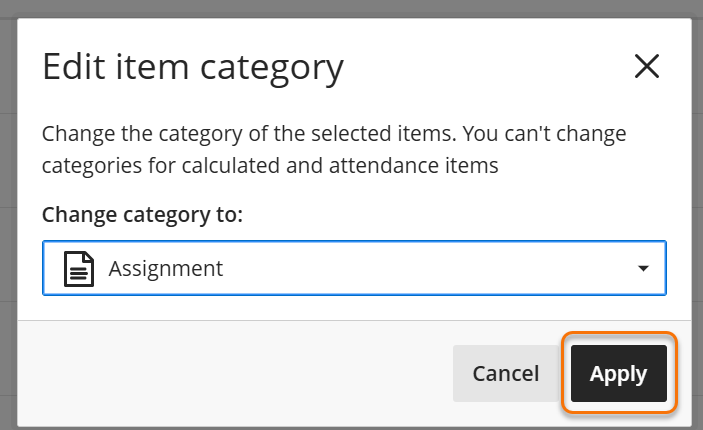
- A new window will open. Click the drop-down menu and select the desired category from the list. Click “Apply”

Guide last updated on July 25, 2025