Blackboard Learn Ultra Form is a build in survey tool. A Form in Ultra is like a Blackboard Test but with fewer question types and with the addition of the of rating questions in the form of Likert question type. They can be used as a survey tool, alternatively you can switch it to a graded form and use it in an assessment.
Create a Form
Go to the place in the course content where you would like to insert the Form and hover over the grey line until the purple plus sign icon appears. This will open the Add Content Menu, select Create, the Create Item panel will open on the right-hand side of the screen.
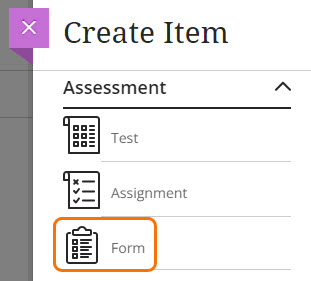
In the Create Content panel select “Form”.
Once you have selected Form the create From page will open.
- Add a title to your Form
- Add content to the Form
- Use Add Text option to add instructions using the Ultra text editor, or Add local file to attach instructions/information.
- Add questions from the list of question type options
- Essay Questions
- Likert Questions
- Multiple Choice Questions
- True/False Questions
- Add Page Break if required. Page breaks can be used to separate sections of the survey.
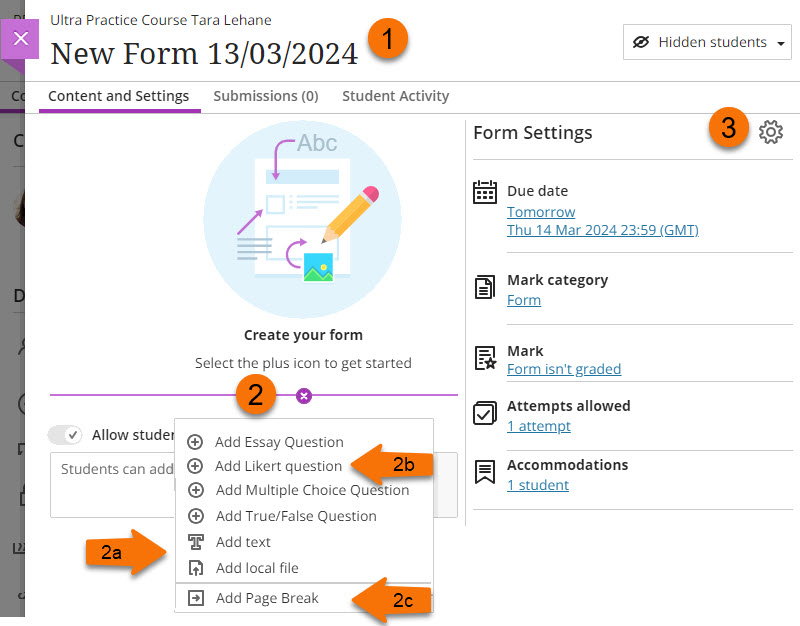
- Once you have build your form you can open the settings section to select how the Form will be presented to students etc. It is also possible to make this form gradable in the settings panel.
Form Settings
Details & Information
| Setting | Options |
|---|---|
| Due Date | Set the Due Date or check the “No Due Date” option |
| Prohibit late submissions | In-progress attempts will be submitted automatically at the due date and time |
| Prohibit new attempts after due date | Students can’t start new attempts once the due date and time has passed |
| Allow class conversations | This will turn on the conversations function for this Form |
Presentation Options
| Setting | Options |
|---|---|
| Display one question at a time | |
| Prohibit backtracking | Prevents backtracking pages. Only available when page breaks have been inserted. |
| Randomise questions | |
| Randomise answers | Multiple Choice answer options are randomly ordered for students. |
| Randomise pages | Randomises pages. Only available when page breaks have been inserted. |
| Do not randomise first page | Only available when Randomise pages has been selected. |
Formative Tools/Marking & Submissions
| Setting | Options |
|---|---|
| Formative assessment | This is not automatically excluded from any marks calculations. |
| Display formative label to students | Only available when Formative assessment is selected. |
| Mark form | Turns on marking for the Form. |
| Mark Category | Category is Form by default, it can be changed here. |
| Attempts allowed | 1 – 10 or Unlimited |
| Mark using | Only available when Mark Form is selected. Can change mark scheme |
| Maximum points | Only available when Mark Form is selected. Can change points possible |
| Anonymous Submissions | Select check box to make student responses anonymous |
Additional Tools
| Setting | Options |
|---|---|
| Assign groups | It is possible to create groups to assign to this Form or assign groups already set up on the course. This is not possible if Anonymous Submissions is selected. |
Student View
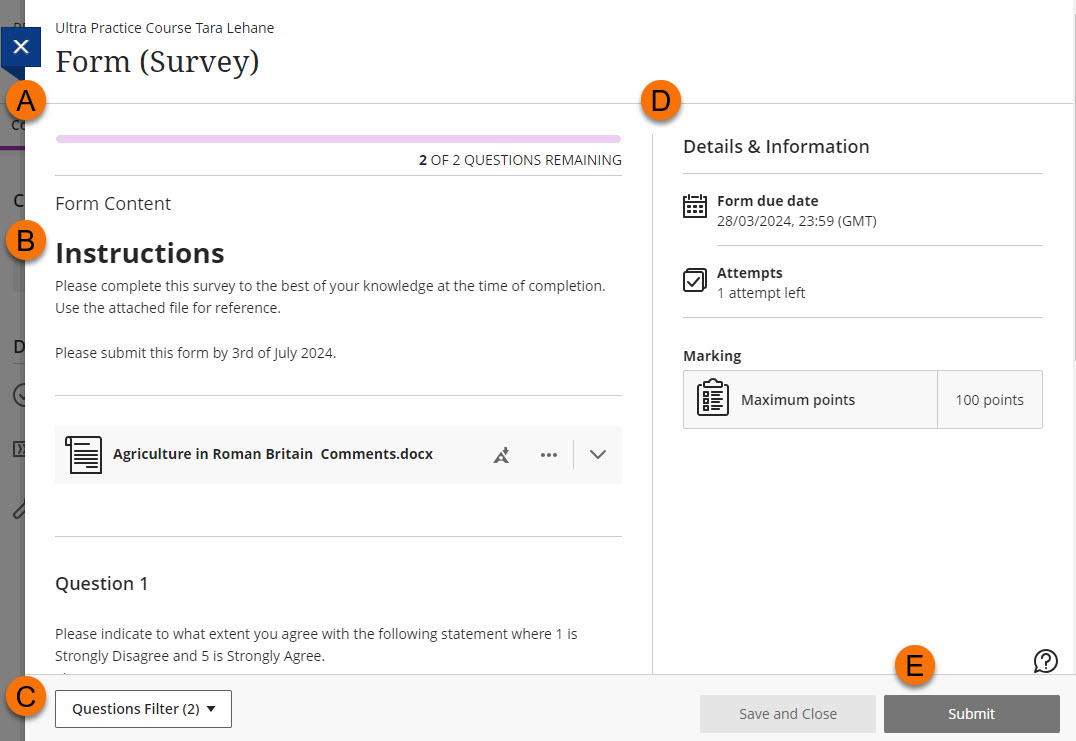
The Form will open to students in the same way as a Test.
- The top progress bar will indicate the student’s progress through the questions
- If you have added instructions via the Add Text option it will appear where you placed it.
- A filter at the bottom of the page allows students toggle to a view of all unanswered questions
- Details & Information (due date, attempts and maximum points) will display in the right-hand side panel.
- The submit button is at the bottom of the right-hand side panel.
Students will receive a receipt when they have submitted.
View Form Results
The results can downloaded in three different places.
In each case the Download Results options panel will open offering a few options to how you would like the excel spreadsheet to display the results.
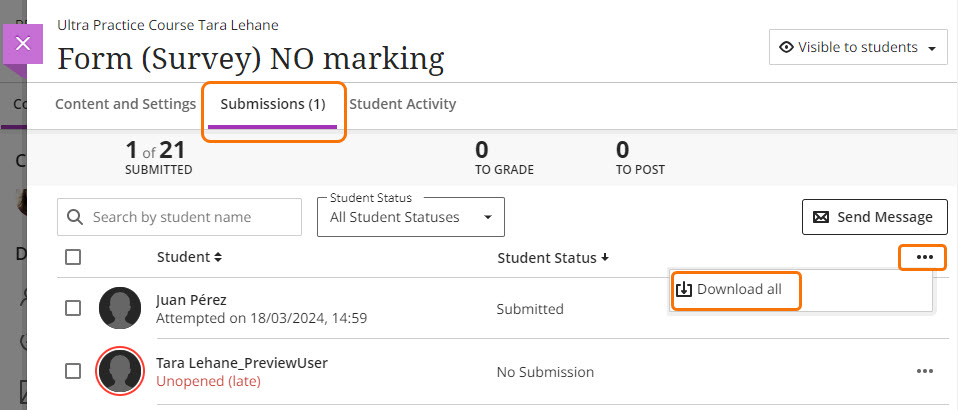
Submission page
Assess the Submissions page via the Gradebook or the submission point. Click on the three dots menu on the headings row and select Download all.
Gradebook List View
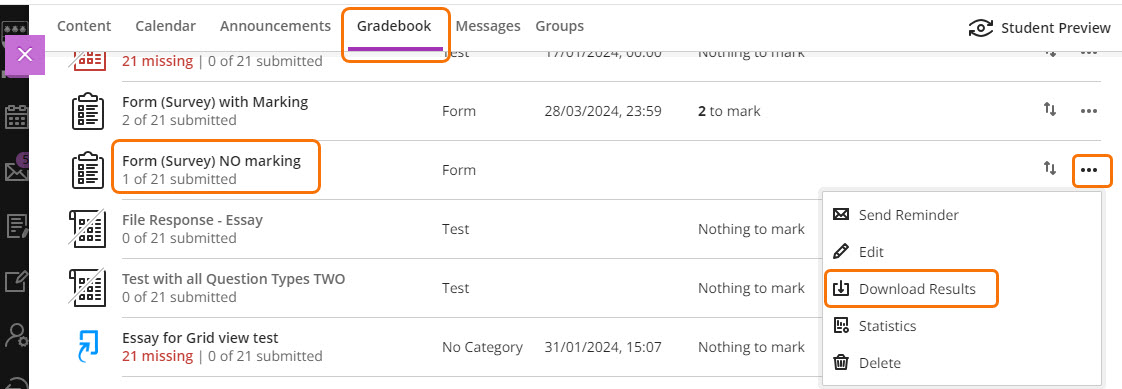
In the List View of the Gradebook locate the Form row, click on the three dots menu at the end of the row, select Download Results.
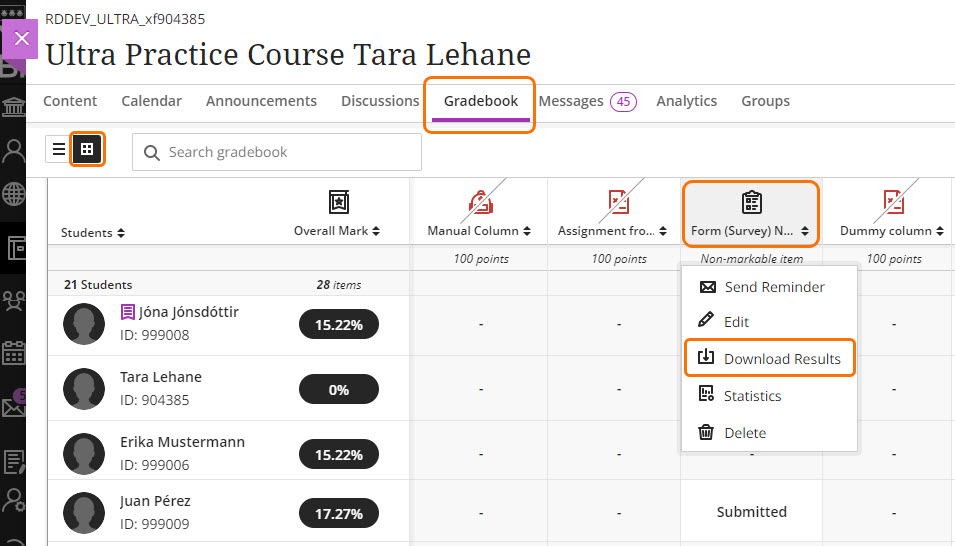
Gradebook Grid View
In the Grid View of the Gradebook locate the Form Column, click on heading, from the menu select Download Results.
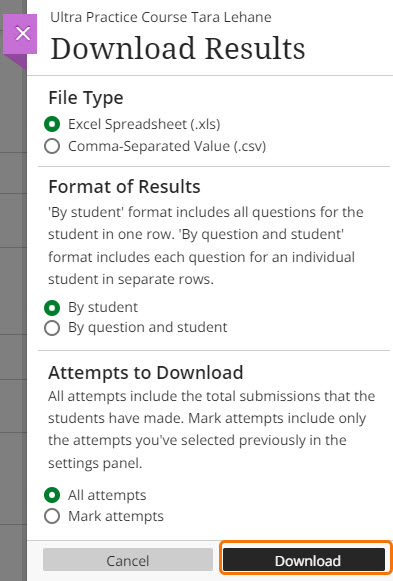
Download Results Options
- File Type options are Excel Spreadsheet or CSV file.
- Format results By Student, all questions for a student in one row, or By question and student, each question for an individual student in separate rows.
- Attempts to Download, all or marked.
Select your preferences and click Download.
Form as an Assessment
Set up for Assessment
To use a Form as an Assessment select Mark form in the Form Settings.
This will give you the additional options of
- Mark Using (list mark schemes)
- Maximum points (100 as default and can be edited)
Mark Assessed Forms
Although it is possible to Forms to be marked it is not possible to set the questions, even Multiple Choice questions, to be automatically marked.
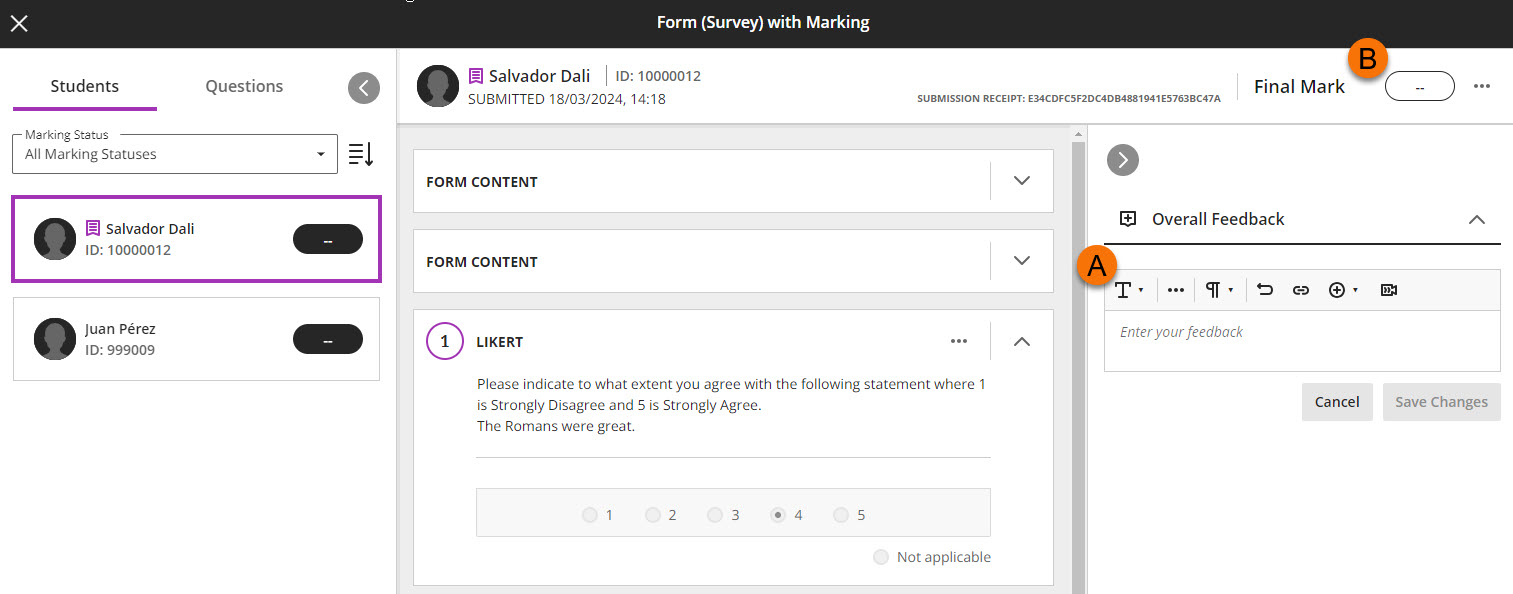
- The submitted Forms will show as “to mark” in the Gradebook and submission page.
- Summary Feedback can be given using text, audio or video.
- A final mark can be manually added.
Guide last updated on October 10, 2024