Blackboard Groups are a way of organising students on a Course.
This guide shows you how to create a single self-enrol group. You can also create multiple self-enrol groups.
Self-Enrol groups
These groups allow students to sign themselves up to a list – this could be for an extra seminar or a field trip. Alternatively you could produce multiple signup sheets perhaps for seminar groups.
Setting up a single self-enrol group
- Go to Control Panel > Users and Groups > Groups.
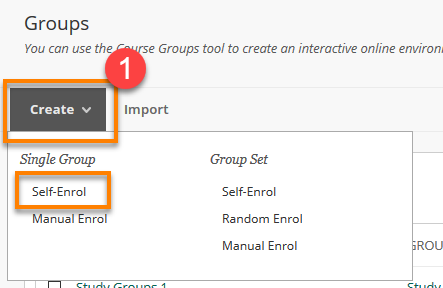
- Within the groups area click Create > Single Group – Self-Enrol
- Fill in the Group Name and Information.
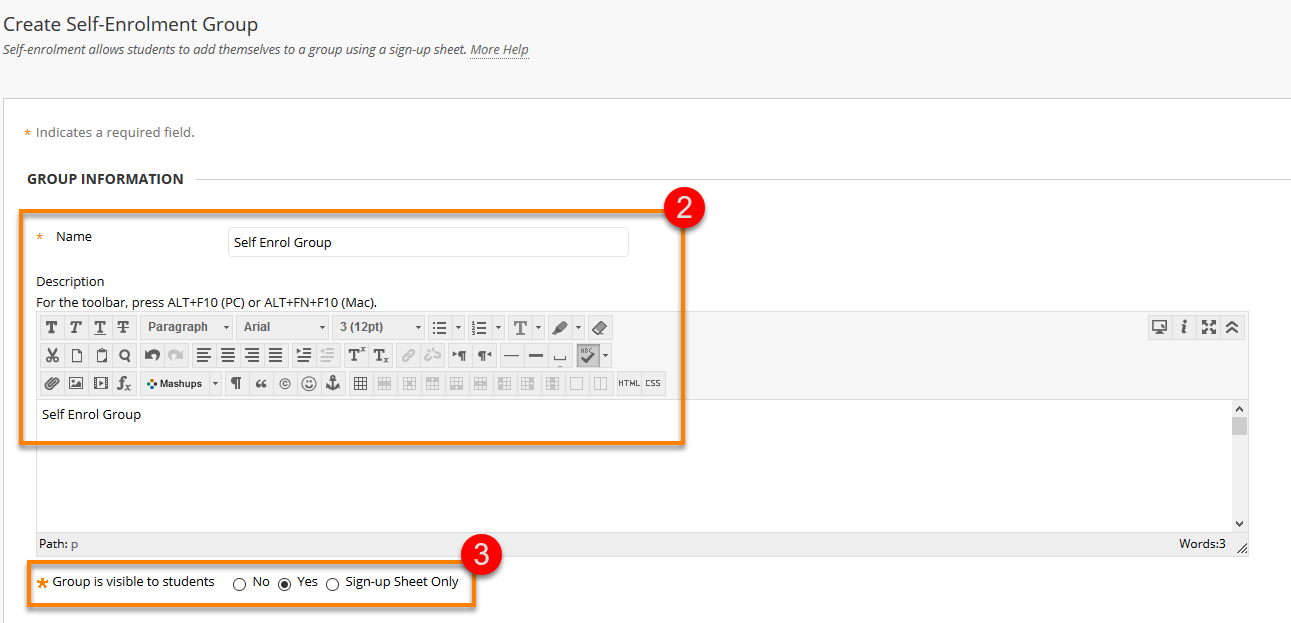
- You can choose whether to make the group visible to students or only the associated signup sheet. This can mean you can manage the group but have students only see what you require them to.
- You can associate tools to group, allowing you to have blogs, discussion boards and send emails to the group. These come as on as default.
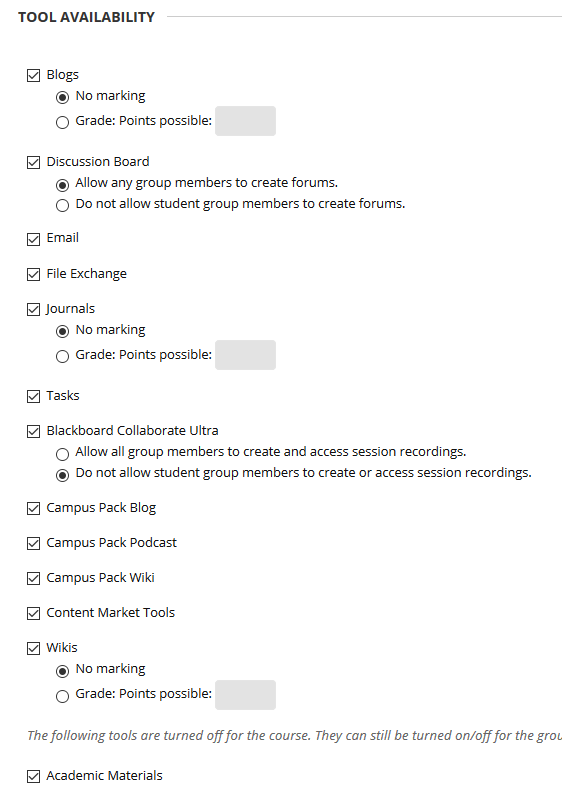
You can assign all or none of these tools to groups. Note that Blogs, Journals and Wikis have a further option to allow grading. These create grade centre columns within the course for the group(s) associated with them.
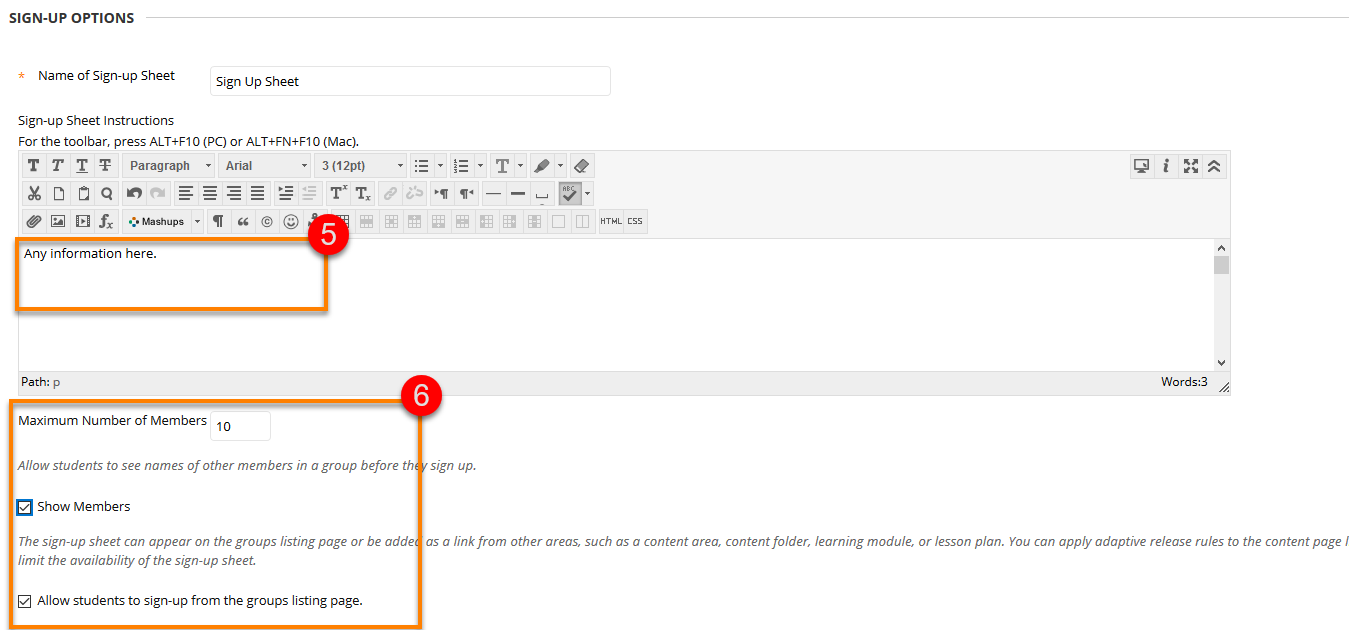
5. You can write the information for the Signup sheet – perhaps information about the event.
6. Choose the maximum numbers allowed on this event or for the group. Additionally you can choose whether you allow members of the group to be identified.
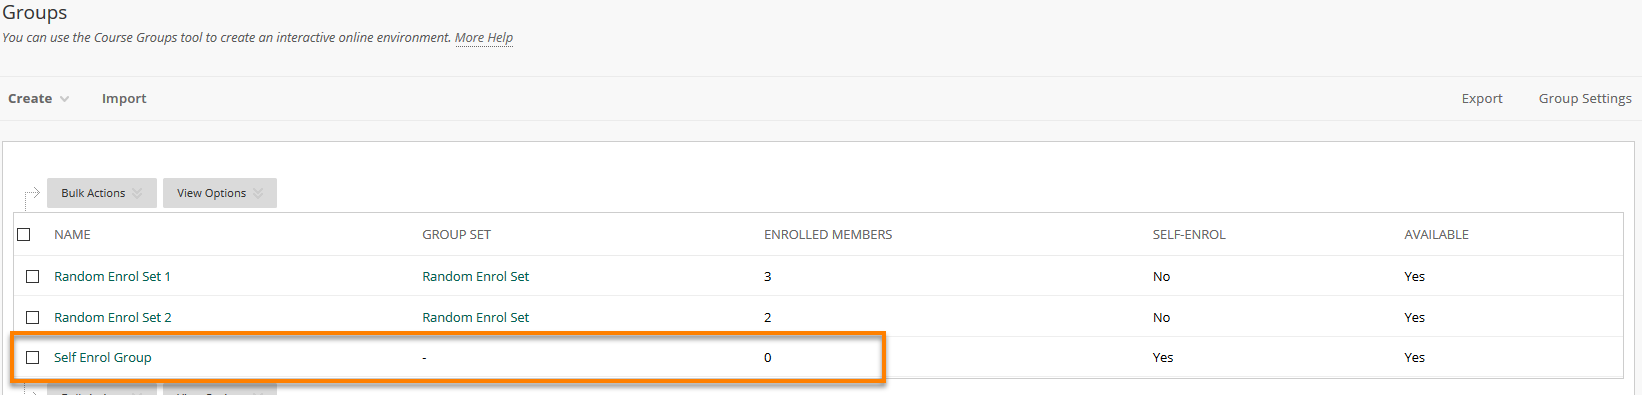
7. Once you are satisfied with the information and settings in the group Click Submit and the group will appear in your groups list.
The next step is to make this sign-up sheet available to students. Please see our guide:
Blackboard: How students access self-enrol groups
Page last updated on January 19, 2022 by taralehane
You must be logged in to post a comment.