What is the Content Collection?
This is Blackboard’s built-in content management system.
- As a course Instructor you automatically have full editing rights to the course content folder for your course or organisation.
- When you upload a file to the Blackboard course, the file will automatically be stored in the course content folder.
- You can also upload files (multiple files at once) directly to the Content Collection, and then link to them from the course itself.
- You can organise your files in folders, making it easier for you and other staff on the course to locate what you need.
- When you need to update a file, you can simply overwrite the old version in the Content, and any links to that file will be automatically updated.
How do I access the Content Collection?
Via Tools
Click on the Tools from the Blackboard menu, then select Content Collection.
From within a course
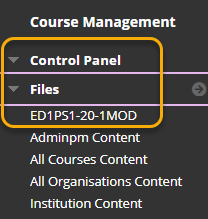
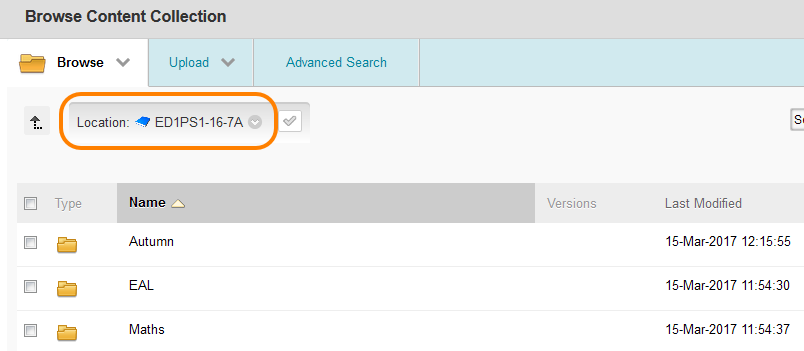
In the course Control Panel, click on the arrow to the right of Files to open the course Fileshare area.
If you expand Files in the Control Panel menu you will see a variety of Fileshare areas to which you may have access. Your course area will always be listed at the top – showing the Blackboard course ID.
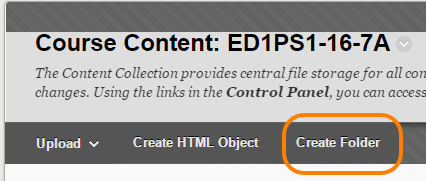
Create a Folder
As an instructor you will see various editing options for the course Files area. By default, when you upload files to the course they are all stored in the top level folder, but you can create folders to organise the files in a more logical way to help find relevant files in future.
When creating a folder avoid overlong folder names, and don’t use special characters such as %
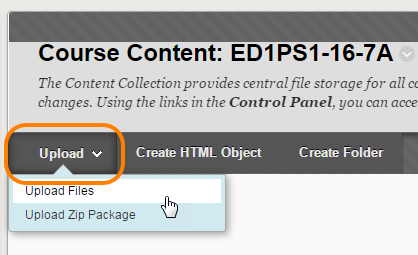
Uploading Files
Click on Upload then Upload Files.
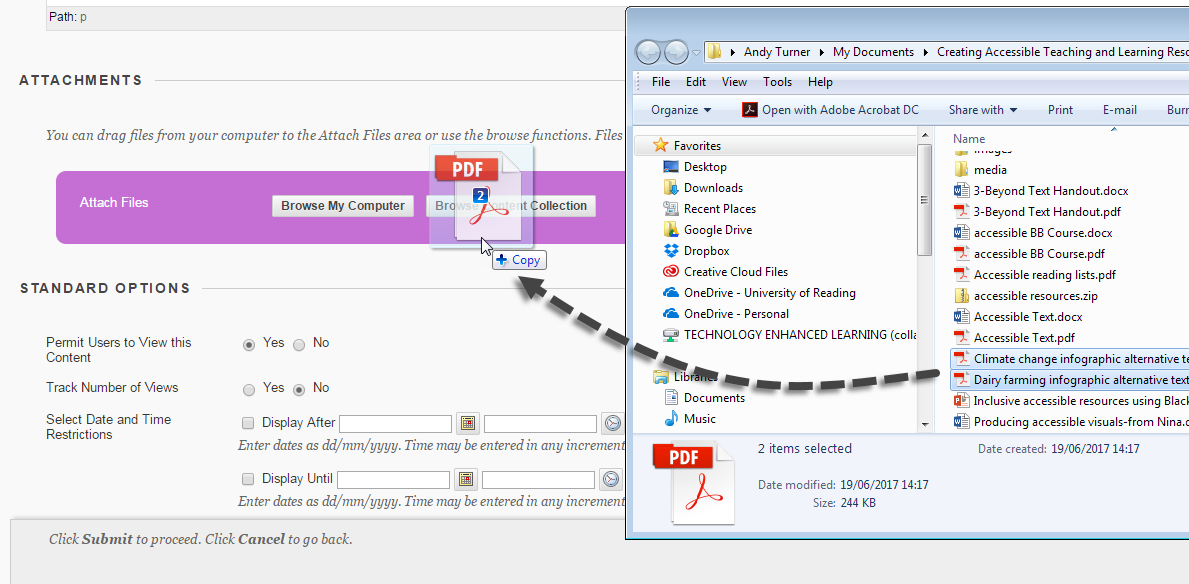
You can now Browse to select the files you want to upload, or simply drag and drop them from your PC or network drive onto the dotted area in Blackboard.
Select the files you want to upload, and then press Submit.
You will see a green Success message, and will see that the files have been uploaded.
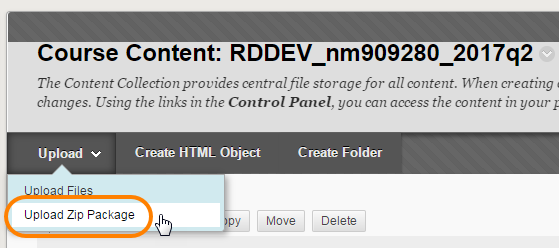
Upload a zip file
Using the method above you are able to upload multiple files or entire folders, but all of the files will be uploaded into the same folder in the Blackboard Fileshare. And you cannot upload nested folders and subfolders.
To upload folders and sub-folders, and retain the folder structure, you can:
-
- zip up your files – on your PC right-click on the files and choose Send to > Compressed (zipped) folder
- then in the Fileshare use Upload Zip Package.
This will upload the files and recreate the file / folder structure within the Blackboard Fileshare.
Browse for your zip file and press Submit.

You will see a green Success message when the zip file has been uploaded and the files unpackaged.
You will see that the unpackaged files retain their folder structure within Blackboard.

Linking to files from your course
Once you have the files in the Content Collection you will need to make them visible to students. There are various options for doing this.
Link to individual files
Create an Item as normal, but under ATTACHMENTS, instead of clicking Browse My Computer, choose Browse Content Collection.

The Content Collection will open in a new window. By default you will see the Files area for the course you are in.
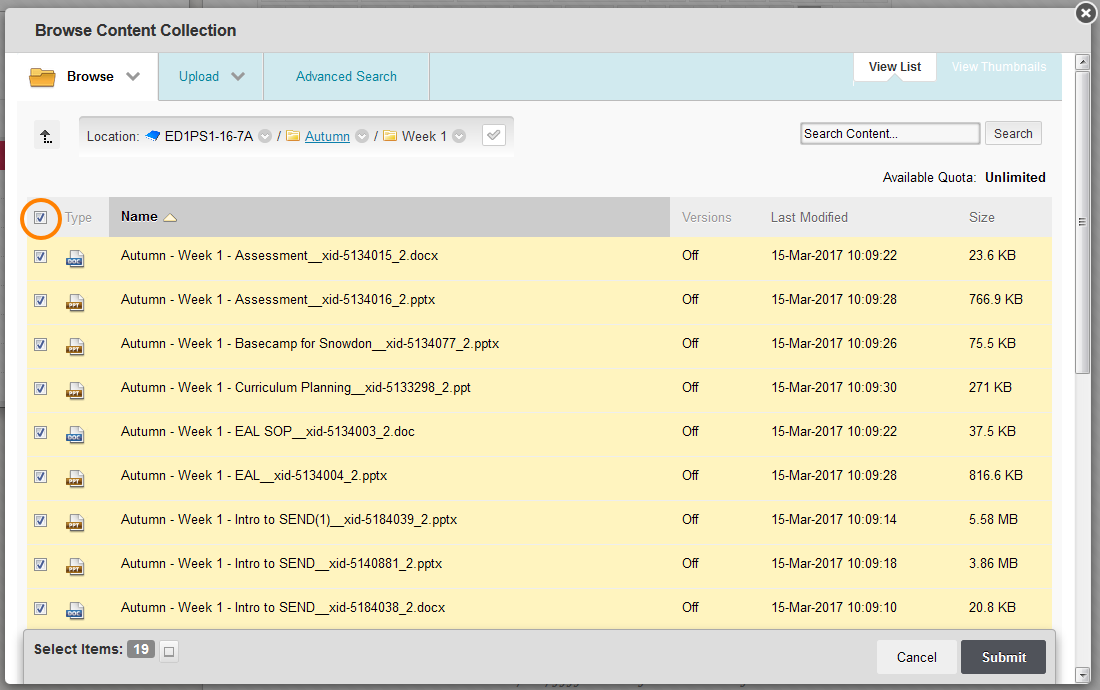
Browse to the area where your file is stored. When you have located it, tick the box next to the filename, then press Submit.

You can, if you wish, select multiple files to attach at once. You can even attach all files in a folder at once.
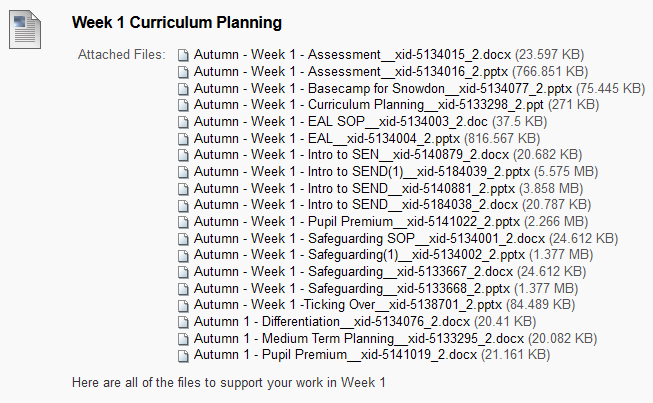
You will be returned to the Create Item screen where you can add descriptive text and apply any required settings. The attached files to students will display to students in exactly the same way as if you had uploaded files from your PC.
Link to a folder
Instead of linking to individual files, you can just create a link to a folder. When a student clicks on the link they will see all of the files in the folder. This approach could be particularly useful if you are likely to be adding files to the folder over time – you won’t have to create a new link each time you upload a new file, as students will always be able to see an up-to-date list of files in the folder.
Create an Item as normal, and under ATTACHMENTS choose Browse Content Collection.
The Files area for the course you are in will open in a new window.
Browse to the required folder, place a tick the box next to the folder name, then press Submit.
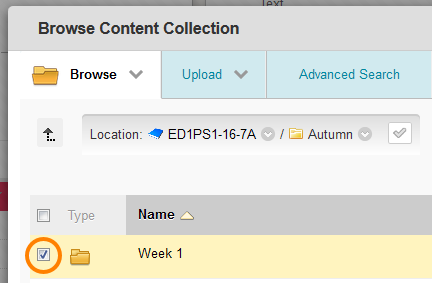
Students will see the link to the folder in the same way that an attached file is shown.
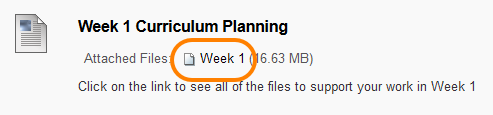
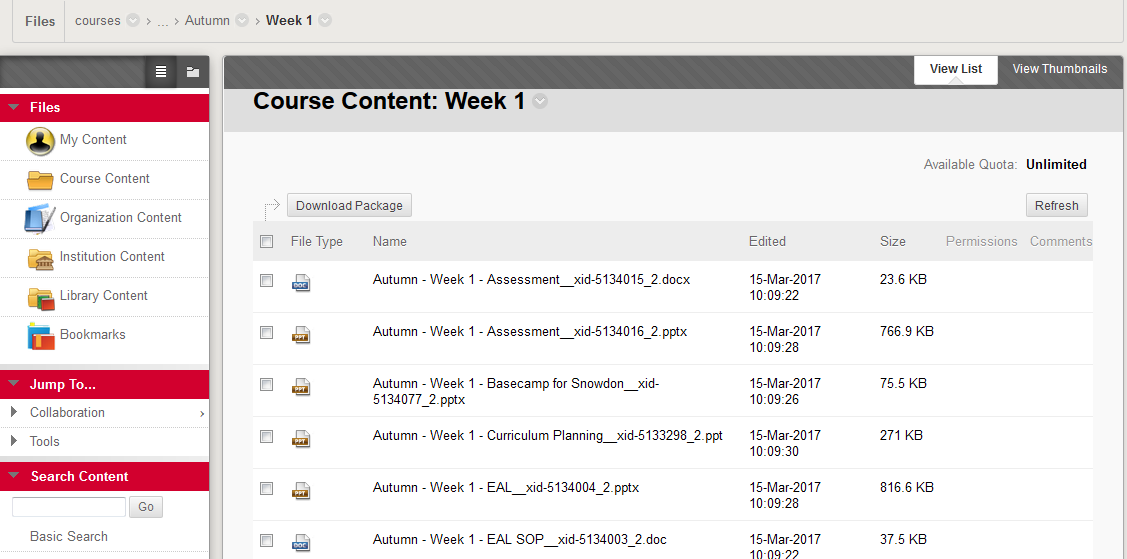
When students click on the link, the folder will open in a new window.
Linking to other Fileshare areas
If you have access to other areas of the Fileshare (besides your course area) you can also link from your course to files stored there.
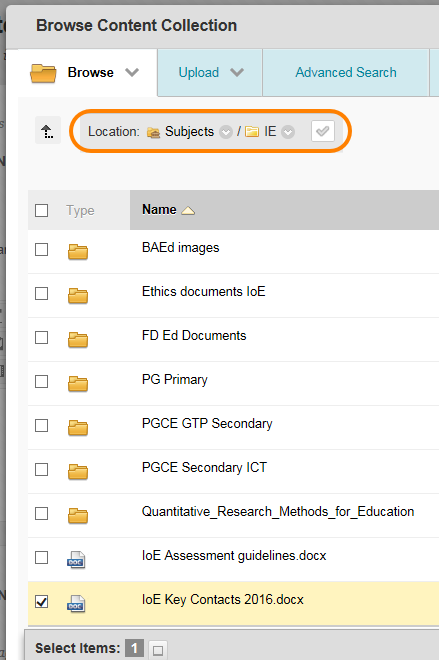
Administrative staff may well store files for use across your School or Department under Institution > Subjects.
If you have access to such files, you can link to them from your course. Do this in exactly the same way as shown above, but when the Content Collection window opens, you will need to Browse to Institution Content
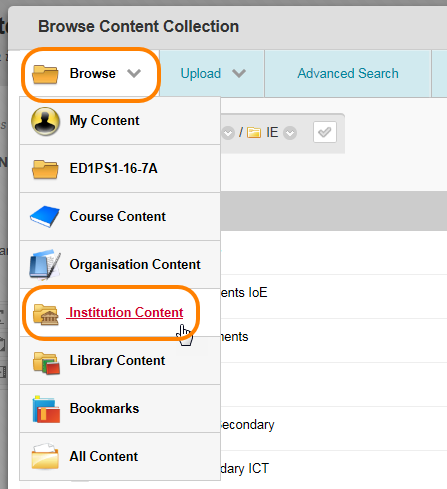
and then navigate to the area you require.
By linking to this file in a course, read access to the file is automatically granted to anyone enrolled on the course.
If the file is subsequently updated in the central location, your students will also see the updated version when they click on the link in your file.
Other Content Collection tasks
Moving a file
You can move a file to a new location in the Content Collection and links to the file from your course will still work.
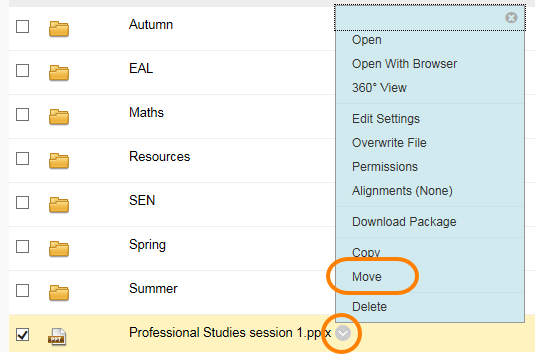
From the contextual menu choose Move.
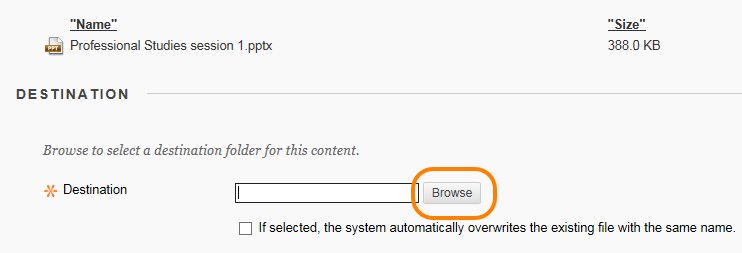
Click Browse.
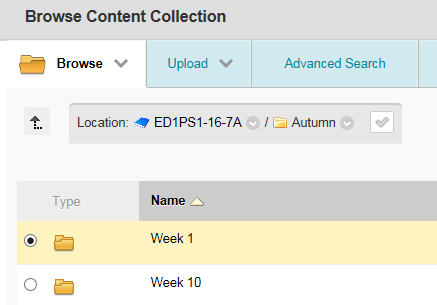
Locate the folder to which you want to move the file, and tick the box next to the folder name.
Press Submit on this screen, then Submit again to move the file.
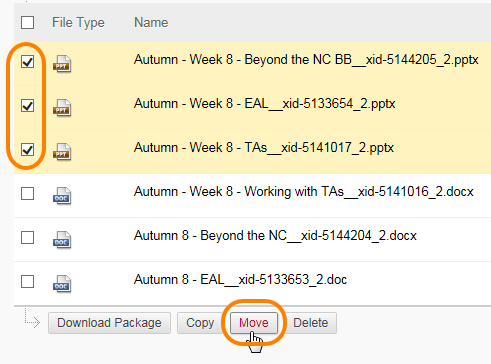
You can also move multiple files or folders at once. Tick the box next to the item, and then select Move at the bottom of the screen.
Copying a file
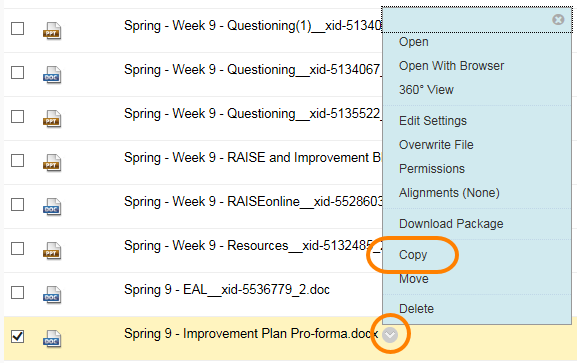
Follow the same procedure as when moving a file, but choose Copy from the contextual menu.
You can copy the file to any other course or central Content Collection area to which you have editing rights.
Renaming a file
You can rename a file in the Content Collection and links to the file from your course will still work.
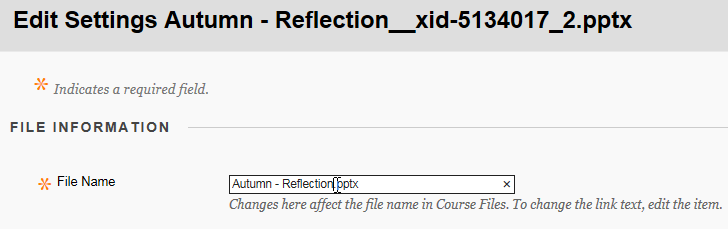
There’s not a rename option as such. From the contextual menu, choose Edit Settings.
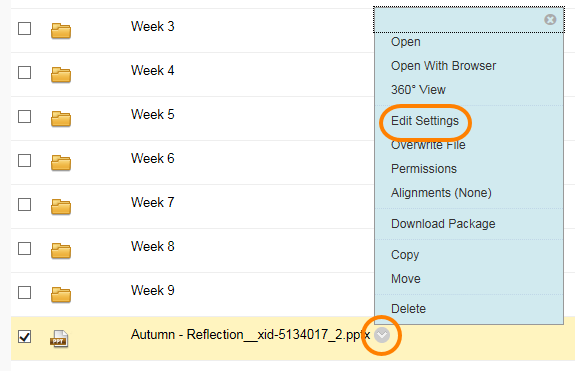
then simply edit the File Name and press Submit.
Updating a file
If you need to update a file, you can make the changes offline (e.g. in Word) then simply upload the revised version and overwrite the old one.
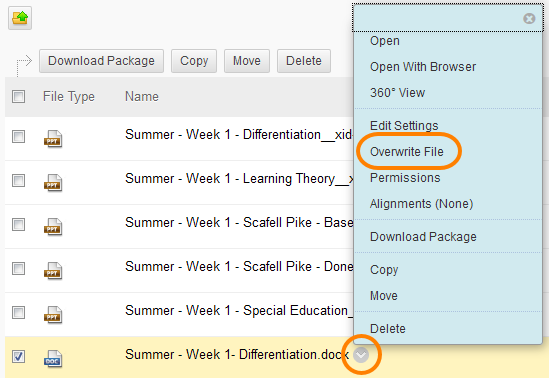
From the contextual menu choose Overwrite File.
Browse to locate the new file, then press Submit.
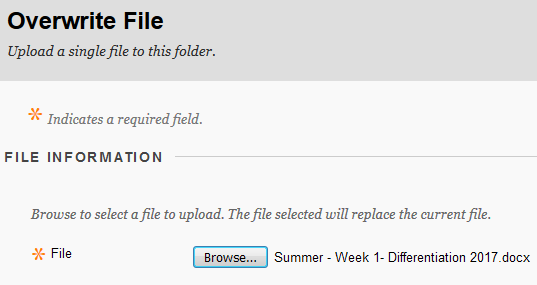
Please note:
•	the new file can have a different filename to the one it is replacing
•	the original file name will still be displayed in the Content Collection (but of course you could now rename it manually, as shown above)
Deleting a file
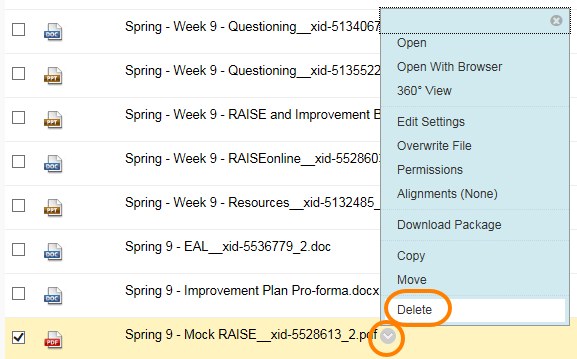
Select Delete from the contextual menu.
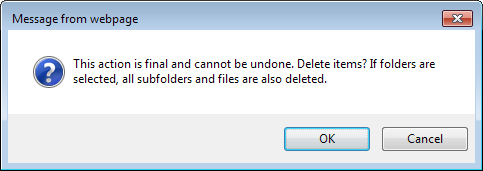
You see a warning message before the file is deleted. As with any system, be quite sure that you do want to delete the items before you press OK.
As with moving and copying files, you can delete several items at once.
Remember that deleting a file in the Content Collection does not delete the content item on the course it was linked to. Before deleting, check where the file is being used in Blackboard by clicking 360° View from the Contextual menu and look at Links.
Download files
Tick the relevant boxes to download an individual file, multiple files, or all files.
Then press Download Package.
Whether selecting one file or many, Blackboard will zip up your files to download them, retaining the folder structure.
Page last updated on August 9, 2023 by andyturner
You must be logged in to post a comment.