Many file types can be shared in a collaborate sessions, they include, PDFs, PowerPoint slides and image files (GIF, JPG and PNG).
Check the Blackboard Guide on Share Content for an up-to-date list.
How do I share files?
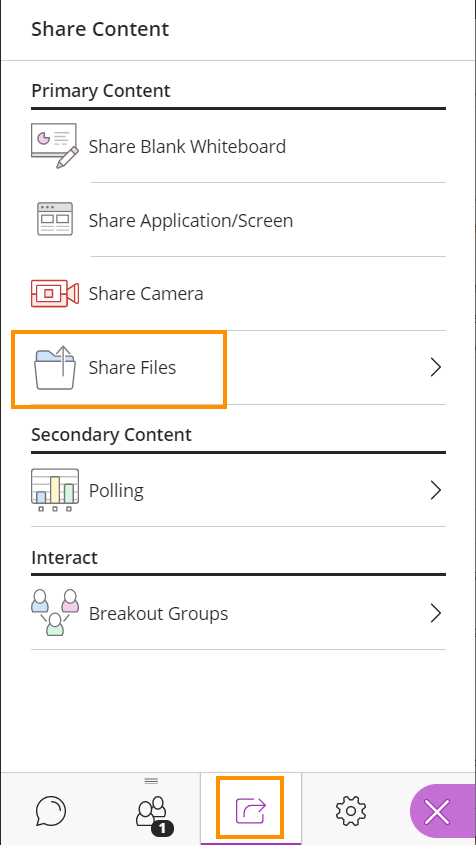
From the Collaborate Menu, bottom right, select the Share Content Button. ![]()
Select Share Files.
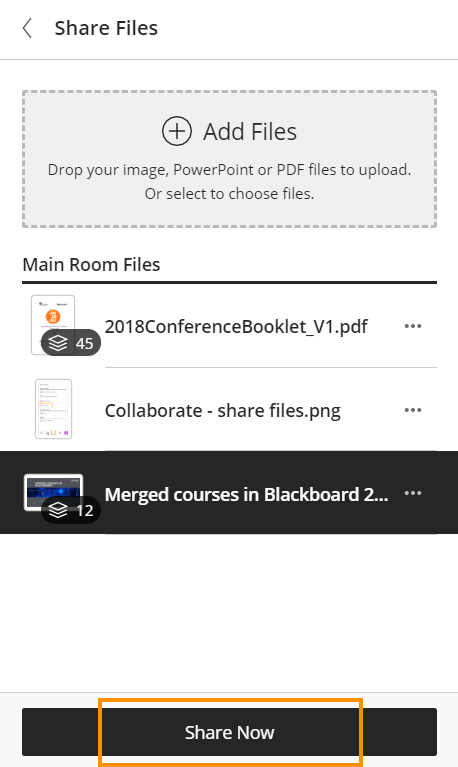
When the screen loads, drag and drop the file you want to upload onto the Add Files area (or click to browse your file).

Note that collaborate allows student to download shared files and the annotated whiteboard whilst they are being presented. These will be saved as a .pdf and therefore are only an image of the shared work.
You can upload multiple files.
When ready, select the file you want to share and press Share Now.
If you wish to share a video and include the audio please see our guide on How to play a video in Class Collaborate.
How do I present PowerPoint slides?
- Add Files as shown above.Please note these will be displayed on screen as a PDF. Any animations in the slides will not be displayed.
- Select the presentation you wish to display
- Click Share Now.
- Select the slide you wish to present first.
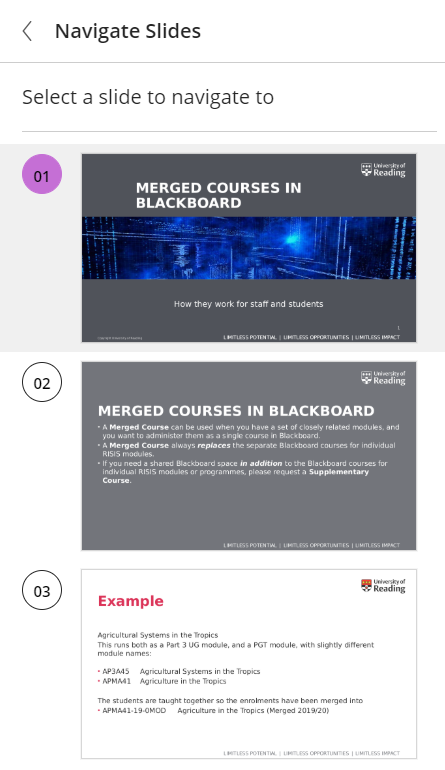
Selecting Individual Slides
You can then navigate through the slides either by selecting a specific slide, or by using the navigation forward and backwards buttons below the slides.
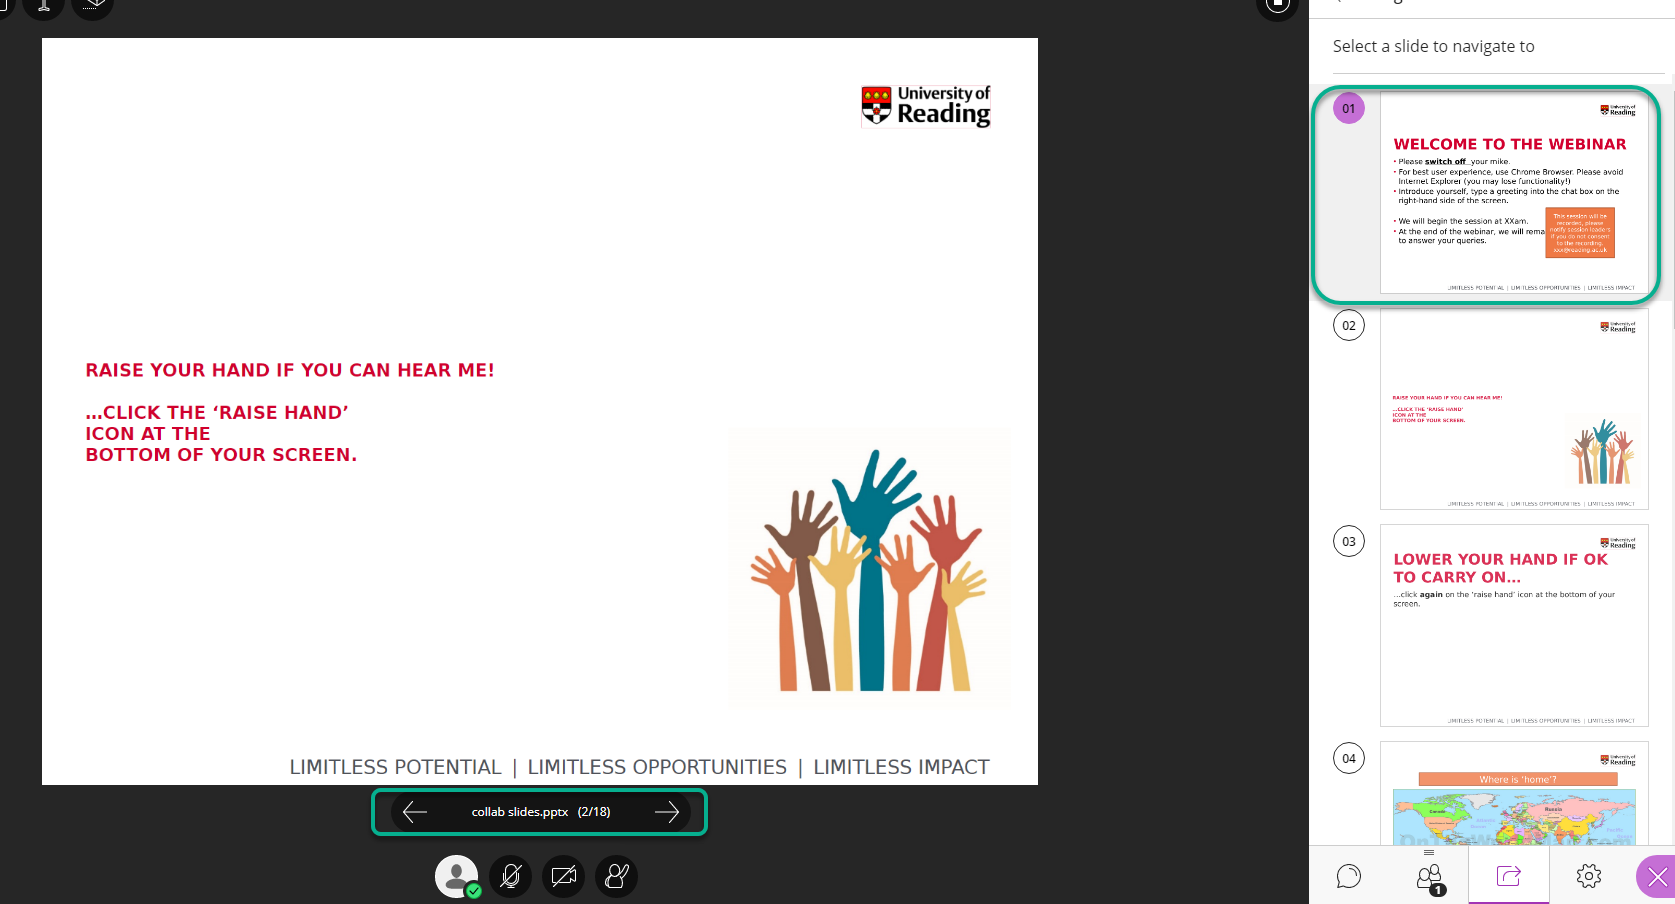
When a document is shared there will now be an annotation menu in the top right-hand corner, the tools in the menu can be used to annotate the document.
These tools can be made available to students too, via presentation settings.
Students will not see the Clear Annotations icon.
Zoom in on Slides
There may be times when you wish to resize the slides and other images being presented in a session. Using the View Controls allows you to zoom in and out of slides and look at particular sections.
Using the view controls

- Pan mode – moves slide large enough for scroll bar to appear
- Pointer – Allows you to point to specific areas on slide
- Zoom in
- Zoom out
- Fit page
- Fit width
These actions will only be visible to you and will not affect the presentation or other participants experience. With the exception of the Pointer, this is visible to students.
Instructor View
Student view

Students also have the zoom in controls (not the pointer) so can adjust their view to suit their needs.
See our guide on Annotate Slide and Whiteboard for more information on interacting with your students in a slide presentation.
You can also share a PowerPoint presentation by opening PowerPoint on your computer, and selecting Share Application. However this uses more bandwidth, so the Share Files option is the recommended route.
Guide last updated on June 10, 2022