Blackboard Learn Ultra is an accessible platform for students and staff. As Course Leaders, you have the responsibility for ensuring content in your Ultra Course is accessible.
Watch a 4 min video Create an inclusive learning environment using the accessibility features in Blackboard Learn
Content on this page:
- Use the Content Editor in Ultra to format the content
- Use the Ultra Accessibility Checker while you are adding content (powered by ALLY )
- Ensure the files you upload are accessible
- Provide clear expectations and instructions
- Provide specific and meaningful titles for your course content
Use the Content Editor in Ultra to format the content
The Content Editor in Learn Ultra provides accessible controls to format content.
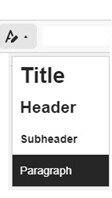
Headings
Use text heading styles to provide a structure and hierarchy. Always start with the highest level and work through all the sub-levels without skipping any levels i.e. use the styles in descending order (don’t use a Sub-header before a Header has been used).
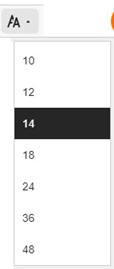
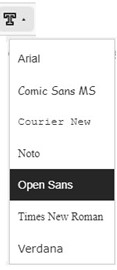
Font formats
By default, the Content Editor has a size of 14pt and the font family is Open Sans. You should use Sans Serif fonts like Arial or Verdana which are easier to read.
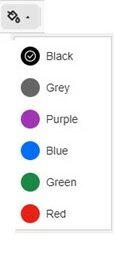
Use colours with sufficient contrast
Generally, use dark colours on light or pale backgrounds and vice-versa. Font colours provided by the Content Editor meet minimum contrast with a white background. To verify the minimum contrast for fonts, you can use the Contrast Checker tool.
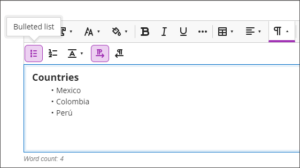
Formatted lists
Use the list buttons to create formatted lists. Use bullets for unordered lists, or numbers or letters for ordered lists. Don’t create lists manually with special characters.
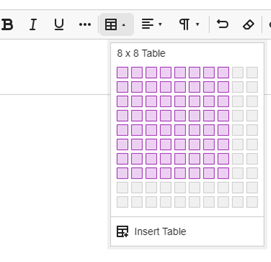
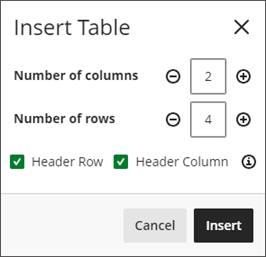
Tables
Use tables for tabular data — not for page layouts. Select a header row and/or header column in the table settings to make the table accessible. More detailed information about accessible tables.
For detailed guidance, refer to the TEL guide on using the Editor.
If you are copying a table from another source, and pasting it in your Ultra course, ensure that there is a header row and/or a header column.
Use the Ultra Accessibility Checker while you are adding content (powered by ALLY)
The Ultra Accessibility Checker scans content in the rich Content Editor for Ultra Documents to identify accessibility issues. The score changes dynamically as you add content.
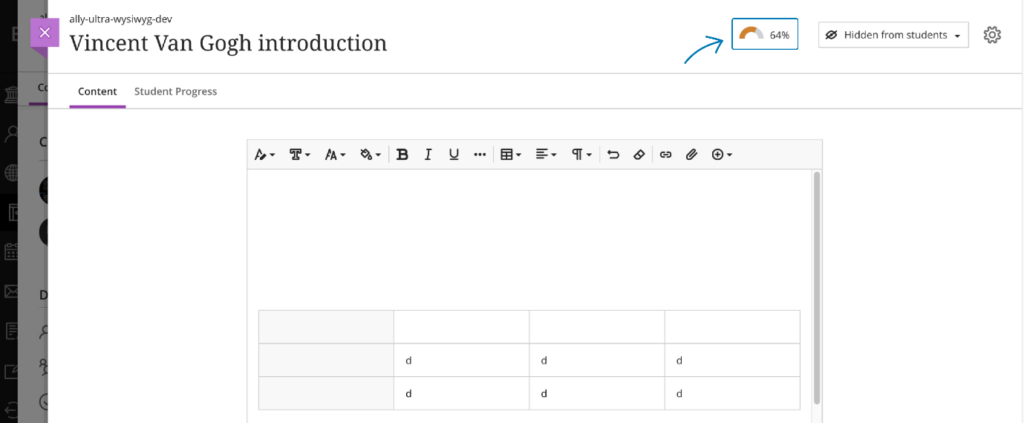
By clicking on the score, you will see accessibility issues and suggested solutions to make your content more . (See below how you can check the accessibility of uploaded files.)

Please note: You might have to scroll up to see the accessibility checker. Find out more about the ALLY accessibility checker.
Ensure the files you upload are accessible
Files such as Word documents and PowerPoint presentations can be created using the accessibility features in Office. More information about creating accessible documents can be found in the Digital Accessibility Resources.
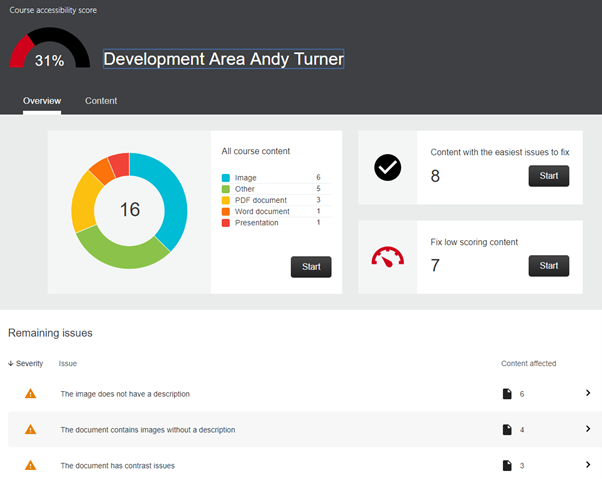
Check accessibility of files with the Course Accessibility Report
The Ally tool in Blackboard automatically checks course materials against WCAG 2.1 Accessibility Standards delivering guidance to instructors to improve the accessibility of their course content.
You can check the accessibility of your documents by using the Ally Accessibility Report in your Ultra course and amend and improve your content.
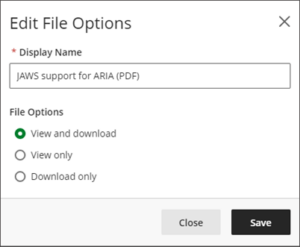
When you upload a file attachment, replace the filename with a readable display name.
It is good practice to indicate the type of file in parentheses or brackets, such as “(PDF).”
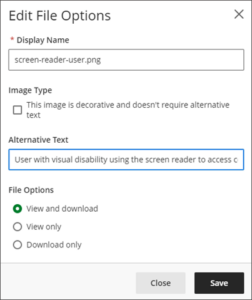
Provide Alternative Text for images
Use meaningful text to describe the purpose of the image. If an image is purely decorative, select the option under ‘Image Type’ on the ‘Edit File Options’ screen.
Please note: You cannot copy and paste images in your Ultra course, you need to save your images and upload them to the content area.
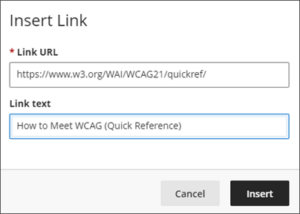
Add a meaningful description when using Links
Don’t use repeated or vague words, such as ‘Go’, ‘Click here’, ‘See more’, or ‘Link’ for the link text. Don’t use a URL as the link text.
Provide clear expectations and instructions
Ensure your students know what is expected of them and provide clear instructions.
Provide specific and meaningful titles for the course content
Following the Ultra Course template, make sure the names or titles for Learning Modules, Documents, Tests, or any other types of content are clear and meaningful for all users. This helps reading and navigation and reduces the cognitive load required to comprehend the content. Don’t use repeated or vague words, such as ‘Go’, ‘Click here’, ‘See more’, or ‘Link’.
Guide last updated on September 19, 2025