An item in Blackboard is the standard way of presenting content to users. Typical uses are to provide students with Course Handbooks, Lecture Notes and Presentations, but an Item can be used for almost any content which you wish to make available.
An Item must have a title. It can also have either or both of the following
- descriptive text
- one or more attached files
The text can be formatted, and can include embedded images, and links to other web pages.
Any type of file can be uploaded or attached to an Item: for example PDF files, Word documents, Excel spreadsheets, PowerPoint presentations, images, audio and video files.
Creating an Item
In your course, with Edit Mode ON, select the course content area where you want to add the item, e.g. ‘About’, ‘Lecture Notes’, ‘Resources’.
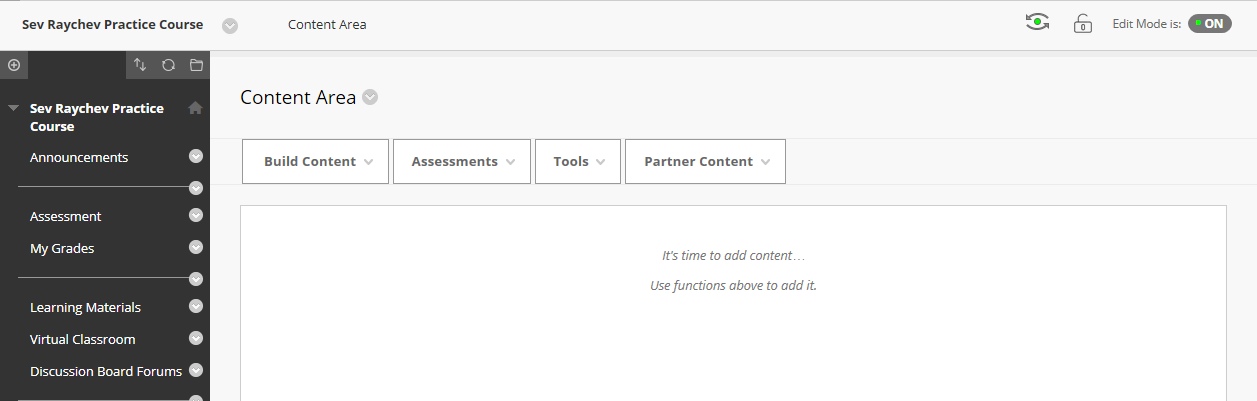
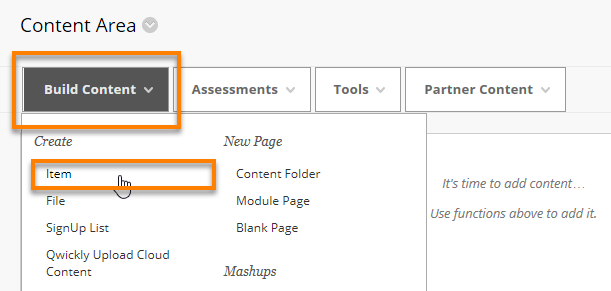
Put your cursor over Build Content.
Under Create click on Item.
On the Create Item screen type a Name – choose a Name that will be meaningful and unambiguous for students and other staff on the course.
Editing Text
Add any instructions, or descriptive text, in the Text box.
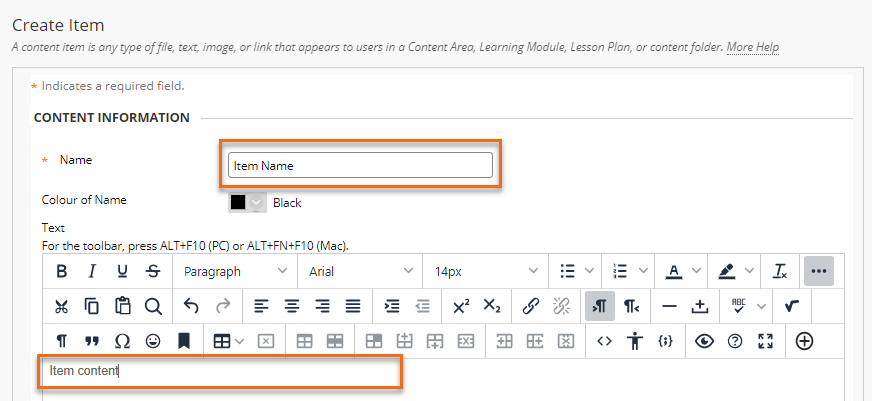
As you can see, you can format the text.
In particular, the bottom row of the toolbar allows you to insert a link to a file, or embed an image or video clip directly within the text.
See more details about the Blackboard editing toolbar.
It is also possible to insert links to web resources within the text of a Blackboard content Item.
Attach a file
There are two ways to attach files:
- Click on the paper clip icon shown above, to insert a link directly into the Text
- Add one or more files as separate attachments by either:
– scrolling down to ATTACHMENTS then click on Browse My Computer to upload a file
– browsing Content Collection to link to a file already in the Blackboard My Files area
– dragging and dropping files inside the area surrounded by a dashed border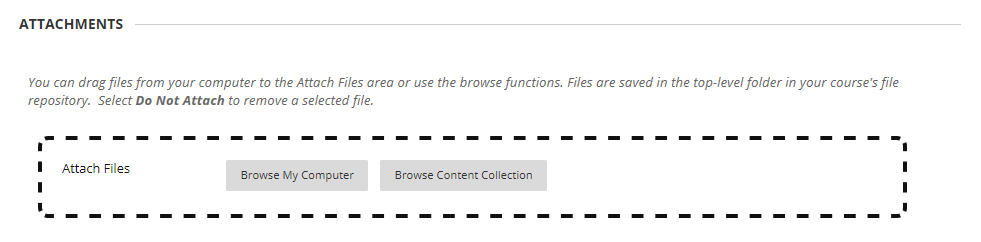
Item Options
Under STANDARD OPTIONS
- You should usually set Permit Users to View this Content to Yes (even if setting date restrictions on the item’s availability)
- If you set Track number of views to Yes then Tracking Statistics records the number of times the item is viewed, when it is viewed, and by whom.
- You can also Select Date and Time Restrictions e.g. to make the item available to users after a specific date and time.
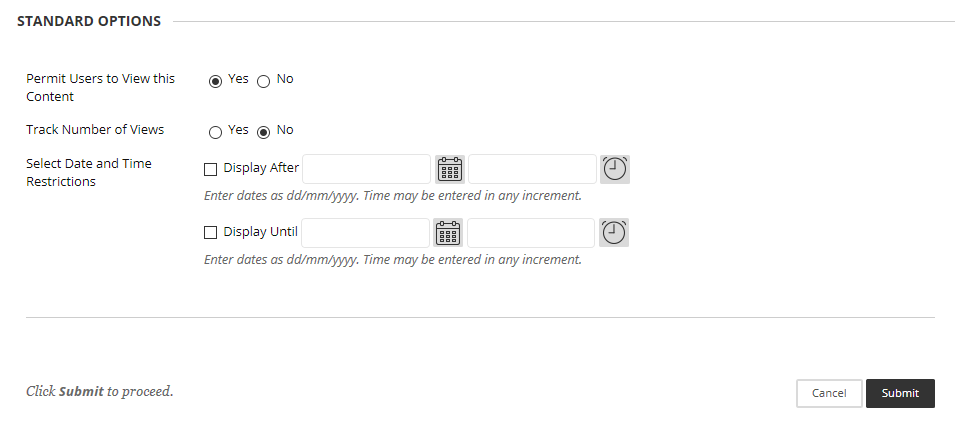
When all is ok, click Submit.
Editing an Item
As with other types of content in Blackboard, once you’ve created an Item you can edit it. To edit an item:
- Make sure Edit Mode is ON
- Hover your cursor over the title of the Item, and click on the grey arrow that appears
- Click Edit
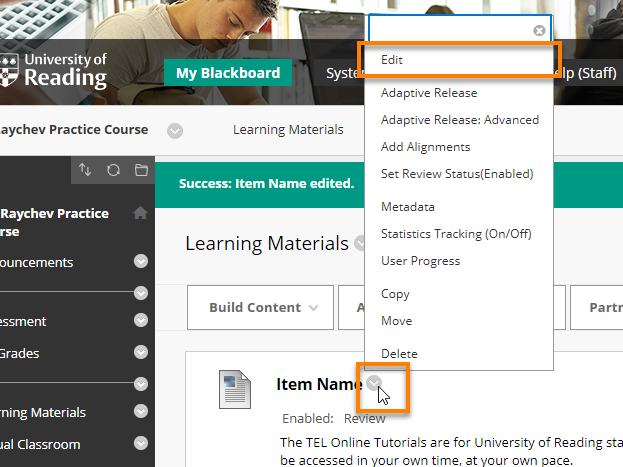
This will take you to the page where you created your Item. Once you’re happy with the settings, click Submit to save the changes you have made.
From this menu you can also manage the Item in various other ways, e.g. make it available to specific users (Adaptive Release), copy, move or delete it.
Page last updated on March 4, 2021 by andyturner
You must be logged in to post a comment.