Introduction
To help increase consistency and assist students in navigating courses on Blackboard, a default menu structure for course areas has been created, and is applied to all new empty modules created in Blackboard. It aims to provide a minimum set of consistent headings and menu items, whilst leaving the opportunity for the menu to be added to and customised as appropriate.

If your module has been rolled over from a previous year, you will not see this menu. You can, however, customise your menu to resemble this suggested format.
What follows is a guide showing you how to customise a course menu in Blackboard, including: adding, renaming and reordering items; creating subheaders and dividers, and adding web links and tool links.
How to rename existing menu buttons
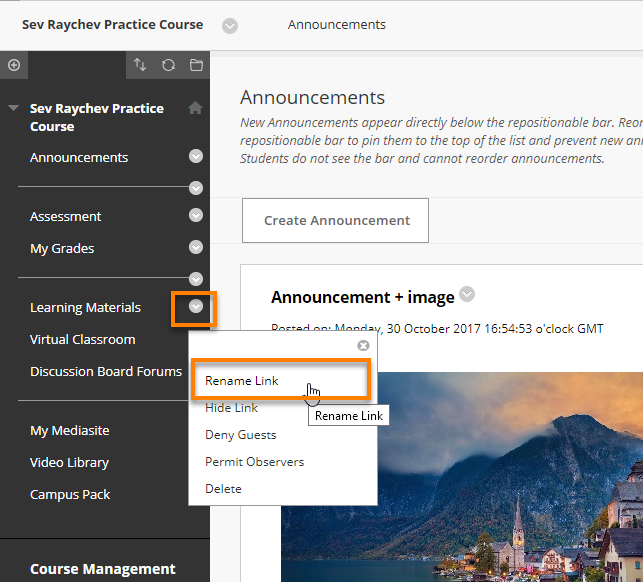
Hover over the menu item you want to rename, and click on the editing arrow to the right of the name.
Select Rename Link.
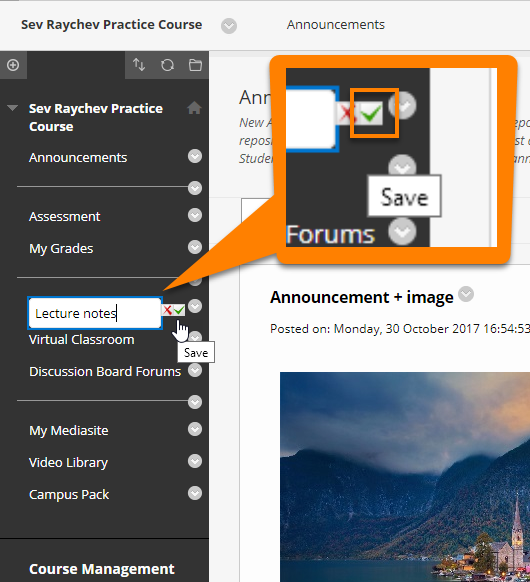
Type in the new name and click the green tick to save.
How to add new items to the menu
Add a content area
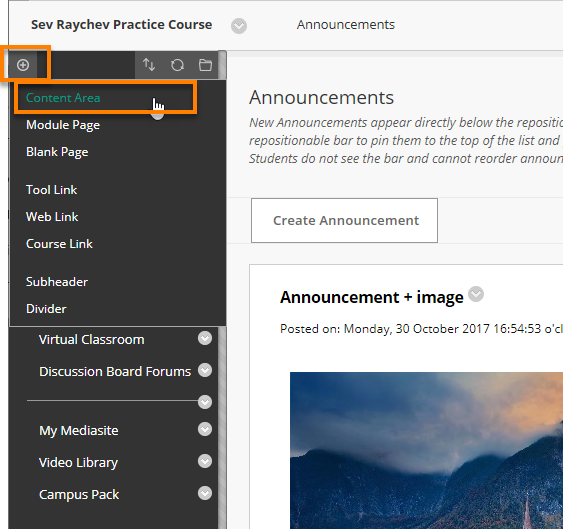
Click on the + on the bar just above the menu
then select Content Area.
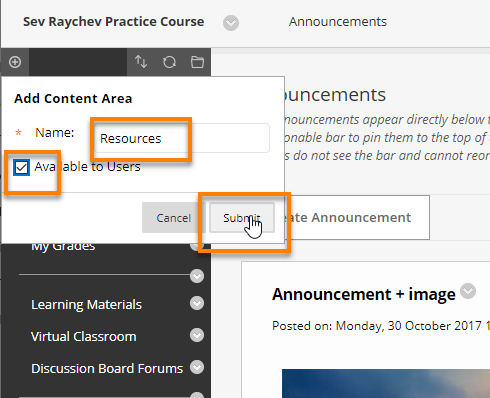
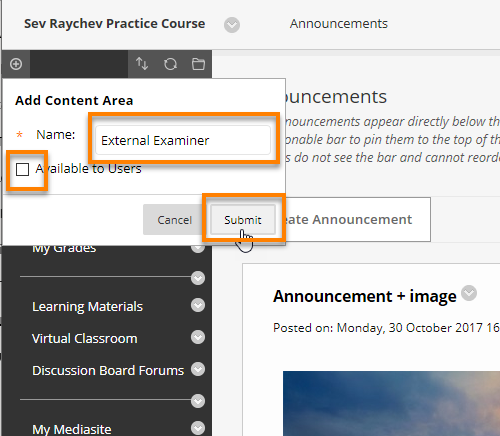
Enter a name for the content area a name.
Remember to tick Available to Users in order for students to be able to access this area.
Press Submit.
Staff-only areas
You may sometimes want to set up an area which is accessible only to staff, or which contains information for external examiners. In this case, leave ‘Available to Users’ unticked, and the area will be unavailable to students.
Adding subheaders and dividers
These can help to distinguish the various sections of your course menu.
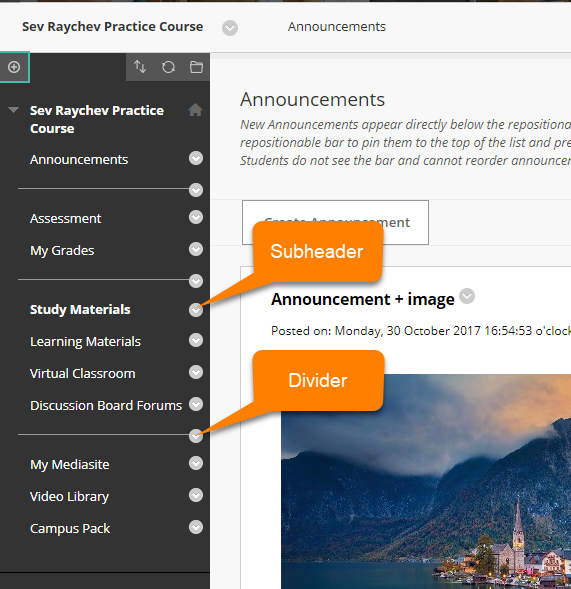
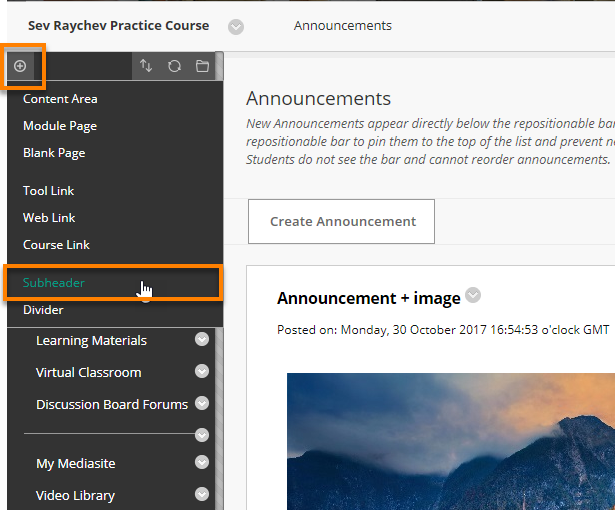
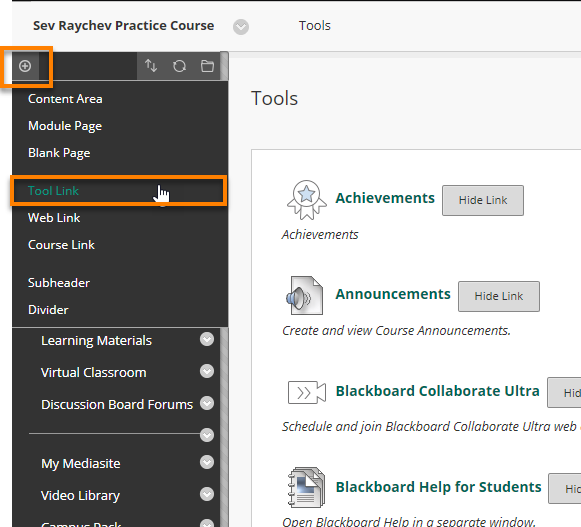
To add a Subheader or Divider, click on the + sign above the menu, and select the desired option.
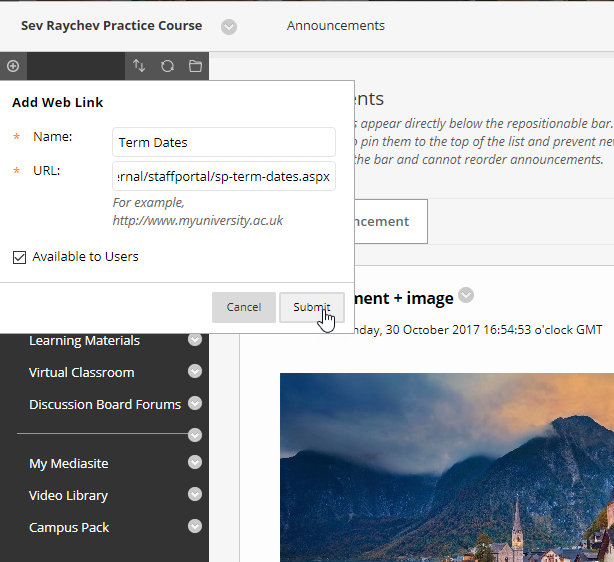
Adding a web link to your menu
This allows you to link from the course menu to any website or web page.
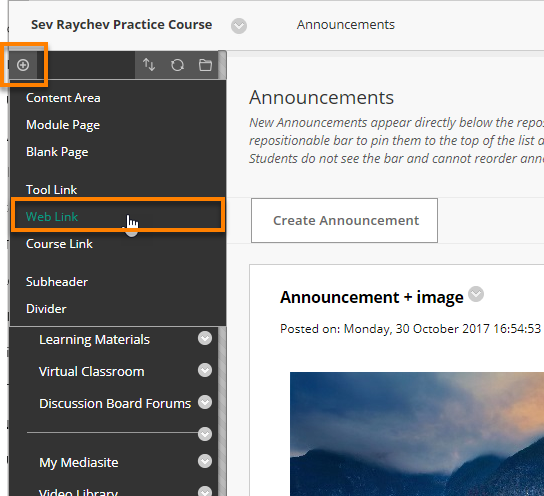
Provide a name (i.e. what will appear on the menu) and the URL of the website (including the http:// or https:// prefix):
Adding tools to the menu
You can add a link to any Blackboard tool which you are using on the course. This includes Blogs, Discussion Boards, Journals and Wikis.
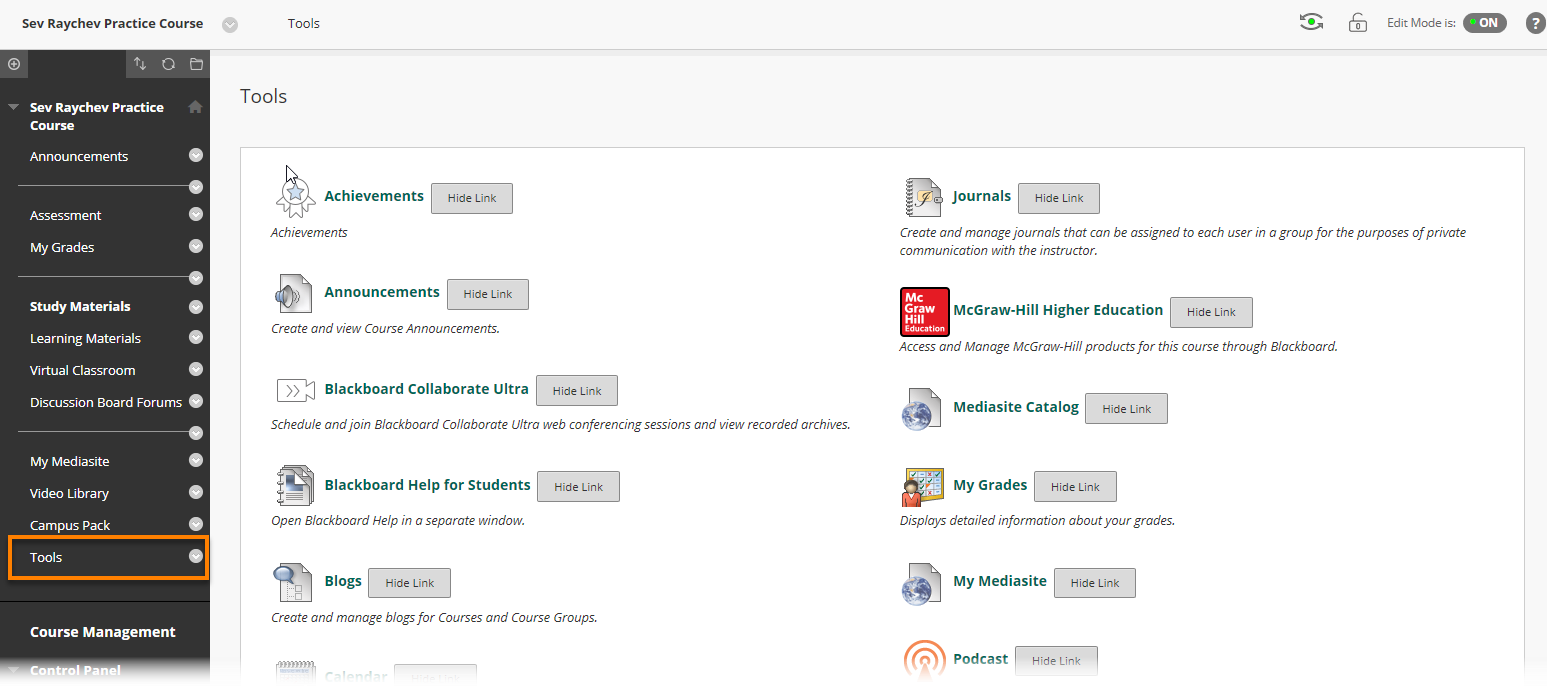
You can simply provide a menu link to the Tools Area (i.e. a list of all tools which are enabled on the course).
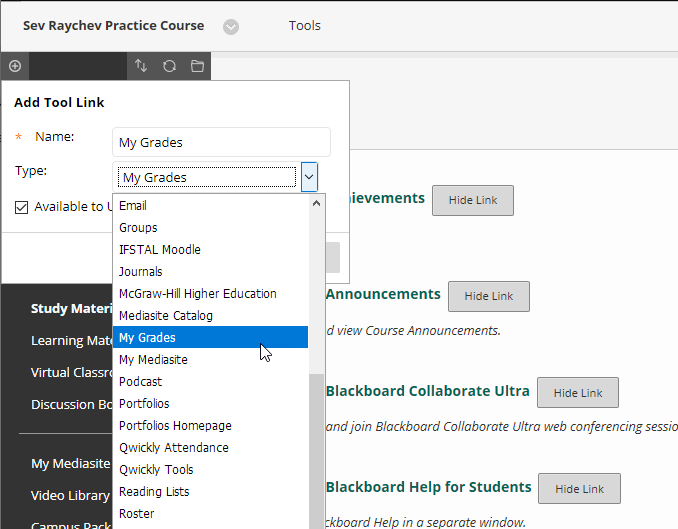
However, we recommend that you do not do this. It is much more useful to create a link to the specific tools which you will be using on this course – e.g. Discussions, Blogs.
Provide a name (i.e. what will appear on the menu), then select the appropriate tool from the drop-down list:
We recommend that you provide a link on all course menus to these tools:
- My Marks and Feedback
- Contacts (labelled as ‘Teaching Team’)
Groups
You may decide that it is not necessary to add a menu link to Groups, since students who are members of a group will see this listed just below the main course menu – as shown below. Staff can access any group via Control Panel > Users and Groups > Groups. 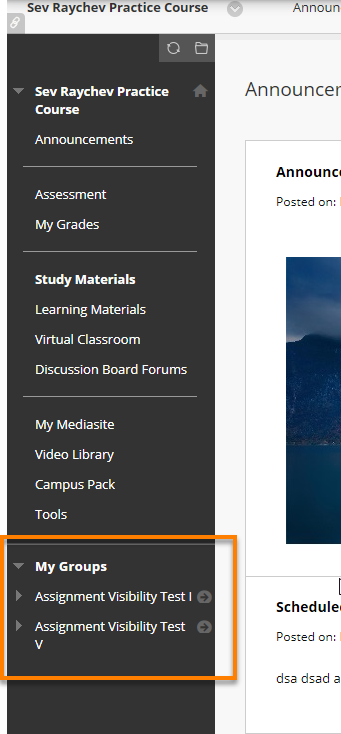
How to reorder the menu
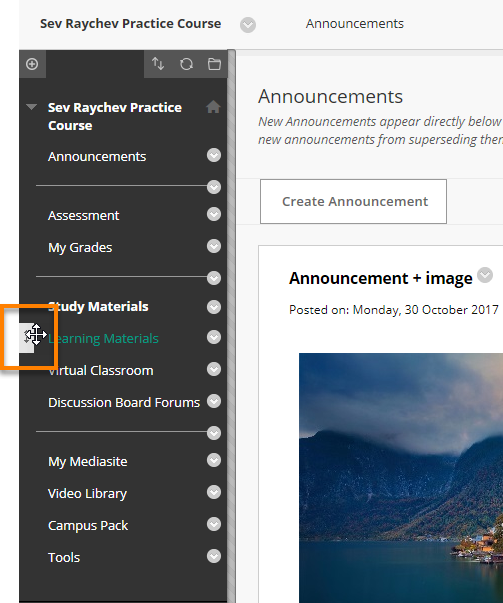
Hover your mouse to the left of the menu item you wish to move, and a four-headed arrow appears. Now move the menu item up or down to the desired position, and release the mouse.
Page last updated on July 25, 2022 by andyturner
You must be logged in to post a comment.