Students enrolled on a module in RISIS (the University’s student records system) will automatically be enrolled in the appropriate Blackboard course. This means that normally you should not need to manually add students to your courses in Blackboard – but please note this automatic process runs once a day (overnight) and at the start of the year can take up to 48 hours to complete.
Read more: How and when are students enrolled on courses?
There may be times when you may need to manually add users to your courses, usually when you want to add another member of staff to the course.
How do I enrol a user onto a course?
Enrolling users and managing their roles within Blackboard Ultra is a very simple process with only a handful of steps. You can use the links below to jump to each step in the process as necessary. These steps can be followed to enrol and manage users on Organisations, but please note that the roles available will be different when enrolling onto an Organisation.
- Checking Class Register
- Enrolling course members
- Changing users roles
- Removing users from courses
- Batch enrol users
Checking Class Register
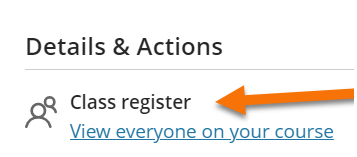
You can see a record of all Blackboard users enrolled on a course by clicking on “Class register”, which is found under the Details and Actions menu on the side of the page. If you are getting requests to enrol new users onto courses, it is worth checking the register to see if the person is already enrolled on the course.
Access to view the student register is on a need-to-know basis and is therefore limited to staff and not available to students.
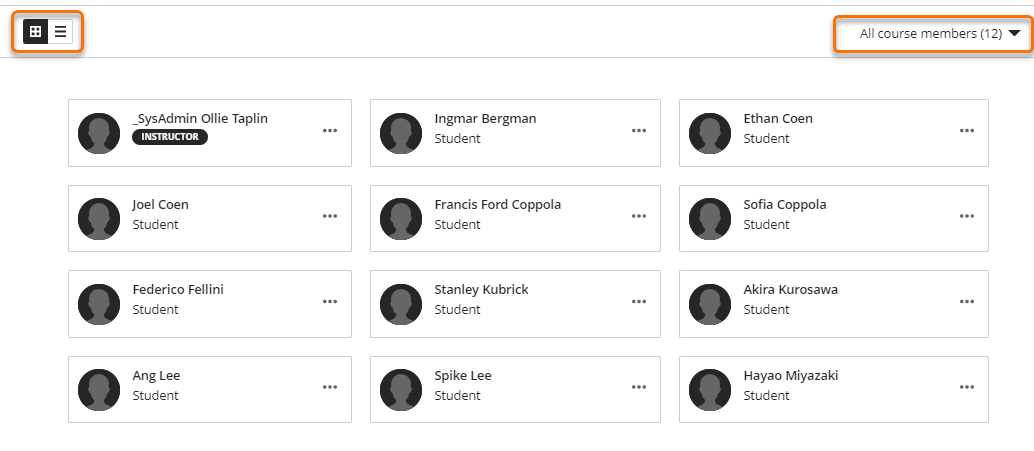
Once you have opened the Class Register, you can switch between a grid or list layout by clicking the icons in the top left of the screen. You can also use filters to remove Instructors or Students from the list as necessary.
Enrolling course members
To enrol users onto a course:
- Click on the plus icon in the top right hand of the Class Register screen.
- A new window will appear, click “Enrol People”.
- A side-pane will open and you can use the search bar to find the person you want to enrol. You can use either their name or username to search for people.
- Once you find the person you want to enrol, click anywhere on their name to open the role drop-down menu.
- Select the desired role from the list available and click save at the bottom of the menu.
We do not recommend using the “Invite Students” function, as students should either be automatically enrolled by way of selecting the module on RISIS, or by being granted a specific role, dependent on why the student needs access to the course.
Changing users’ roles
To change a users role within a course:
- Navigate to the Class Register screen and find their entry in the list.
- Click the three-dots icon at the right-hand side of the name card.
- A new window will appear, click “Edit member information”.
- A side-pane will open with a drop-down menu that you can use to review available roles. The users current role will be selected in the drop-down by default.
- Select a new role as appropriate but please note that you shouldn’t need to change a students role within a course.
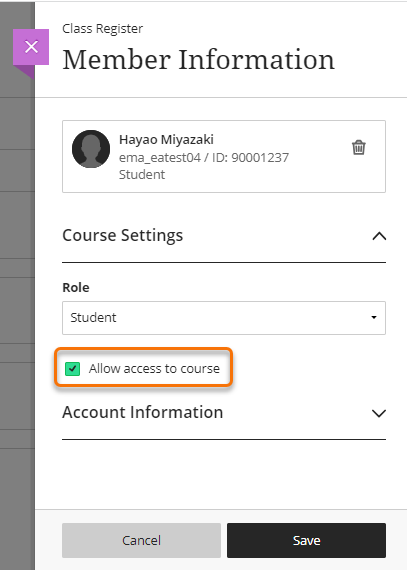
- Click the “Account Information” tab to see additional information about the user such as their email address and student ID.
- Make sure you don’t un-tick the “Allow access to course” box as this will stop user from being able to open the course.
Removing users from courses
Only Programme Admin teams have the permission to remove (un-enrol) manually enrolled users. They can NOT remove auto enrolled students or module convenors (i.e. those enrolled via RISIS).
If you have accidentally enrolled a wrong user on a course, first thing you can do is to disable user’s access in the course (i.e. untick “Allow access to the course”). You can then contact your Programme Admin team to get the user removed.
There may be times when you need to remove colleagues from a course, such as academic colleagues no longer teaching a module. You may also choose to remove yourself from courses which you are no longer involved with.
The most simple way of doing this by unticking the “Allow access to course” box in the users Member Information panel. To do this:
- Navigate to the Class Register screen and find their entry in the list.
- Click the three-dots icon at the right-hand side of the name card.
- A new window will appear, click “Edit member information”.
- A side-pane will open and you will see a tick box with the text “Allow access to course” next to it. This will be ticked by default.
- Click the box and the tick will disappear. Click Save. The users access to the course is now disabled.
Using this function has some additional benefits:
- The current version of the course will be invisible to the user with immediate effect, and they will no longer receive announcements or emails from the course.
- When the course is copied forward for the next academic year, unavailable staff enrolments will be ignored – so in fixing the issue for the current year, you are also preventing it from recurring in the future.
With student enrolments, we recommend that you use this method rather than deleting them from the course, as an accidental deletion of a students records can have serious implications. By deleting a students record you also delete the students Gradebook records and any submitted assessments, which is obviously to be avoided.
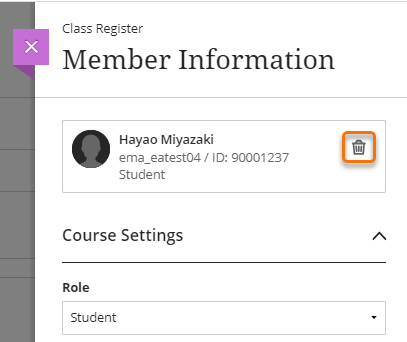
To delete a user from the course, click the bin icon to remove them. Only Programme Admin teams will have the necessary permissions to do this and they cannot remove a student enrolled on the course automatically by RISIS. Programme Admins trying to remove an Instructor from the course should first change the users role to Teaching Assistant. This also applies to Organisations, where users who need removing should be changed to Participant.
Batch enrol users
To bulk or batch enrol staff on courses (or organisations), please download and use Bulk enrol template CSV file to prepare a list of users.
This template has three columns:
Course or org ID: e.g. PY_SCHOOL_ULTRA
User ID: User ID of each staff member (e.g. xy12345)
Role: For courses, if this is column is empty, all users will be added as students by default. You can use keyword “P” for Instructor, “S” for Student, “T” for Teaching assistant roles. For organisations, the default user role will be Participant, or keywords “P” for Leader, “S” for Participant, “T” for Assistant, and “EE_New” for External Examiner – Ultra can be used.
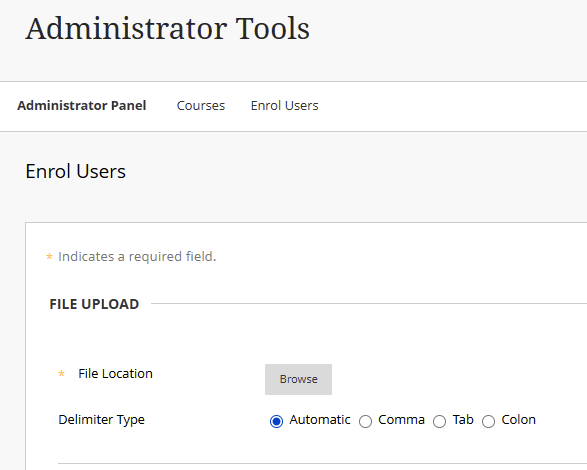
Once CSV file is ready, it can be uploaded via Administrator Panel by authorised support centre colleagues. To avoid any mistakes, we recommend dividing large list of users into multiple CSV files, and confirm enrolments after each upload.
- Click Courses or Organisations
- Click “Enrol Users”
- Click “Browse” and upload file
- Click “Submit”
- Look for the report to see if any of the records haven’t been processed or look for any errors. Ignore first row error.
Guide last updated on February 18, 2026