You can provide some additional customisation to your course by uploading an image as a Learning Module thumbnail. Adding images can increase interest and engagement with your materials, as well as helping users to identify relevant content more easily.
Images are not part of the course template (see How to use the course template) but can be used effectively in Organisations.
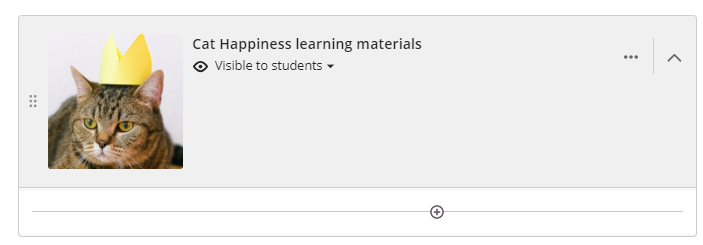
To add an image to a Learning Module thumbnail:
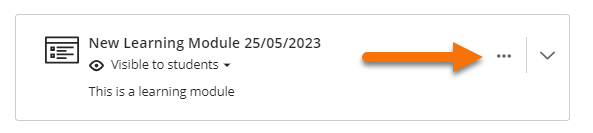
- Locate the Learning Module you want to edit and click the three-dot menu. Click “edit” on the panel that appears.
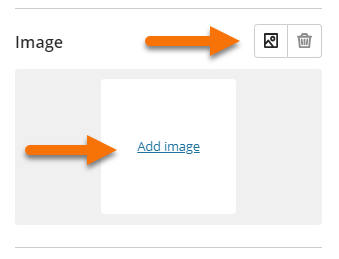
- A side panel will open and you will see a section entitled “Image”. You can click on either “Add image” or the image icon to open the upload image panel.
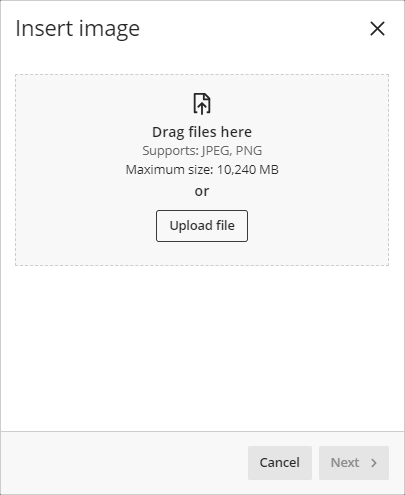
- Once the upload image panel has opened, click “Upload file” or drag and drop files from your local drives.
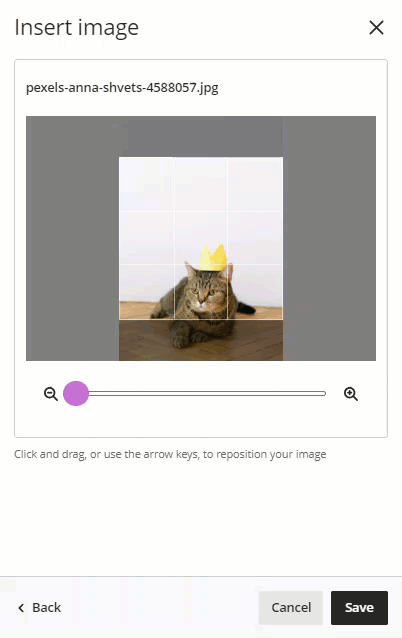
- The chosen image file will appear in preview. Click next if you are happy to use the image.

- You can drag the image and modify the zoom to select the image’s focal point. Click “Save” when you are happy with the image.
- You can either designate images as purely decorative or insert appropriate alternative text. Click the “Save” button when you have completed the set-up.

- The image will now appear as the Learning Module thumbnail.
Guide last updated on July 25, 2024