Microsoft Forms is an online survey and quiz tool from Microsoft, available to the whole University and managed/supported by DTS. If using the tool for teaching & learning, CQSD TEL can provide support and guidance.
The following guide will help you get started:
If you cannot access Forms or have a technical issue, please log a Service Desk ticket.
Accessing MS Forms
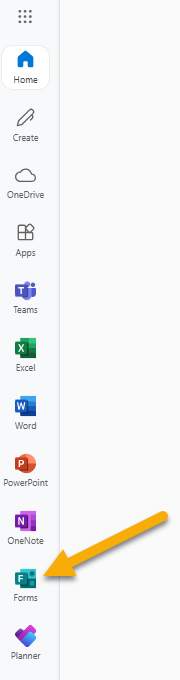
You can access MS Forms via office.com, which is where you access all your other MS 365 apps. Click on the ‘App launcher’ at the top left corner of the MS 365 homepage, and select Forms from the list that appears. If Forms isn’t included on the page, you can search for it or click on ‘More apps’:

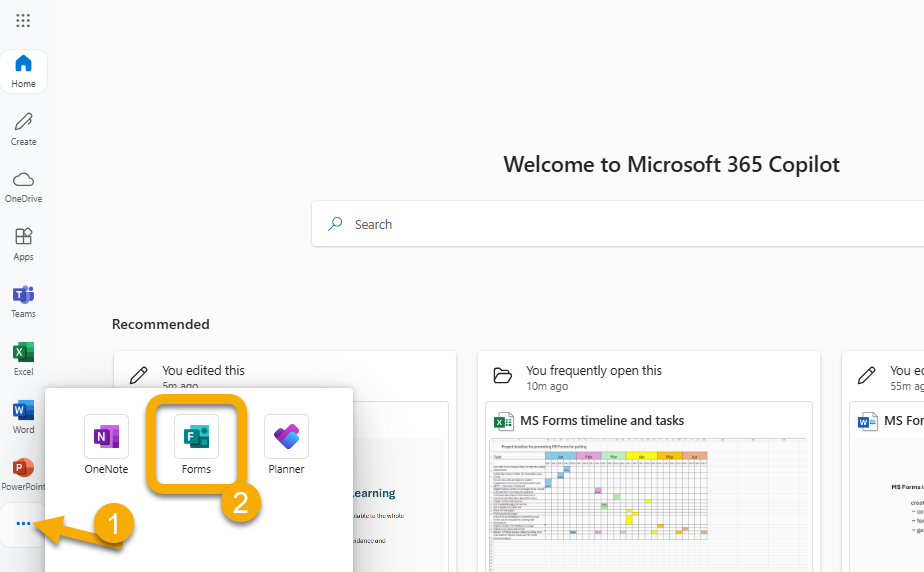
Once you’ve used Forms, it will appear on the list of your most recent apps:
Depending on the size of your screen, you may need to click on the ellipsis to extend this list:
Creating a new form or a quiz
Quizzes can be used to assess learning and provide feedback, whereas Forms are more suitable for collecting feedback and conducting surveys. In a quiz you can add answers and scores, maths equations, as well as provide feedback on selected answers.
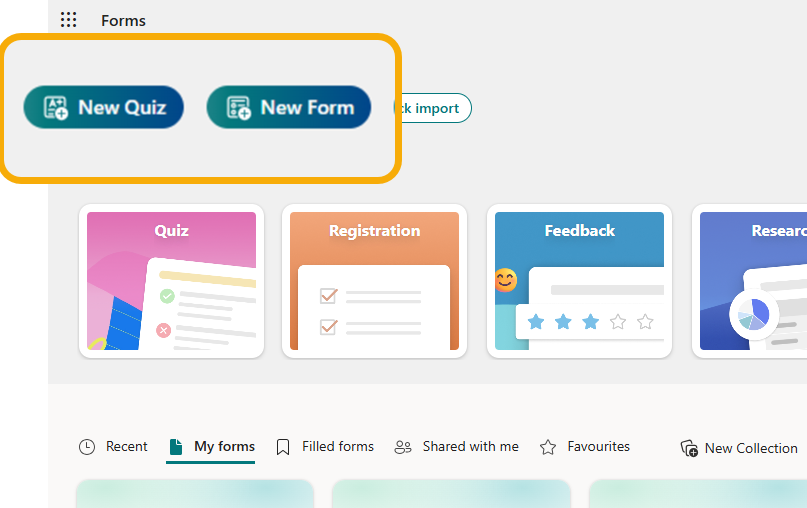
Once you’ve opened MS Forms, select ‘New Quiz’ or ‘New Form’:
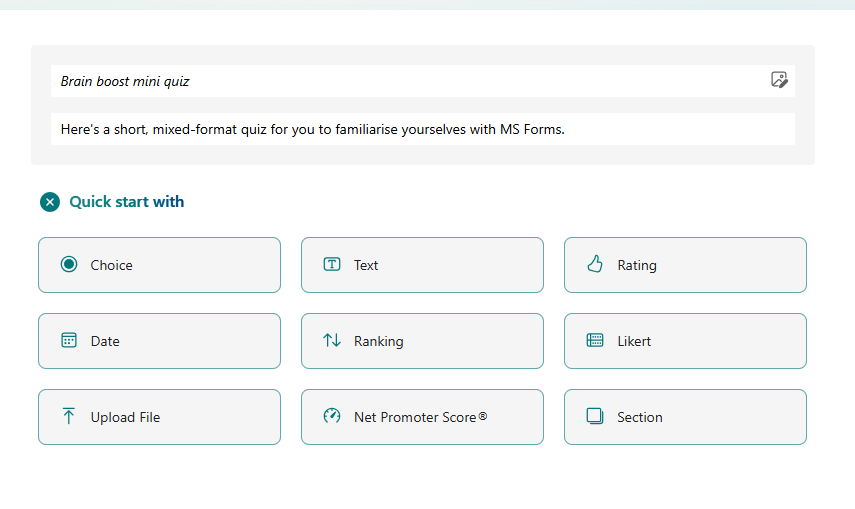
Give your quiz/form a title, add a description if you like, and select ‘Quick start with’. Select from the available question types:
Provide the necessary elements for each question type and select from the options provided. For example, in a multiple-choice question, you can:
- add images to your question or answers
- provide text feedback for each question
- select multiple answers, and
- set the question as compulsory by toggling ‘required’.
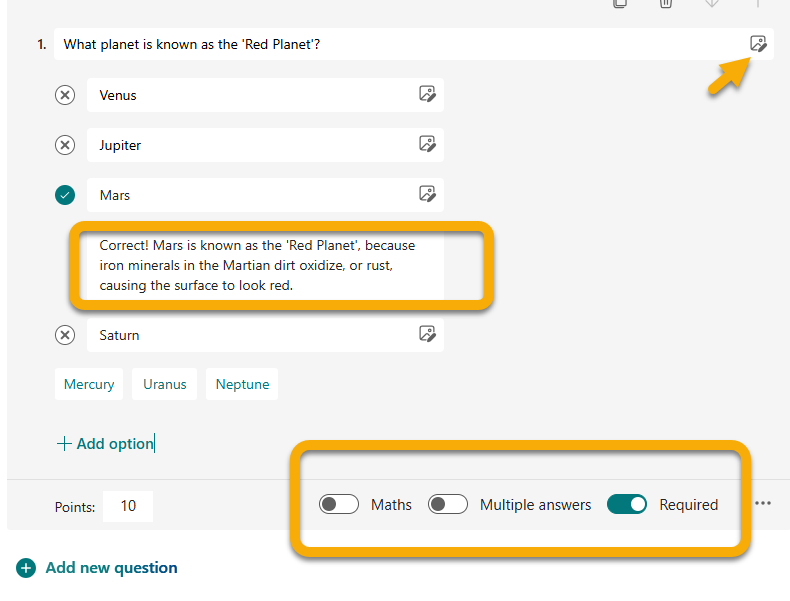
Once you’ve created a question, you can move on to the next by selecting ‘Add new question’.
A form or quiz can have more than one question type, and up to 200 questions in total.
You can also choose from the general settings options, which include time restrictions, shuffling questions, setting a timer, showing a progress bar and more:
You can preview your form or quiz using the ‘Preview’ button at the top of the page, where you can toggle between computer and mobile views:
You can go back to editing the quiz using the ’Back’ button:

Create from a template
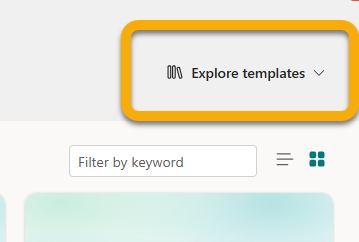
To create a form from an existing template, click on ‘Explore templates’ in the top corner of the Forms homepage:
Choose a template that fits your needs, such as ‘quiz’ or ‘feedback’. Next, select one of the examples available for that template:
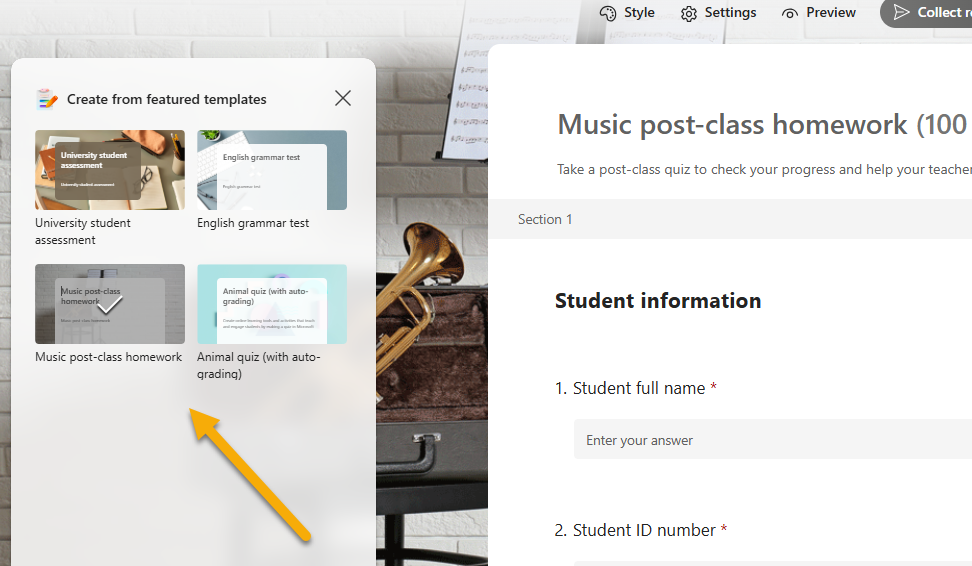
Once selected, you can customise questions, options and settings as needed. You can modify the title, add new questions, or delete existing ones to tailor the form to your specific purpose. After making your changes, click ‘Preview’ to see how it will appear to respondents.
Sharing a Form
When you’re ready to share your form or quiz, click ‘Collect responses’ at the top of the page to choose how you want to collect responses.

Choose who can respond

- Anyone can respond – Anyone inside or outside of the University can submit responses to your form or quiz. Responses are anonymous.
- Only people in University of Reading can respond – Only people signed in with a University account can submit responses to your form or quiz. You can choose to have anonymous responses or record names. You can also limit responses to one per person.
- Specific people in University of Reading can respond – Only people at the University that you specify can respond to your form. You can choose to record the name in the responses, or not.
Presenting a Form in a live session
You can enter Present mode to present your form or quiz in a classroom setting or an online session:

In a classroom – ask your students to scan the QR code with their mobile devices to access the form. You can also choose ‘Shorten URL’ to create a more easy-to-read url for the screen.
In an online session – students can scan the code, but also you can copy and paste the link in the chat for students to access the form or quiz.
As the responses come in, you can see the live results on the screen in present mode. This is particularly useful for talking through and discussing the results with your students after they’ve responded.
We recommend choosing the ‘Anyone can respond’ option when presenting a form or a quiz in a session, for a smoother experience and to avoid delays in students accessing the form.
Sharing a form asynchronously:
You have the following options to share your form outside of a live session:
- You can copy the link to your form and share it with your intended audience by pasting where they can see and click it to access your form:

- You can email your form to specific people by selecting the email option. For people inside the University of Reading, you can start by typing their name in the recipient box. Microsoft Forms includes a brief note in the email body and a link to your form. You can customise the email message as you like before sending it via email or Teams:
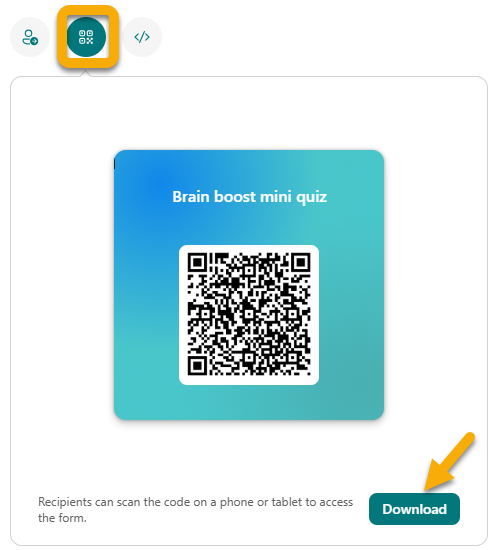
- Select the QR code button and then Download, to download the QR code as a .png file. You can insert this file where your audience can scan it with a QR code scanner (e.g. their mobile device) to access your form.
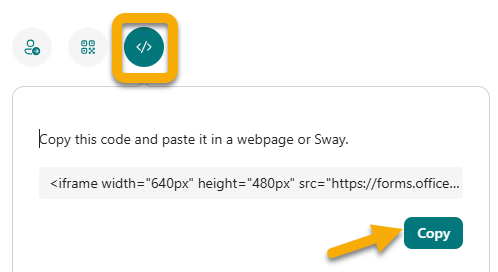
4. Select the Embed button, then click Copy. You can paste this embed code into a Blackboard activity or a document:
Viewing the results
Once you’ve created your form, chosen the settings, shared it with your audience and gathered responses, it’s time to view the results.
Open your form or quiz, and select the ‘View responses’ tab at the top:

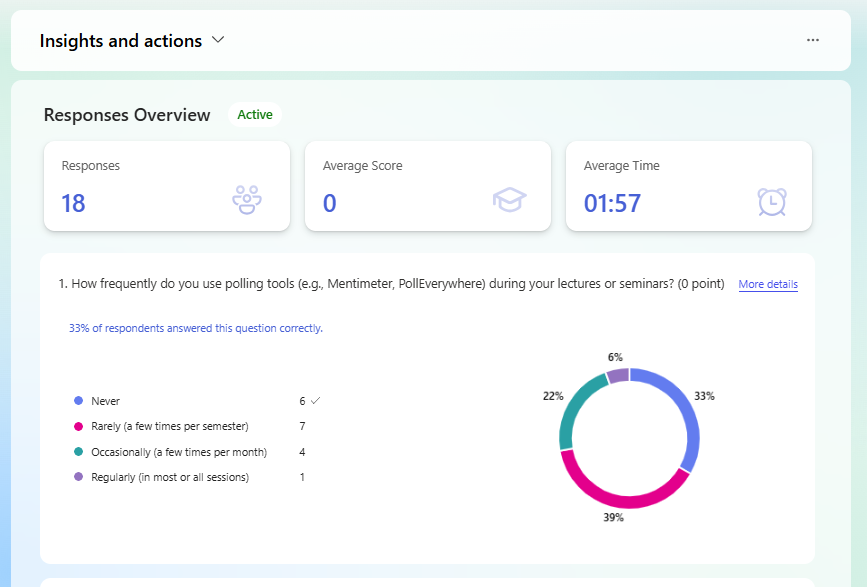
Once the Responses Overview pane opens, you can see the results in detail; e.g. the average time it took each respondent to complete the quiz, the number of responses and how many respondents chose specific options for each question:
To see the responses data in an Excel spreadsheet for sharing or further analysis, click the Insights and actions pane to open it:
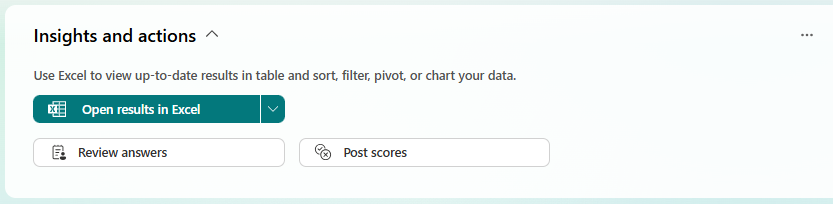
Here you can also review the answers in more detail or post the quiz scores to students.
Guide last updated on June 10, 2025