Important:
Please refer to the Policy for the Recording of Teaching and Learning Activities (Learning Capture)
This policy provides information on the overarching expectations for the use of Learning Capture and how recordings can be used and shared with students, plus the key legal and data protection considerations.
Transition from Stream (Classic) to YuJa:
All video content for teaching and learning in 2022/23 and beyond, which would previously have been made available to students via Stream (Classic), should be made available using the University’s new Learning Capture system, called YuJa. For more information please view our guide on Transitioning from Stream (Classic) to YuJa.
Transition from Stream (Classic) to Stream (on SharePoint)
From 10th July 2022 onward, Teams Meetings recordings are automatically saved on SharePoint. Recordings can be found in the “Recordings” folder created either in OneDrive or the corresponding Teams Channel depending on how the meeting was created. For more information please visit the DTS Stream on SharePoint page.
By default recordings are set to expire after 90 days. See Expiry and retention of Teams recordings.
You can use Microsoft Teams and Stream to make simple screencast recordings using video, audio and screen, or just audio and screen, as required.
However, as recordings for teaching and learning should now be stored in YuJa, it will often be simpler to create the recording directly in YuJa, using browser recordings or the desktop application.
Please refer to our guide Choose a screencast tool.
Live online interactive sessions with students should only be recorded in a limited number of circumstances. Read Recording live sessions: What do I need to know?
To create a recording
-
- Open Teams
- Go to your Calendar in Teams:

- Click on the Meet now button:
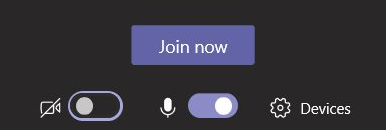
- Join the meeting by clicking on Join now (if using the web app you may be asked to allow your browser to use your camera and microphone)
- Turn the camera on if you want to record yourself:
- Make sure the microphone is on to record your voice:
- When you move your cursor over the screen, a meeting menu bar will appear at the bottom of the screen:

- Click the More actions button (looks like three dots).
- From the drop-down menu, select Start recording.
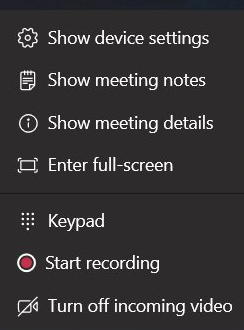
- A Privacy Policy notice will display.

- Share your PowerPoint slides, documents etc. in the Teams meeting using the Share button.

- When you use share you can
- Share your desktop – anything that shows on your desktop will appear in the recording.
- Share a window – simply select the one you want to display from the windows tiled along the bottom of your screen.
- Share a PowerPoint presentation – your most recent files will be tiled at the bottom of the screen or you can click on ‘Browse’ to locate the file.
- Share Microsoft Whiteboard at the bottom of the screen – you can use the whiteboard tools to draw on the screen and your actions will be recorded.
- When you have finished your recording, click on the More actions button (looks like three dots) again.
- Select Stop recording.
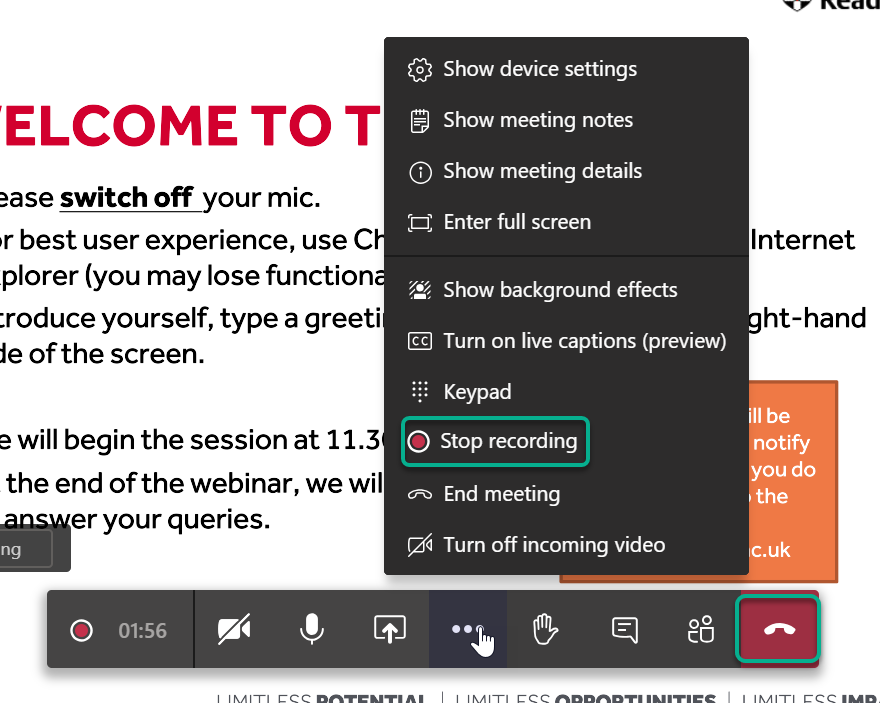
- The recording will now end and will be saved in Microsoft Stream.
- You can now leave the meeting by hanging up the phone – click on the Red phone icon.
- You will receive an email when the content is ready to stream.
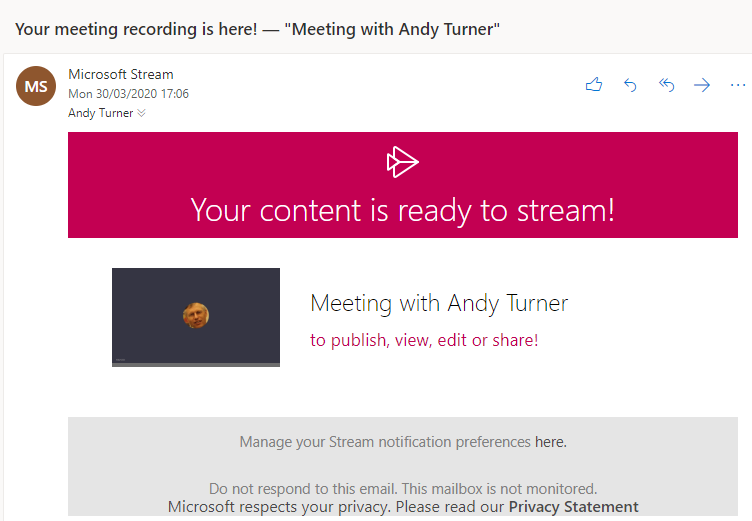
- Click on the ‘publish, view, edit or share’ option to be taken to Stream, where you can edit the recording properties, and edit who it is shared with.
Record a live Team meeting
You can also record a live meeting which is being held in Teams. When in the Teams meeting, follow the same steps shown above to start recording.
Trouble-shooting
Record Button not available
Some users have identified that their button is ‘greyed out’ and they cannot switch on recording. If this is the case for you, please submit a ticket using the IT Self Service Portal. This has been seen when a user joined as a ‘Guest’ rather than with their Office 365 account.
Guide last updated on October 1, 2025