The best starting place for building your new course is the training and support materials available from the companion site Building your 2024/5 course.
When starting to building your content on a course or organisation consider,
- where content appears in Blackboard Ultra
- how to add content (both created and reused)
- how to organise your content in Ultra
- which materials you need and which can be archived
- how to edit content
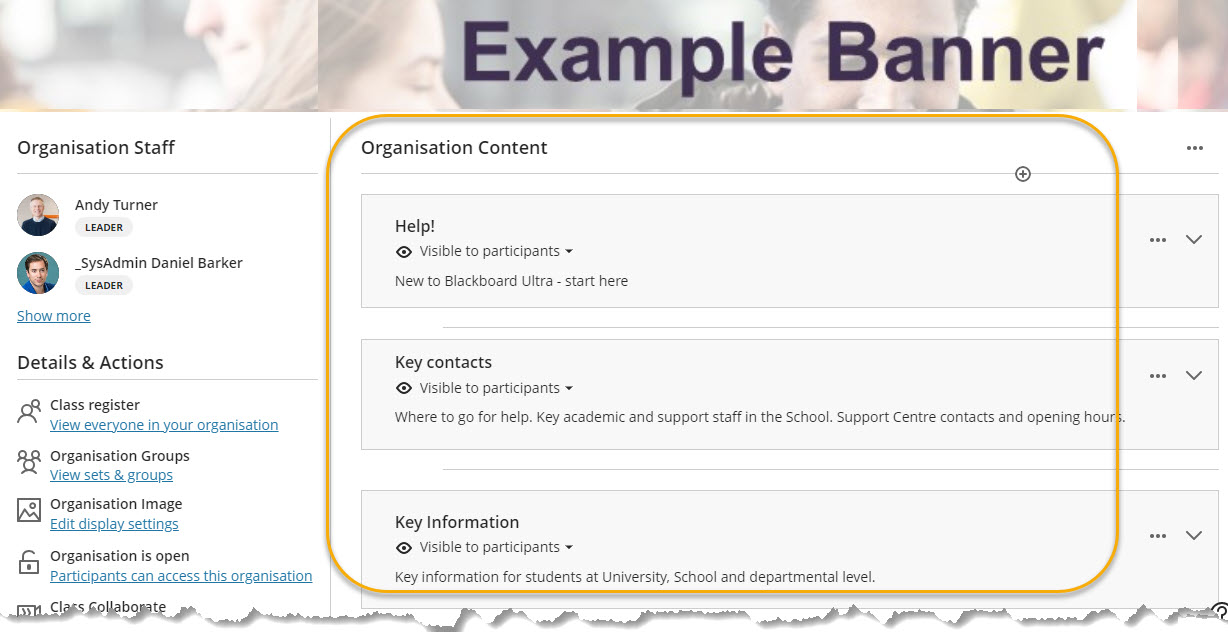
Where content appears in Ultra
In Blackboard Learn Ultra the course content appears in the centre of the page. There is no content menu, Learning Modules are used to organise materials into main topic areas.
See our guide Blackboard Learn Ultra Tour for a full guide of the Ultra layout.
Ultra Templates
For Ultra Organisations suggested Learning Modules have been added to the template. Inside they contain prompts for suggested use and a possible starting place for creating materials such as staff contact details.
For Ultra Courses the template used to create your course will be specific to your school. Please see our guide on How to use your course Template.
The Add Content menu
To add course content hover over any dividing line until it turns purple and a plus icon appears. Click on the plus icon to see the add content menu.
Add Content menu options
Follow the links for each of these menu options for more details once you have read the considerations below.
Organising your materials
When organising your materials know that there are only two levels in Learn Ultra course structure. Where you currently have a folder within a folder within another folder you may need to re-organise.
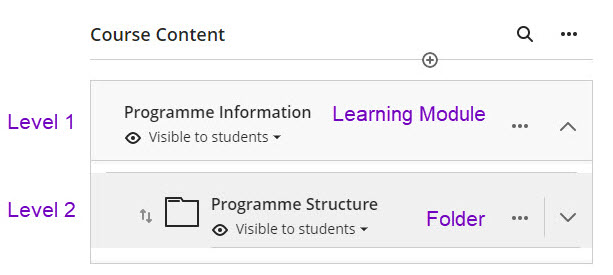
We recommend using a Learning Module as level 1. You will be able to insert many folders into the Learning module creating Level 2, however, you will not be able to add a folder inside a level 2 folder (there is no level 3).
Be wary of creating unnecessary folders, if a folder is only going to contain one file consider uploading the file directly into the Learning Module or creating a Document (the ultra equivalent of an Item) with the file attached along with text explaining its purpose.
Presenting files to students
There are two main ways of making slides and other materials available to students, they can be
- uploaded directly in the Course Content within a Learning Module or Folder
- or inside a Document, which are similar to an Item in the current version of Blackboard Learn.
See our guide Presenting Files to Students for more information regarding the advantages and disadvantages of each approach.
Decide which materials you need
It is important to plan your course structure before starting to move your materials.
For Organisations each template has been designed with the specific use in mind (i.e. a briefcase or external examiners organisation), which will give you a standard structure to work within.
Here are a few helpful hints and considerations to get you started.
Display Original Course Menu in a Window
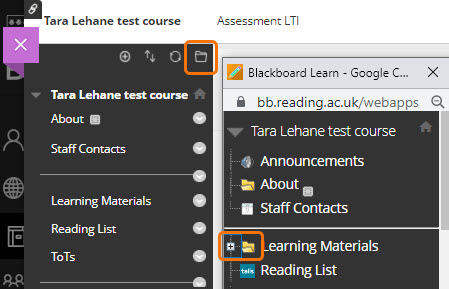
It may be helpful to look at the materials in your current course via Display Course Menu in a Window to start planning your Ultra course.
In the top right-hand corner of the course/organisation menu click on the folder icon “display course menu in a window”. This will open a new window with the whole course menu laid out in a tree chart. You can click on the plus or minus icons on each folder to open or collapse it.
Rationalise your current content
This could be a good opportunity to consider the content of your current course. Think about what student require from the course and resist the temptation of overload the space with unnecessary information.
Move archived materials to OneDrive or Teams
Do not use your Blackboard courses as a depository or storage space for archived materials. Move materials that are kept for staff to access to another shared staff space such as a Shared Drive or Teams.
Editing content
It may be reassuring to know that once your materials have been upload, created or copied it is very easy to move materials around in the content area and make other organisational or design changes.
Making content visible to students
Everything created or uploaded to the Content area will be invisible to students. This is easy to change this on the individual items via the drop down box. This can also be done as a batch of items at the same time see our guide Ultra: Batch Edit – Visible to Students.
For more information on Batch Edit in Ultra see the Blackboard Help page Batch Edit.
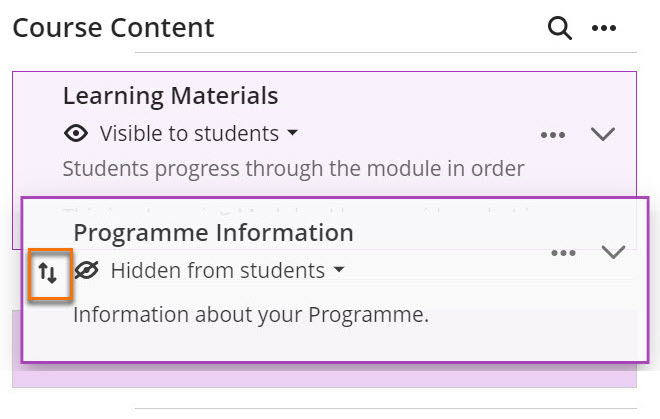
Moving content
To move any item in the Course Content, click on it and hold down the mouse button. This will allow you to “pick up” the item and move it to another place in the content list or into a Folder or Learning Module.
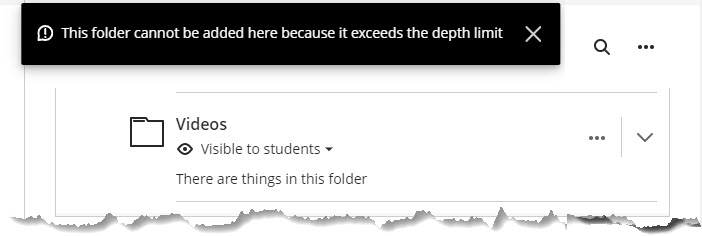
If you attempt to move a folder into a folder that is already at level 2 you will receive the error message “This folder cannot be added here because it exceeds the depth limit”.
Guide last updated on June 19, 2024