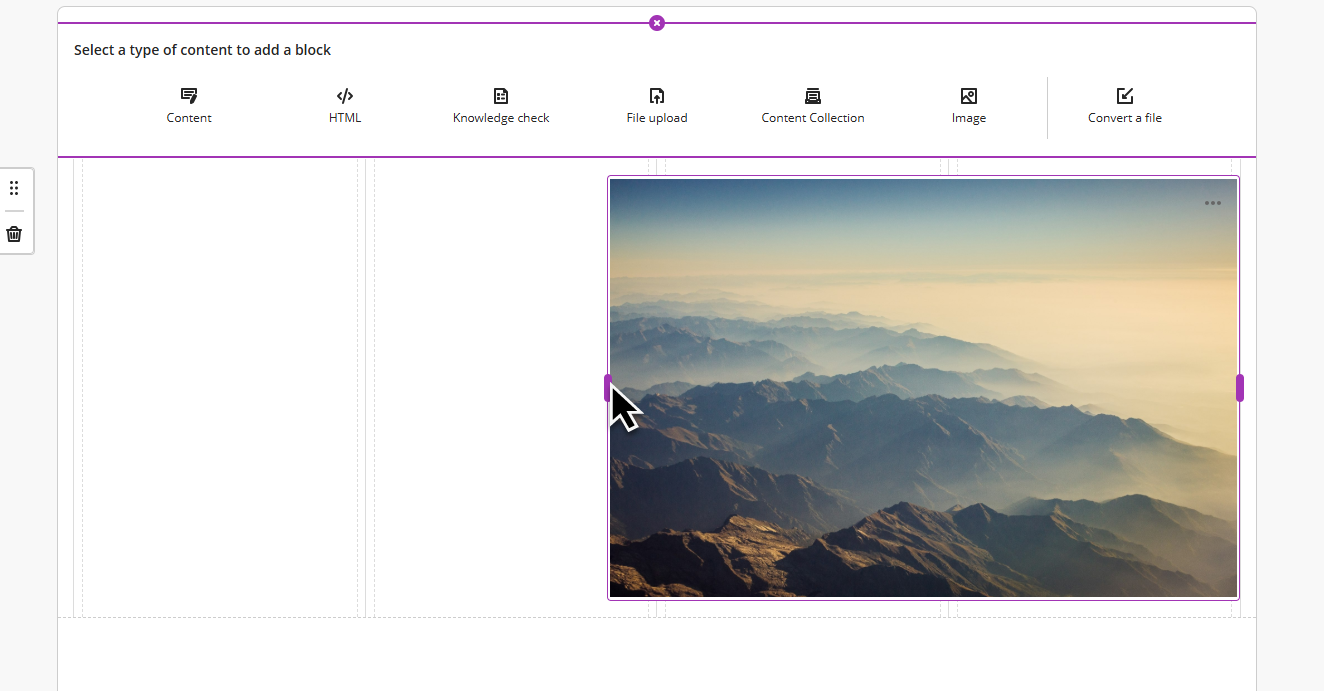
Documents are like a webpage. You can create multiple sections referred to as blocks within your Document. Blocks include Content (text editor), HTML, Knowledge Check, File upload and Image and can be resized to create columns of materials side by side.
- Create a Document
- Blocks and how to use them (details of what can be done with each block type)
- Organising blocks
- Save and Edit the Document
- Ultra Document Example
- Blackboard AI Design Assistant
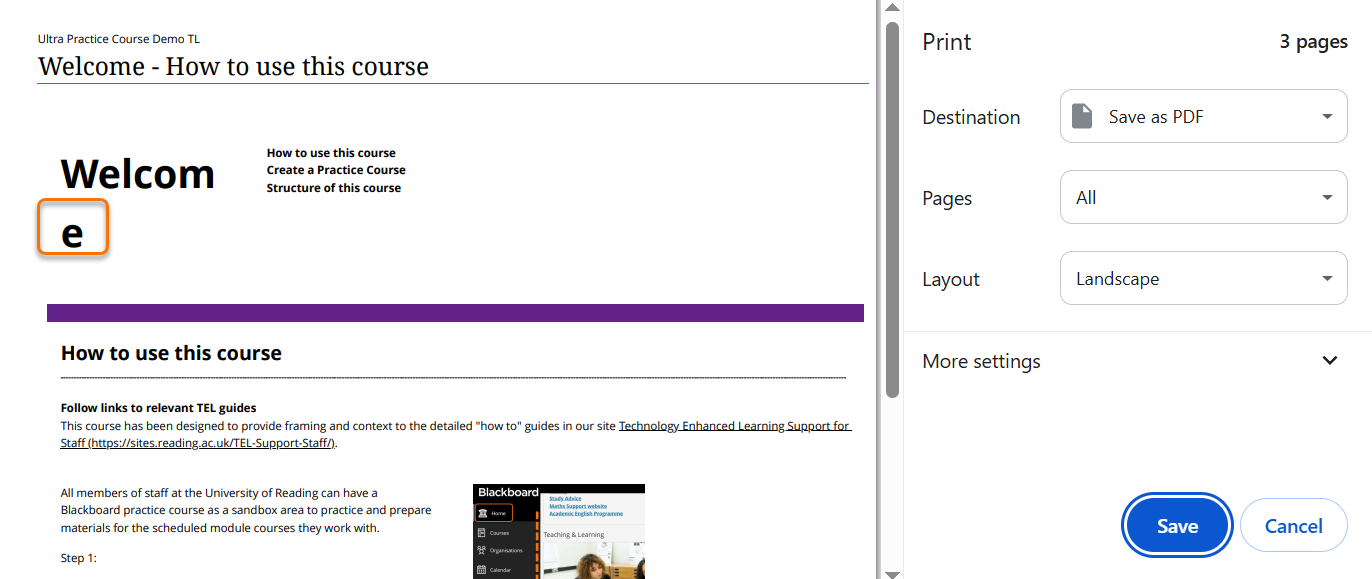
Documents can be opened and viewed by students in their course, allowing them to open files and play videos etc. It is also possible to print a Document on either paper or as a PDF document. The print button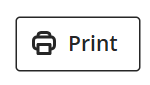 appears on the top right-hand corner for both staff and student.
Create a Document
Step 1: Go to the point inside a Learning Module, or on the Course Content area, where you would like to add the Document.
Step 2: Hover over the dividing line until a plus sign icon appears click on the plus sign icon to open the Add Content menu.
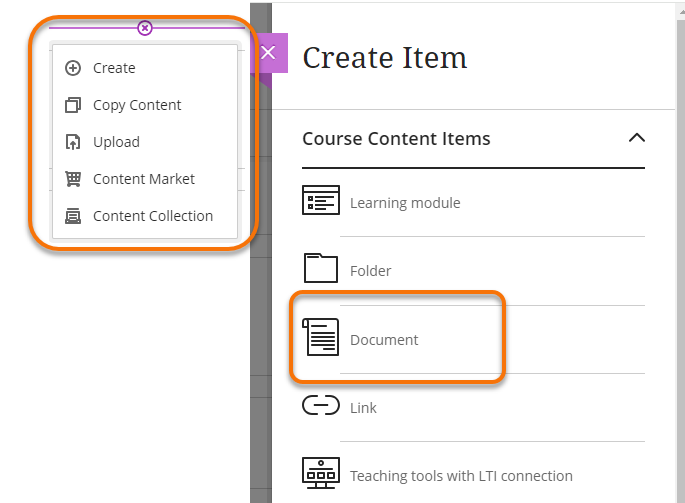
Step 3: Select Create from the Add Content menu. The Create Content Panel will open on the right-hand side.
Step 4: Select Document. The New Document page will open.
Step 5: On this page give your New Document a name by overwriting the default title.
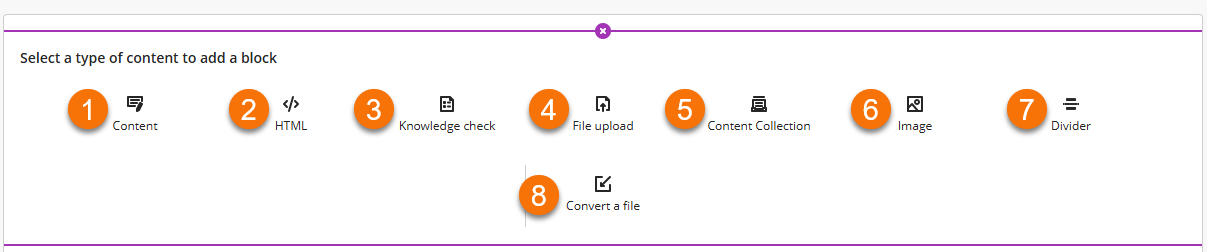
Step 6: Build your document by adding blocks using the add content options.
Available blocks:
- Content (opens the text editor)
- HTML (opens the HTML editor)
- Knowledge check (opens Question editor)
- File upload (opens the file manager to upload files)
- Content Collection (opens the Content Collection)
- Image (from file or Unsplash stock images)
- Divider (creates a line divide between sections
- Convert a file. Once selected, the system converts the file into the Document format. Supported file types include PDF, PowerPoint (ppt, pptx, pps), and Word (doc, docx, odt).
NB: A new document it will open in edit mode, when you return to make changes to a document you will need to open edit mode by clicking on the Edit Content button in the top right-hand corner.
Blocks and how to use them
Once you have created the first block of content, using any of the add options, you may wish to add additional blocks. Hover the cursor under the completed section until the purple line and plus sign icon appear. Click on the plus sign icon to choose from the menu again, and create another block in your Document.
Block options:
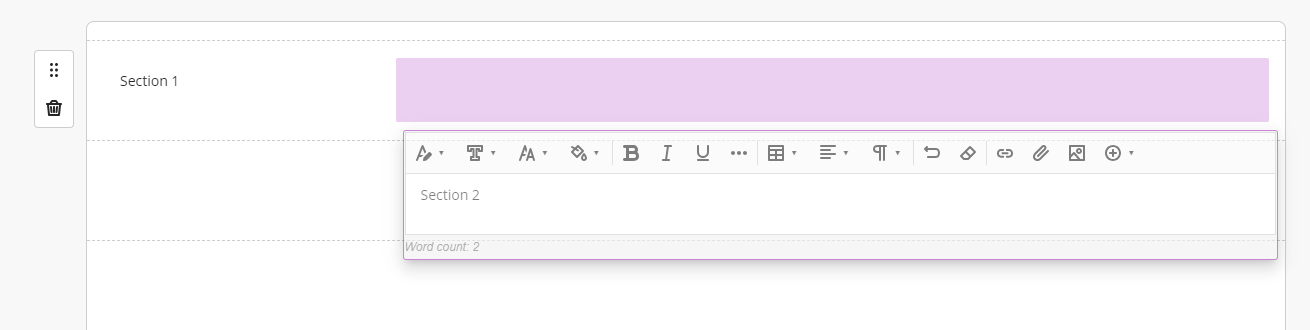
Content (Text editor block)
The Add Content option will open the Blackboard Ultra Editor.
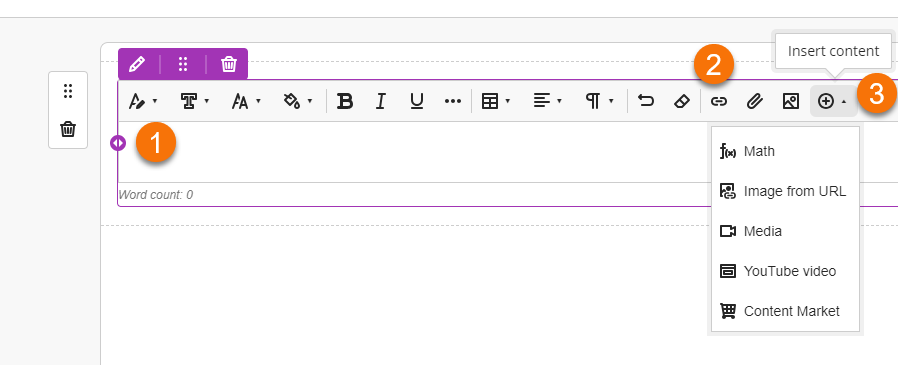
The editor provides functions to enable you to build content in the document. These functions include:
- Formatting options, text styles, fonts attributes, insert table, alignment, bullet points.
- Insert Link and Attach file options.
- Using the Plus icon option to insert media from other platforms.
The Plus menu options are:
- Math
- Image
- YouTube video
- Content Collection
- Content Market
Embedding a YuJa video
To embed a video from your YuJa account select Content Market (from the plus menu (3)) and use the YuJa Media Chooser LTI tool to insert the video from your My Media area. Please see our guide: YuJa Media Chooser
</> HTML
When you select Add HTML a text editor will open and allow you to write HTML code directly into the editor.
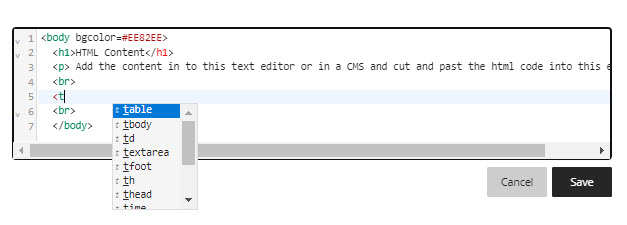
In the HTML text editor the code will display in various colours to distinguish it from the text, and a prompt of tags and attributes will display to aid your code writing.
Add Embed Code to HTML editor
The Add HTML option is likely to be used rarely, if at all, by most staff. However you will need to use the HTML editor in Ultra to add the embed code for external media, such as Box of Broadcasts, or to embed a Twitter feed. Simply paste the embed code into the editor and it will add the media.
Knowledge Check
Knowledge checks test student comprehension of a Document by asking a multiple choice or multiple answer question. This is not assessed, can be done multiple times, and gives instant feedback for students. Only one question type is available currently. Knowledge Check Guide
When you select the knowledge check option, the Question set up box opens.
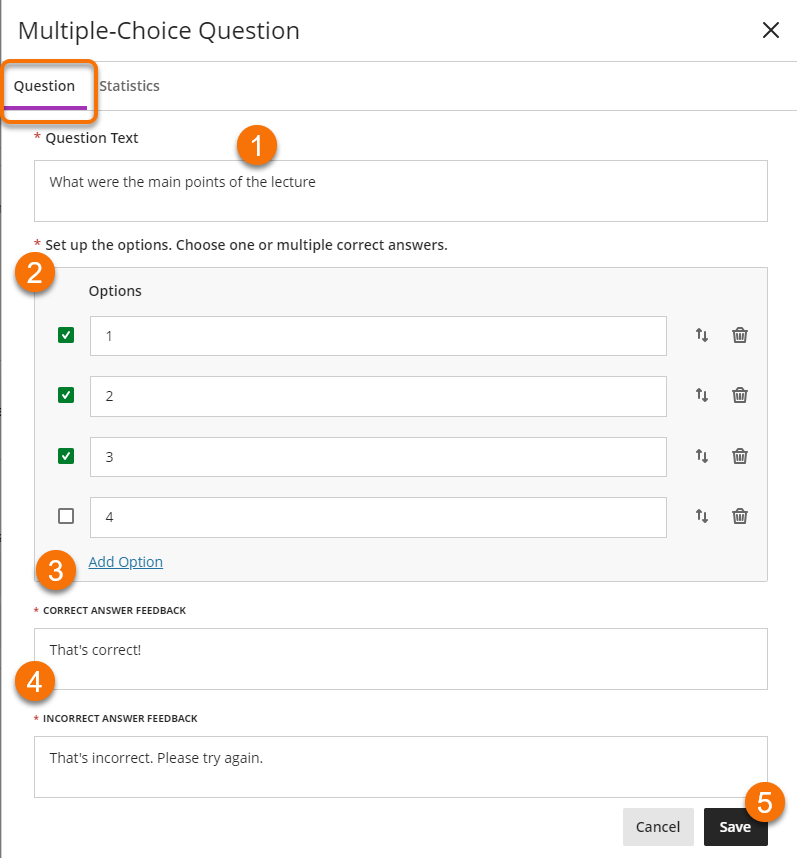
- Add your Question Text.
- Add your Options text and select the correct answers.
- Add Option creates more answer boxes where needed.
- Edit the pre-filled feedback to give more specific feedback to your students
- Save the knowledge check
When you select Upload from Computer the file manager will open and prompt you to select the file or files to add to the document.
File Upload
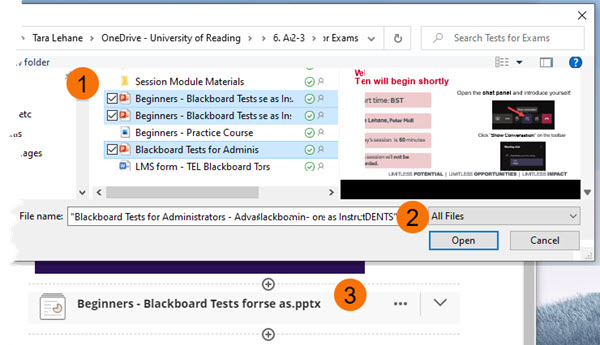
- Select the files
- Click Open
- Each file displays in the document as separate blocks (these can then be rearranged on the page)
Content Collection
When you select Browse Content Collection the Blackboard Content Collection will open and prompt you to select the file or files to add to the document.
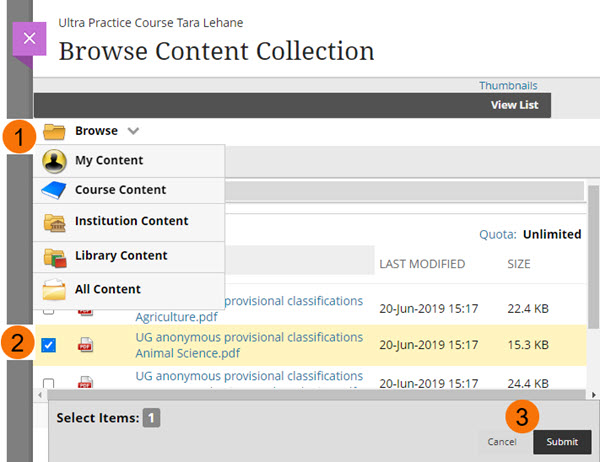
- Select the Content area
- Select the file/files
- Save
The files will display in the document as separate blocks (which can then be rearranged on the page).
Add Image
When using add Image you can upload a relevant image you have in your own files, or find one from the Unsplash library.
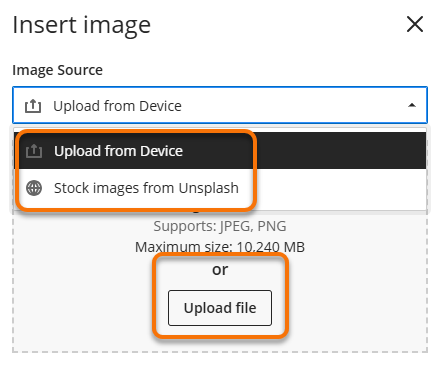
When you have chosen edited and added alternative text to your picture, it will insert in the document. You can resize the image and move around to be contextual with text and files. Use the mouse curser to click and drag.
Divider
Dividers allow Instructors to add a resizable dividing line between sections on the document. This helps students easily identify related and unrelated materials and can improve the structure and readability of their learning materials. You can resize the divider by clicking and dragging the purple handle on the vertical edge of the block.
Organising the Blocks
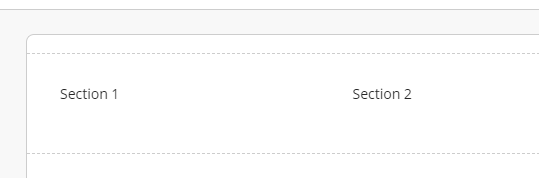
Once you have created your various blocks using these methods, those blocks can be rearranged into the order you desire. Hover over the block you wish to move until the Move Paragraph/Move File icon appears. Click on this icon to pick up the section and move it. These can also be resized to create columns of materials side by side.
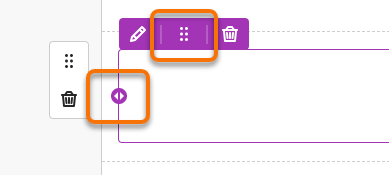
You can drag around sections or you can use the listed options which appear when you click.

Your sections will then be rearranged.
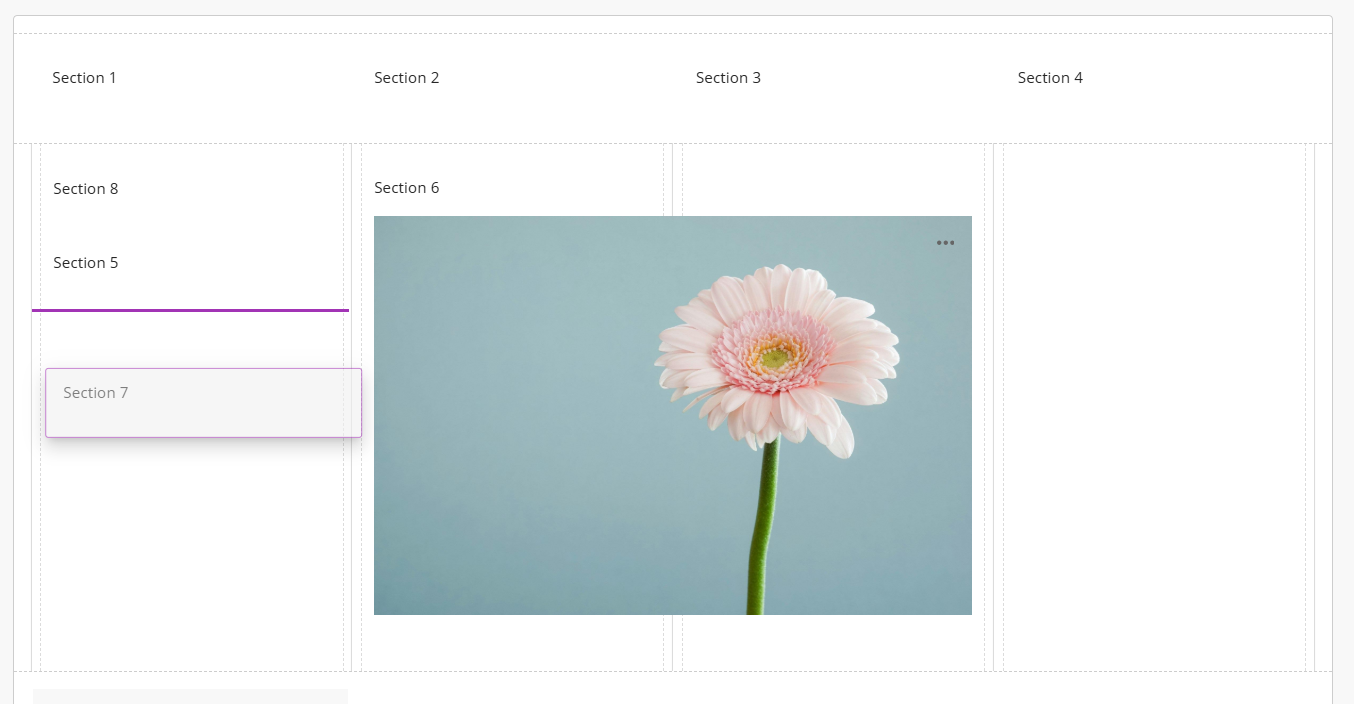
The sections can be arranged in many arrangements, including more than one row (sections 8, 5 and 7) aligned with a single block (section 6).
When organising your blocks, you may need to consider how the Document will look in the print preview if you would expect students to print the document.
Save the Document
Once you have added all your content, then click Save . If you forget to save a warning message will remind you to do so.
If you wish to add further content or arrange your documents differently, use the Edit Button.
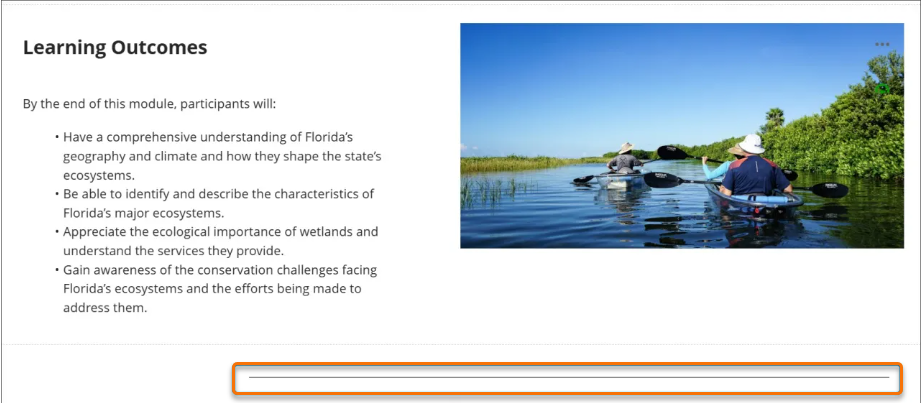
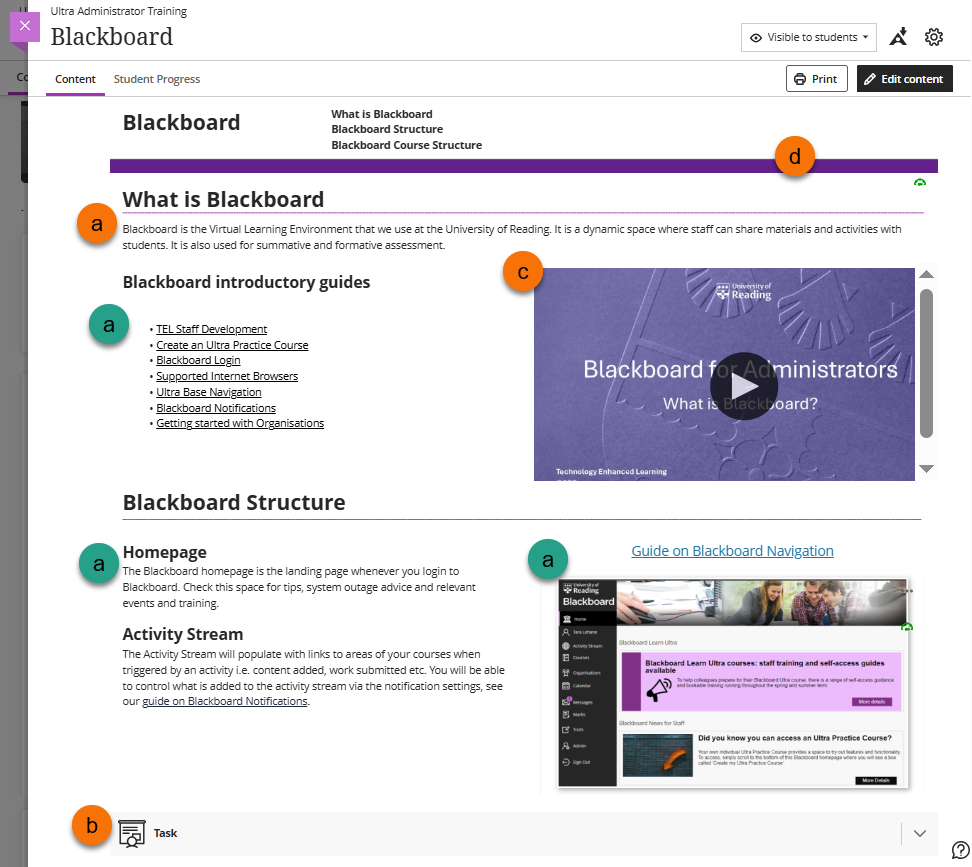
Ultra Document Example
Example of student view of a document with three different blocks –
- Text Editor block (a) with text and images, bullet point etc.
- File Upload block (b)
- HTML Editor block (c) with embed code for video (could be any thing that uses an embed code, MS Form or Padlet for example)
- Image block (d)
Guides on how an Ultra Document can be used in your course
An Ultra Document is a way of organising materials on a course or organisation. They can be used in conjunction with Learning Modules and Folders.
Blackboard AI Design Assistant
Anthology Blackboard have developed AI design assistant tools that give you the option to quickly generate activities and their accompanying instructions , based your course’s title and description. The output can be tailored by selecting specific course content or adding a description prompt. The generated rubric is editable, and will only be added to your course if you choose to ‘Save’ it. For more information, please read our Blackboard AI Design Assistant – Generate Document layouts guide (opens in a new tab).
Guide last updated on March 31, 2026