Files can be uploaded directly to the Course Content using the Add Content menu or the drag and drop menu. It is also possible to use containers such as Learning Modules, folders and Documents to organise files see the guide Content Containers in Blackboard Learn Ultra for more details.
There are a few ways you can upload files to an Ultra course see our guide Presenting Files to Students for further options.
- Upload from the Add Content menu
- Drag and Drop
- Replace file function
- How files appear on the Course Content
Upload from Add Content Menu
Step 1: Go to the Course Content point where you would like to upload a file.
Step 2: Hover over the dividing line until a plus sign icon appears click on the plus sign icon.
Step 3: When the add content menu appears select Upload.
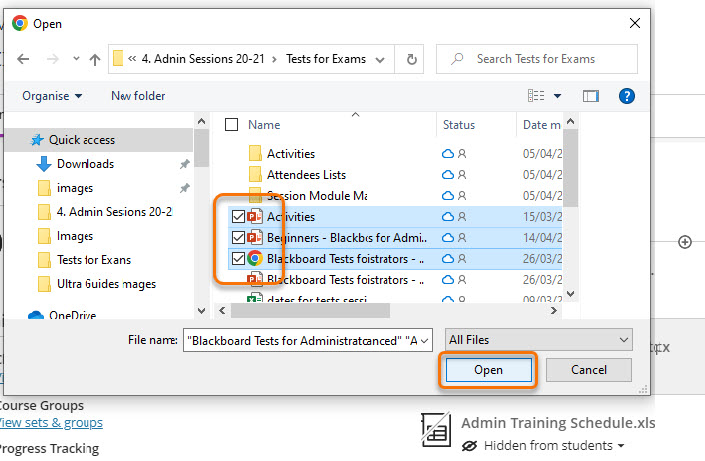
Step 4: The file manager will open.
From here you can select the file or files you wish to upload. Blackboard Learn Ultra supports most file types but please check the Blackboard Help page Supported File Types if you wish to check.
Once you have selected the files you can click Open to upload them on to the Course Content at the point were you clicked on the add content menu.
Drag and Drop
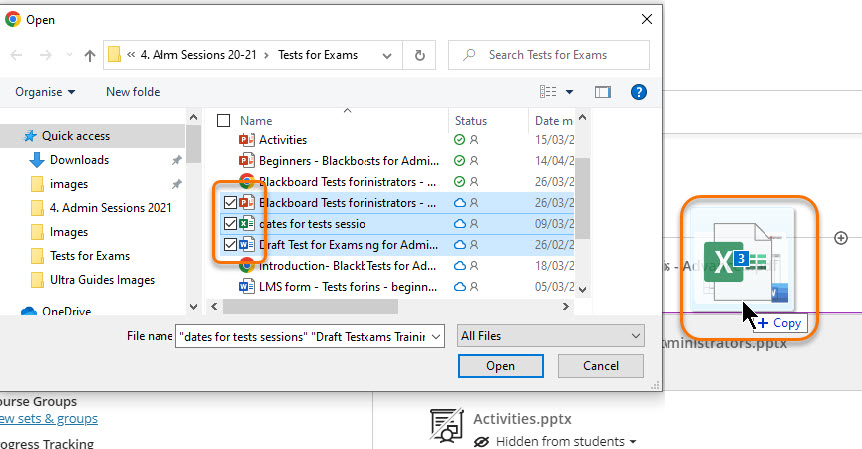
It is possible to drag and drop files straight from the file manger on to the Course Content area.
Step 1. Open the file manager
Step 2. Select the files you wish to add to the Course Content, drag them on to the Course Content at the position you require.
Replace function
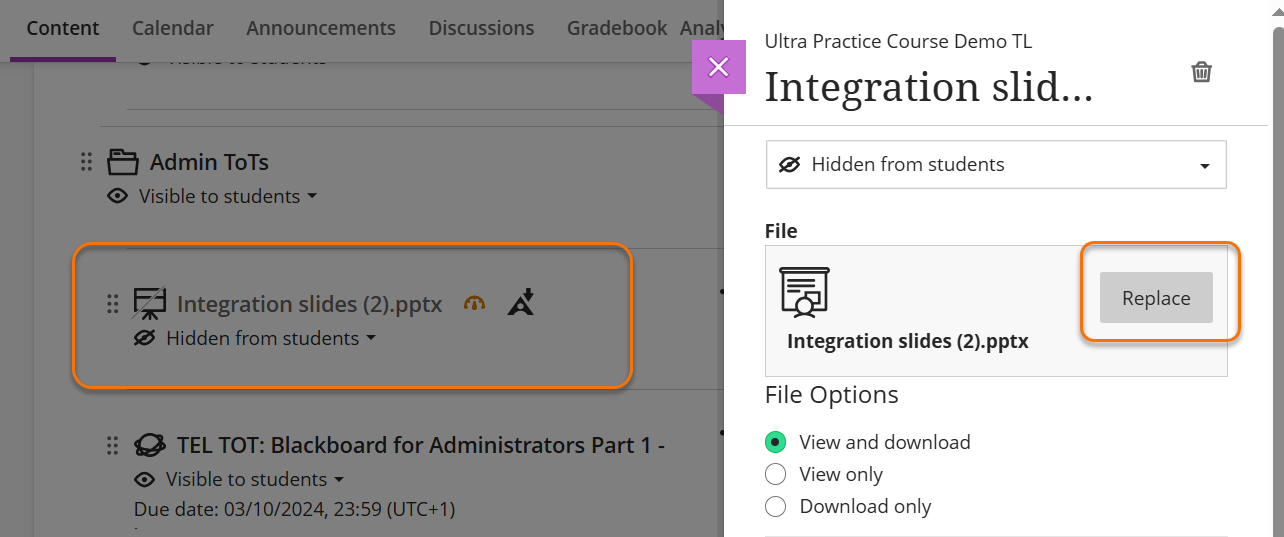
Once a file has been uploaded to the Course Content you can replace the file with an updated version, when required, using the Replace function.
Click on the three dot menu for the file and select Edit. In the Edit panel select Replace, browse for the new version of the file and save.
The file will be replaced by the new version without creating a new separate file.
How files appear on the Content
The files will appear in the Course Content.
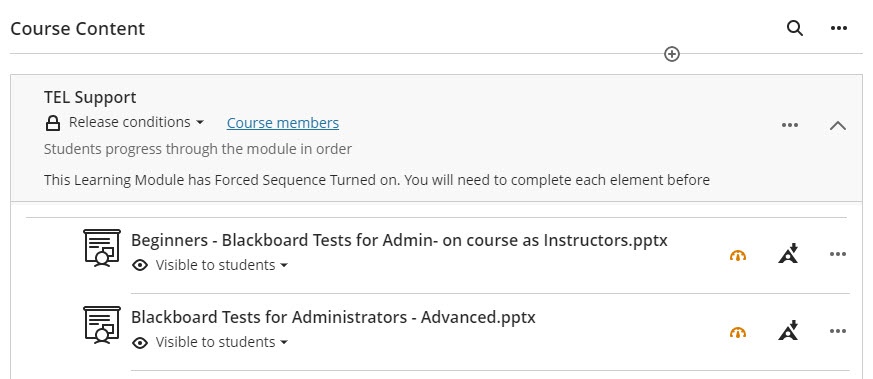
The files will open inside Blackboard and can be viewed inline.
Guide last updated on December 1, 2025